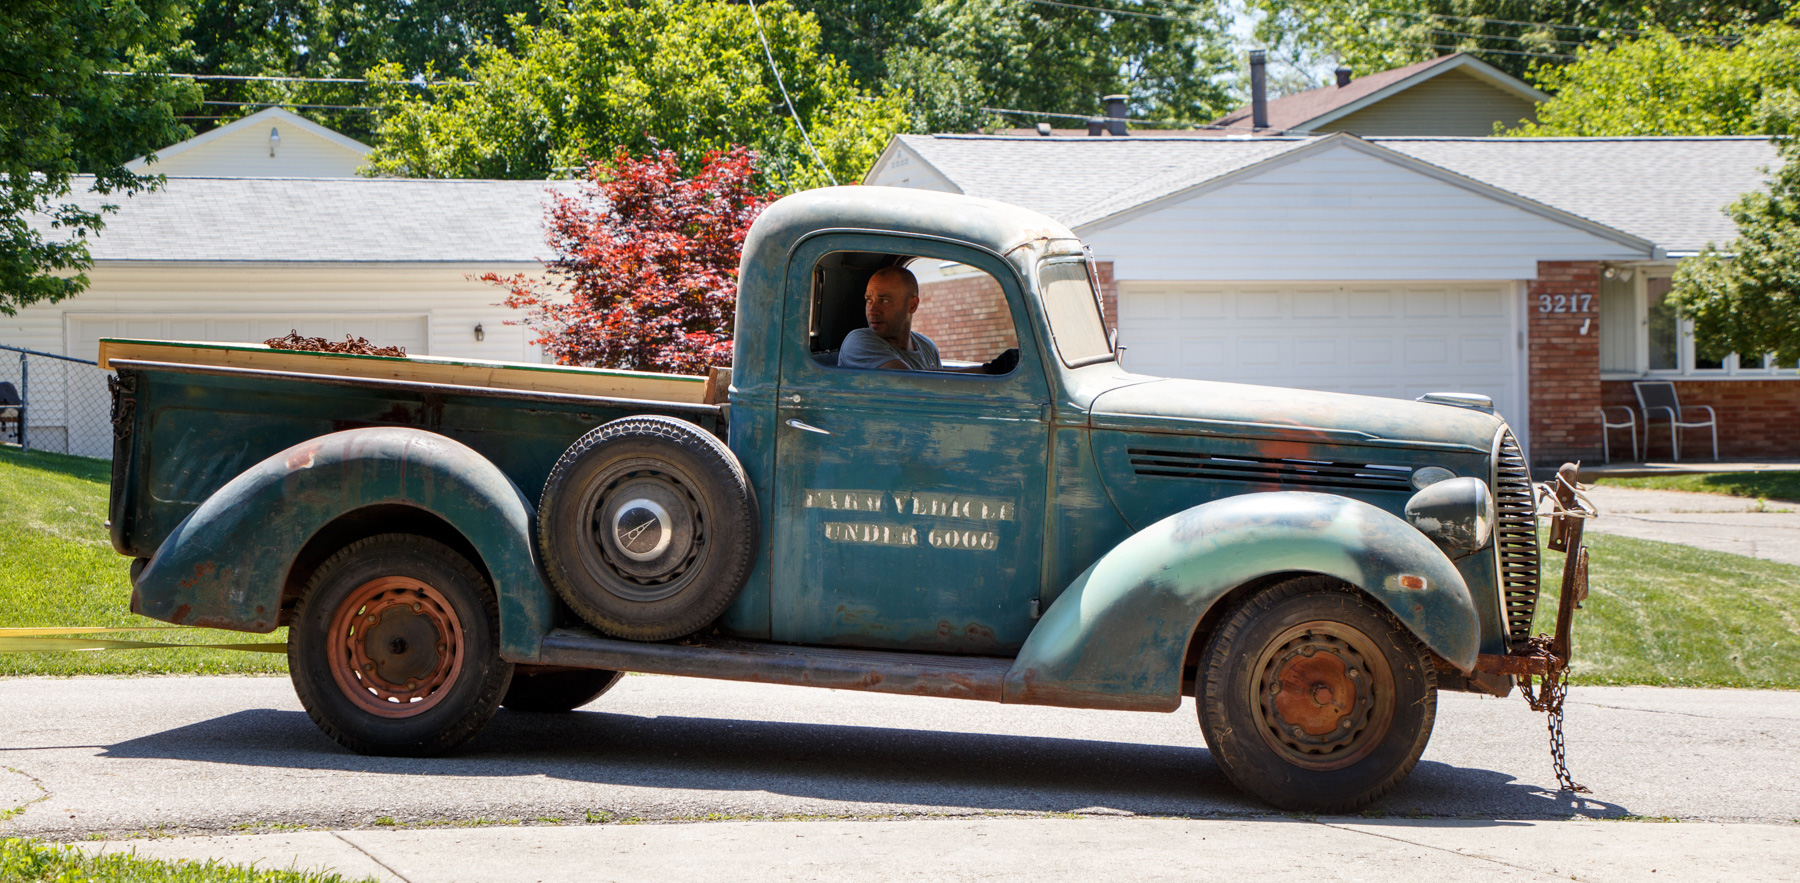
So for lunch yesterday, I decided to head out to the garage and see what else I could do. The truck did demand an additional blood sacrifice, but it turned out to be worth it. 🙂
I have been working my way towards getting the heads and intake off the block so that we can see what is going on inside the engine. I decided to see what was left to do on the intake.
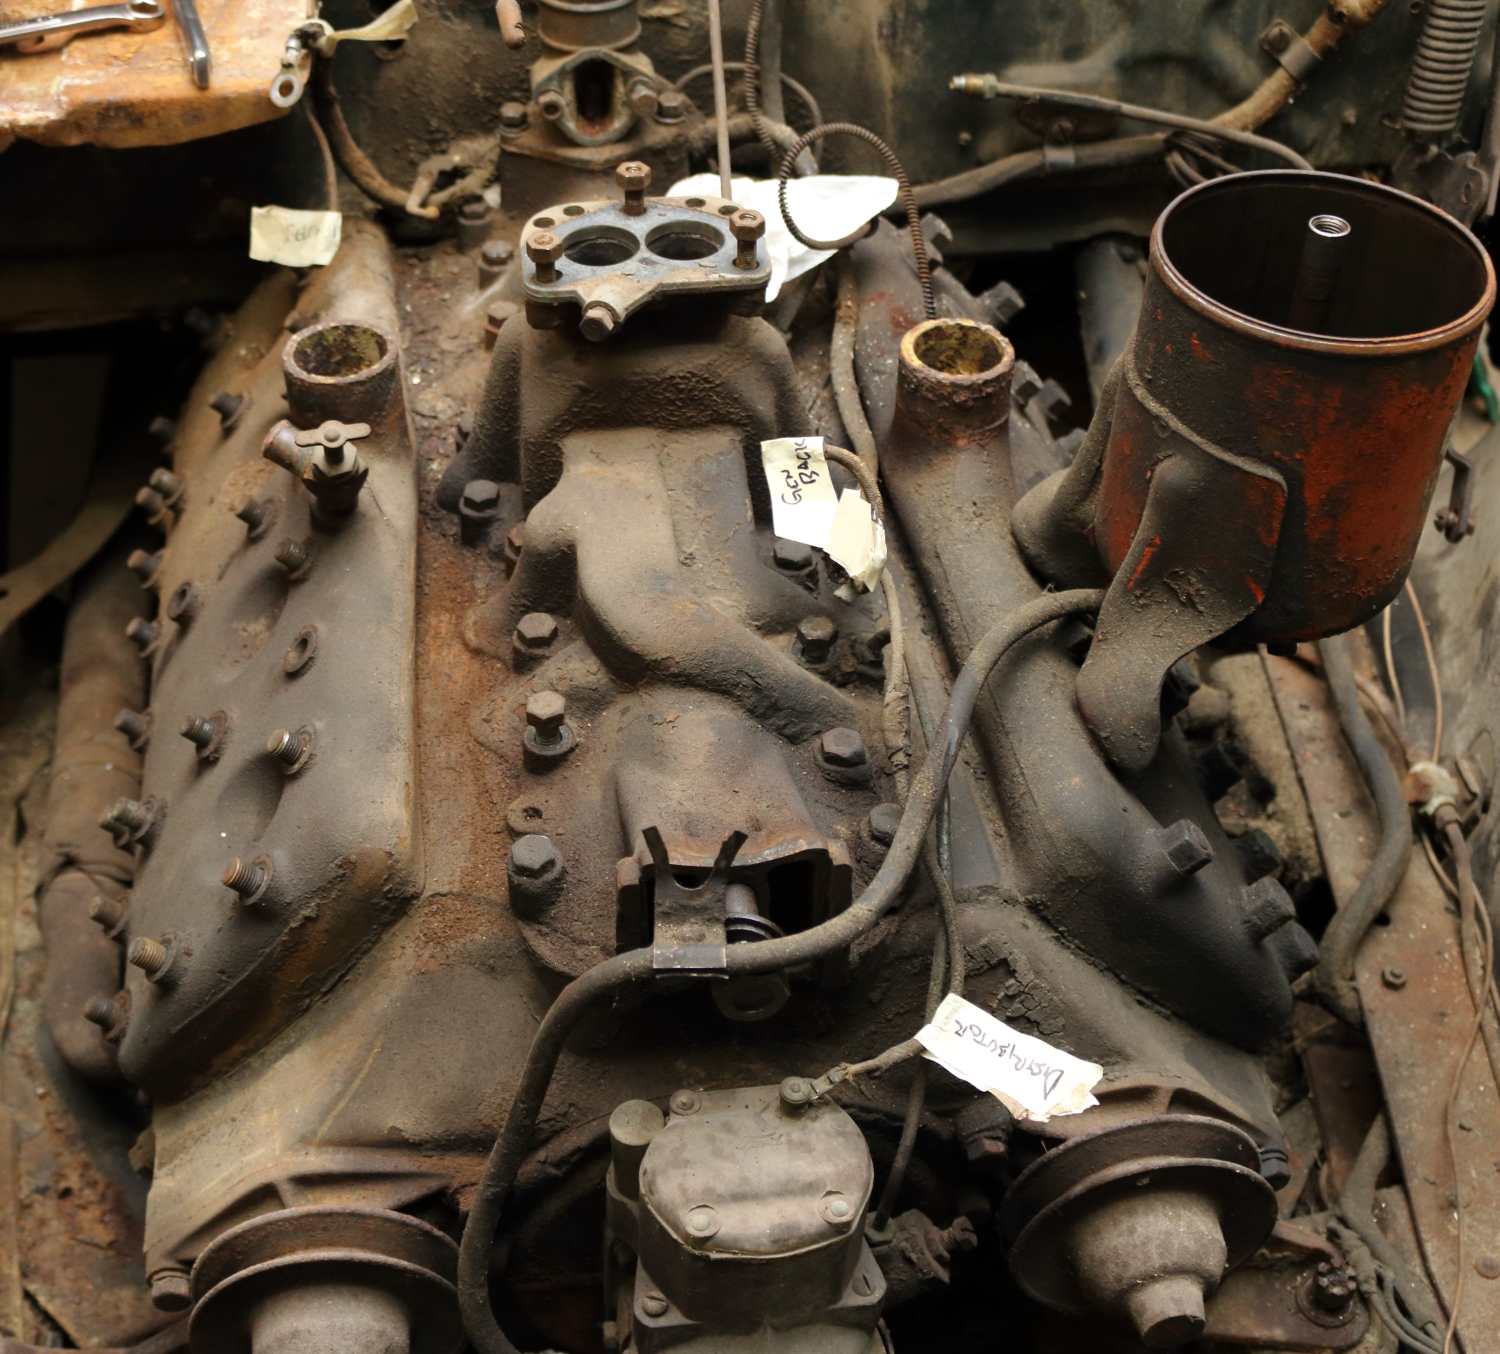
Getting bare…
I remove what I think is an oil line (actually it is a vacuum line I found out) from the intake to the distributor, the wiring harness from anything on or around the intake; the oil pressure sending unit wire (I think) and the wiring to the distributor, as well as an oil (vacuum) line on the top of the intake to the firewall.
Then came the fuel pump stand, push rod and the bushing and cup at the back of the intake. That was a terror, it was very badly rusted, so I had a hard time getting things apart but I did finally get them removed.
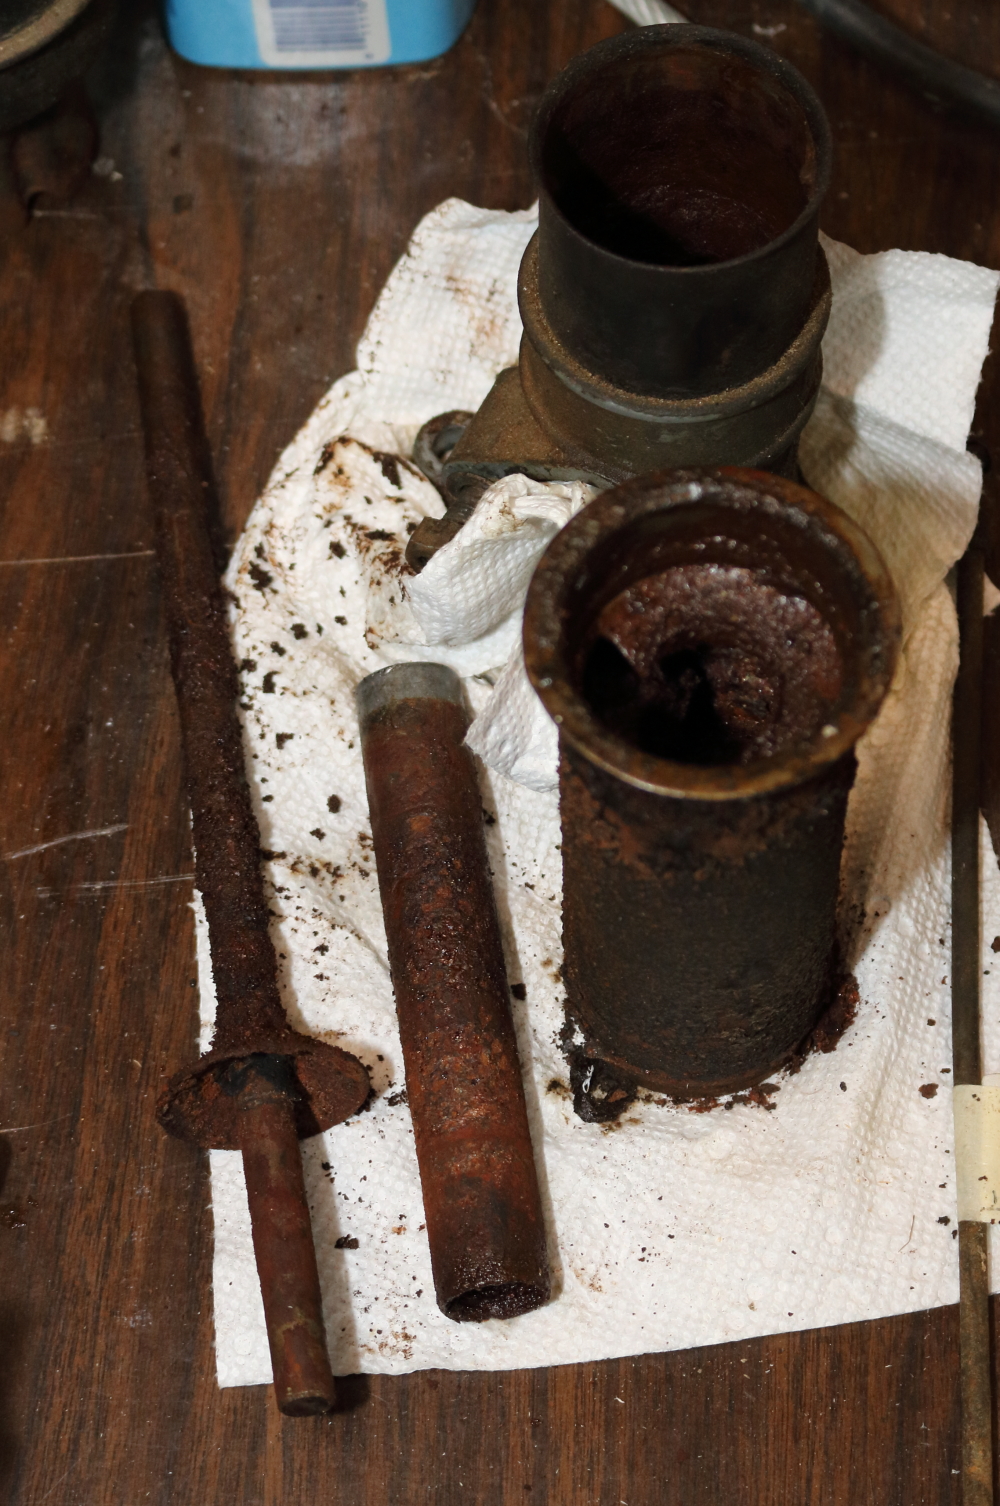
Fuel pump stand and push rod
My hard work and those few drops of blood came into play as the intake came off nice and smoothly at that point.

The intake is off
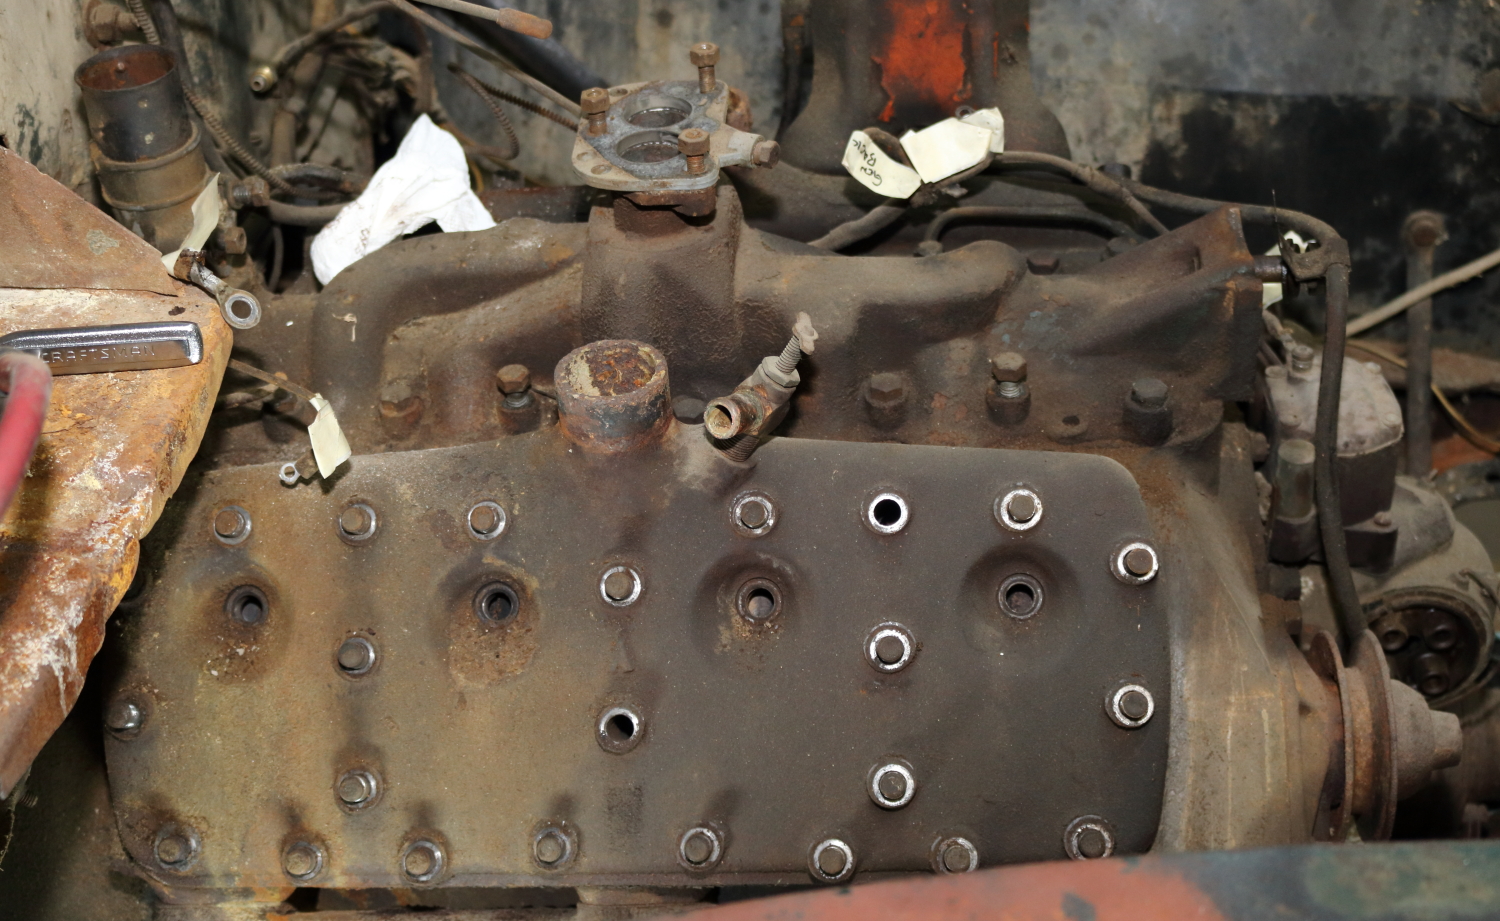
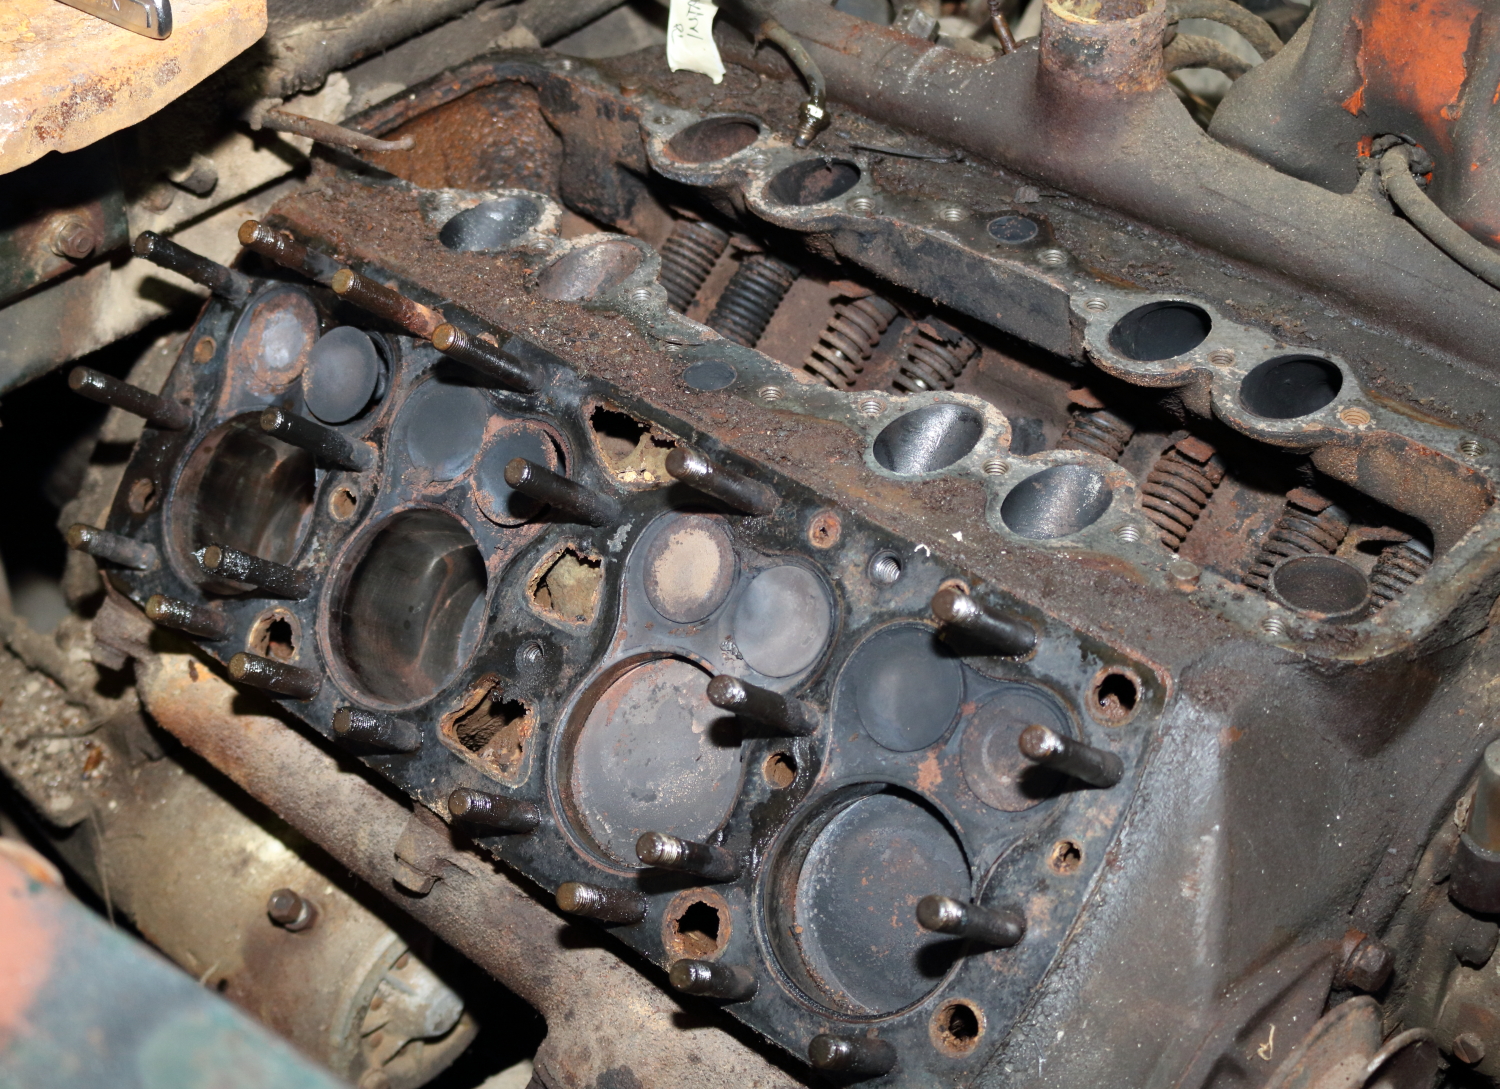
The good news is, it is not as bad as it could have been in the block, the bad news is it is not as good as it could have been in the block. But it could definitely have been worse, so I’m happy to get this opened up.

Into the valley
I’m pretty sure at this point we are committed to rebuilding the top of the engine at least, it just makes no sense not to. Once both heads come off and we can see the valves and we’ll know if we need new sleeves and pistons.
After work last night, my walking buddy was tied up, so I went back down to the garage to continue the battle with the head. I had soaked the studs on the both sides after I removed the nuts, three studs came free from the block when I was taking them off the other day.
Head nuts removed and a few studs came out as well
I started with some gentle taps around the head. I began to see an opening between the head and the block, so I started rocking the head. Then I got the idea of using some plastic wedges, normally used for spacing laminate flooring and tapping them in from all four sides. They did great, I used them from the sides and top and bottom, knowing they wouldn’t scratch or scar the surface of the heads or the block.
Note to self, soak the studs on the other side, then soak them again, then soak them again and try wire brushing them clean before trying to remove the head. It took me 20+ minutes of rocking the heads back and forth to get them to come off of the studs.
The block today
But no matter what, we have made more good progress.