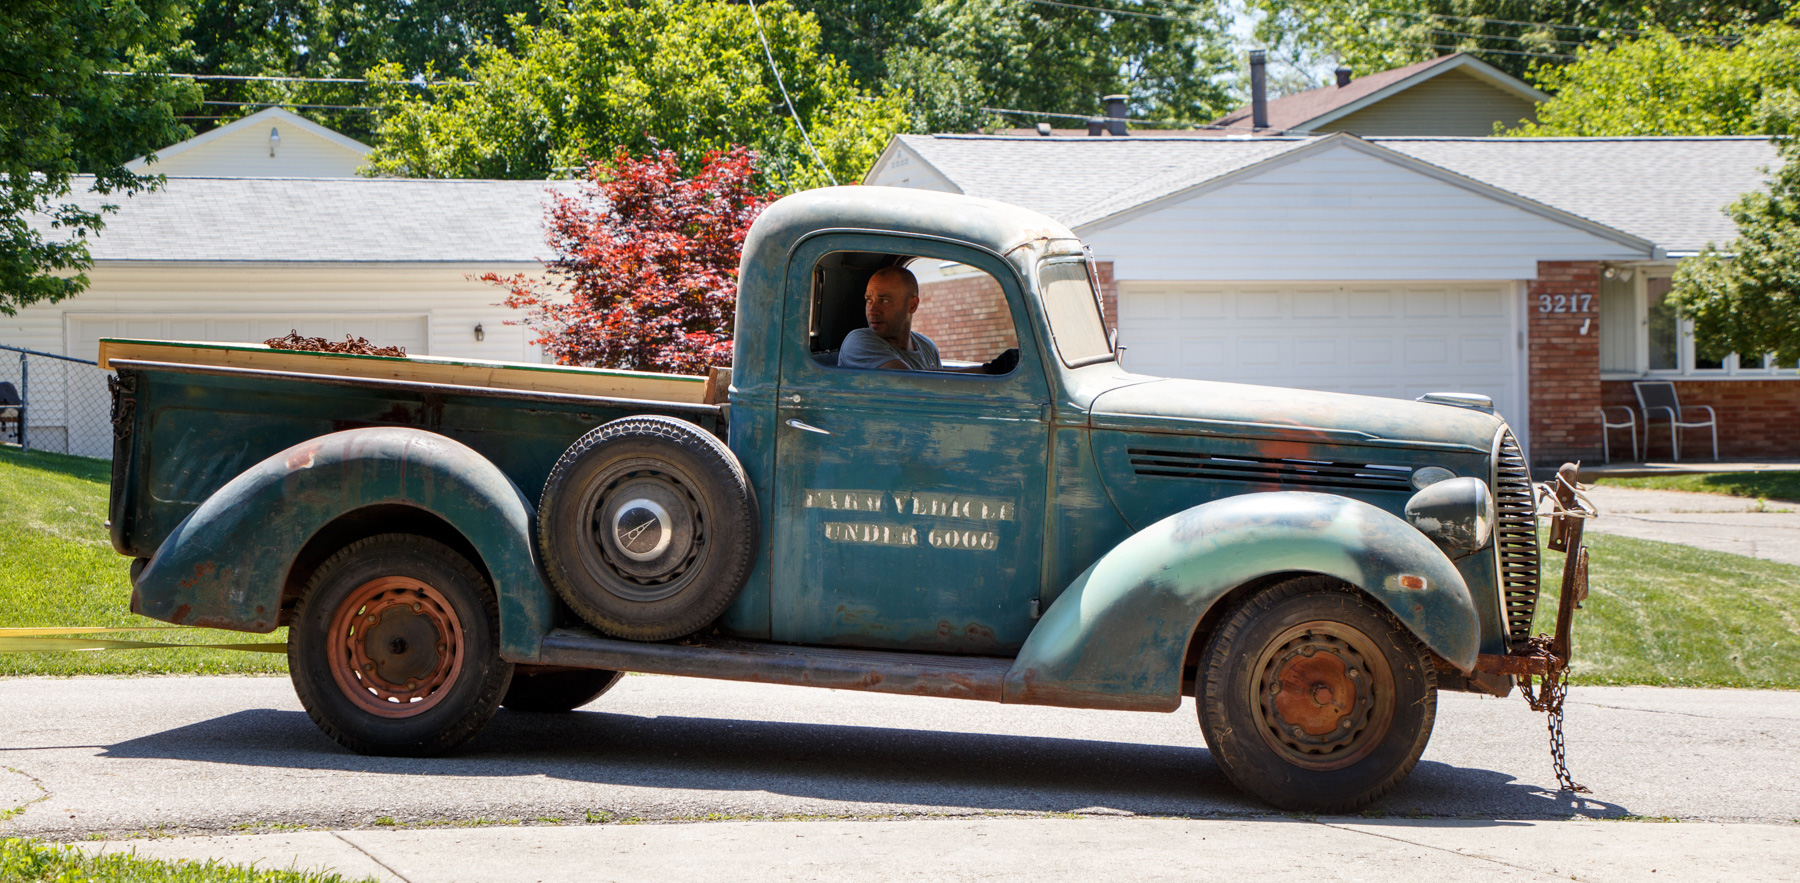
The last couple days I have snuck out to the garage at lunch and after work to work on the truck. The main focus has been the head on the driver side.
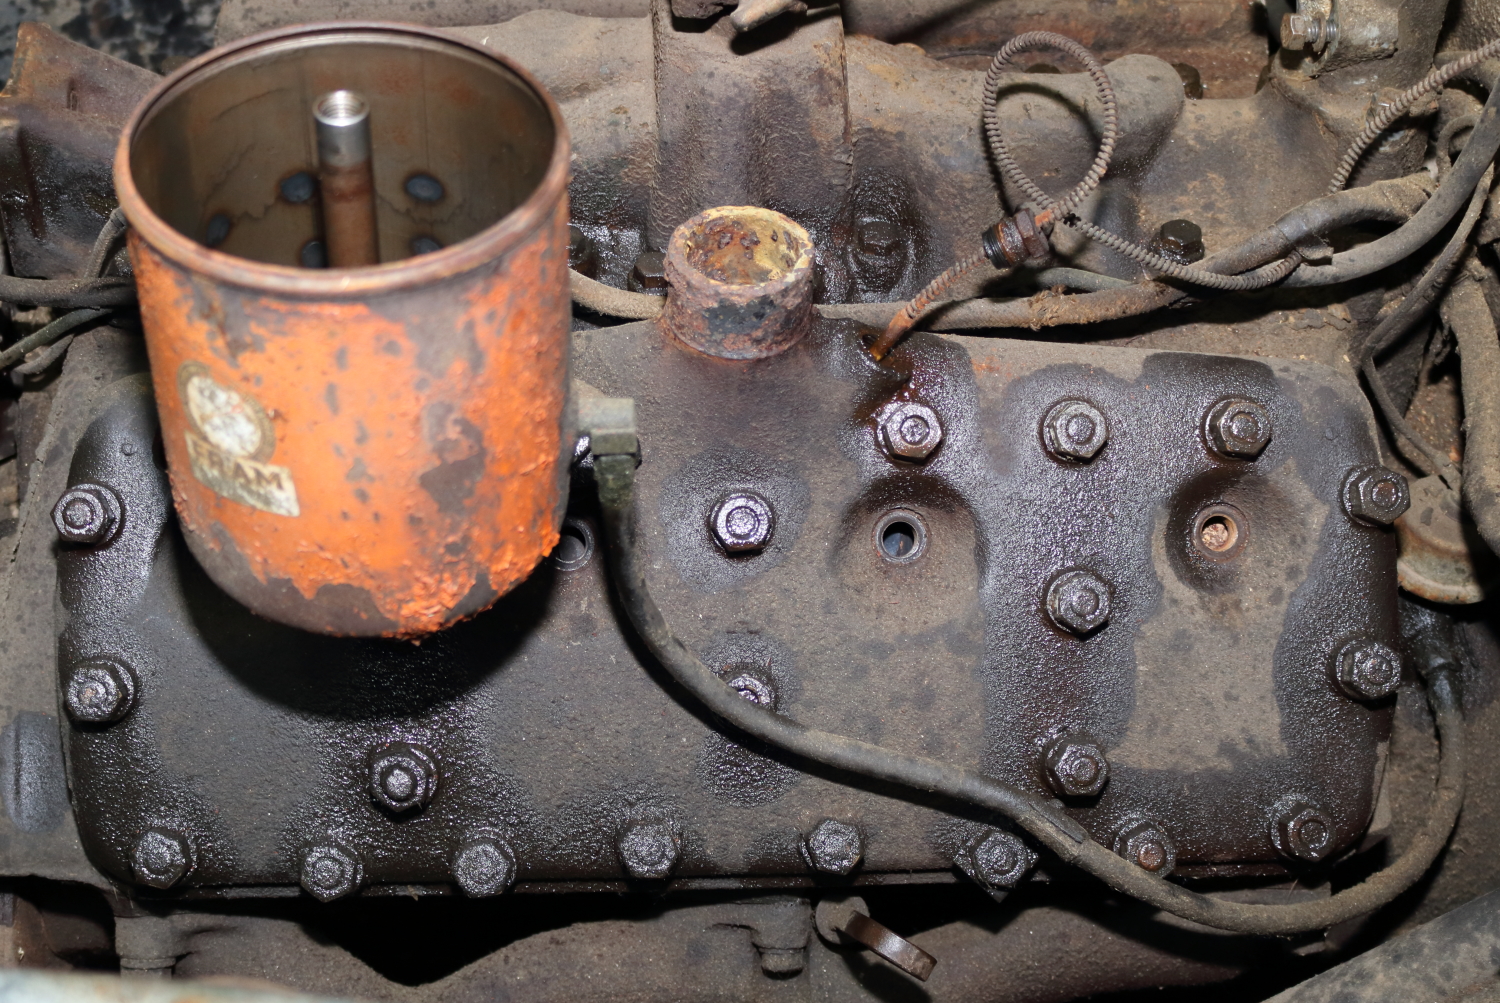
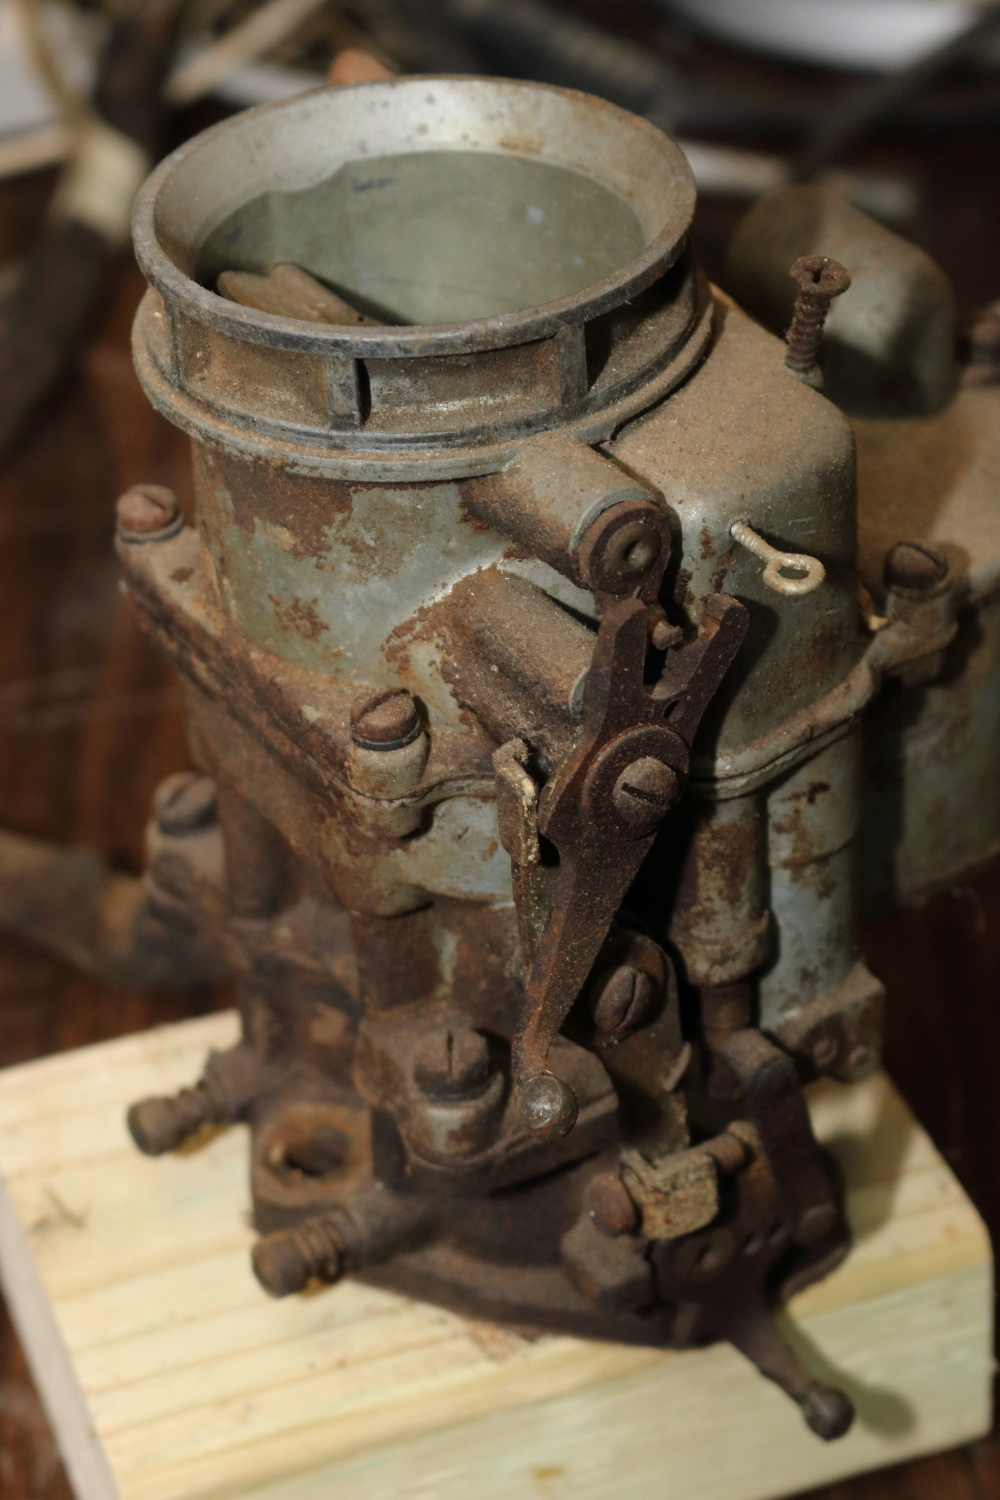
First I removed the oil filter canister from the head and disconnected the line to it. I had to be careful as there was a small amount of oil in the bottom of the canister still and the last thing I wanted was that to go flying…

Oil Filter Canister
I made a mistake on Thursday and was wearing a nice t-shirt when I went out at lunchtime. When I went back in, I realized I had a couple small grease spots, so I immediately sprayed it with some magic elixir from some magic blue bottle in the laundry room so it won’t stain, I hope…
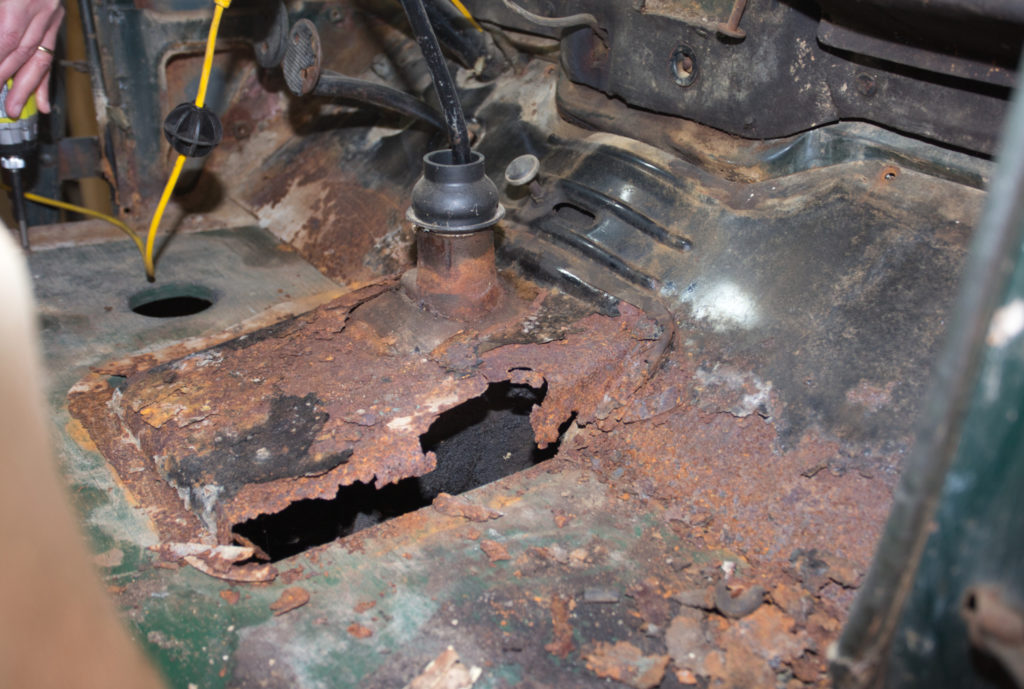
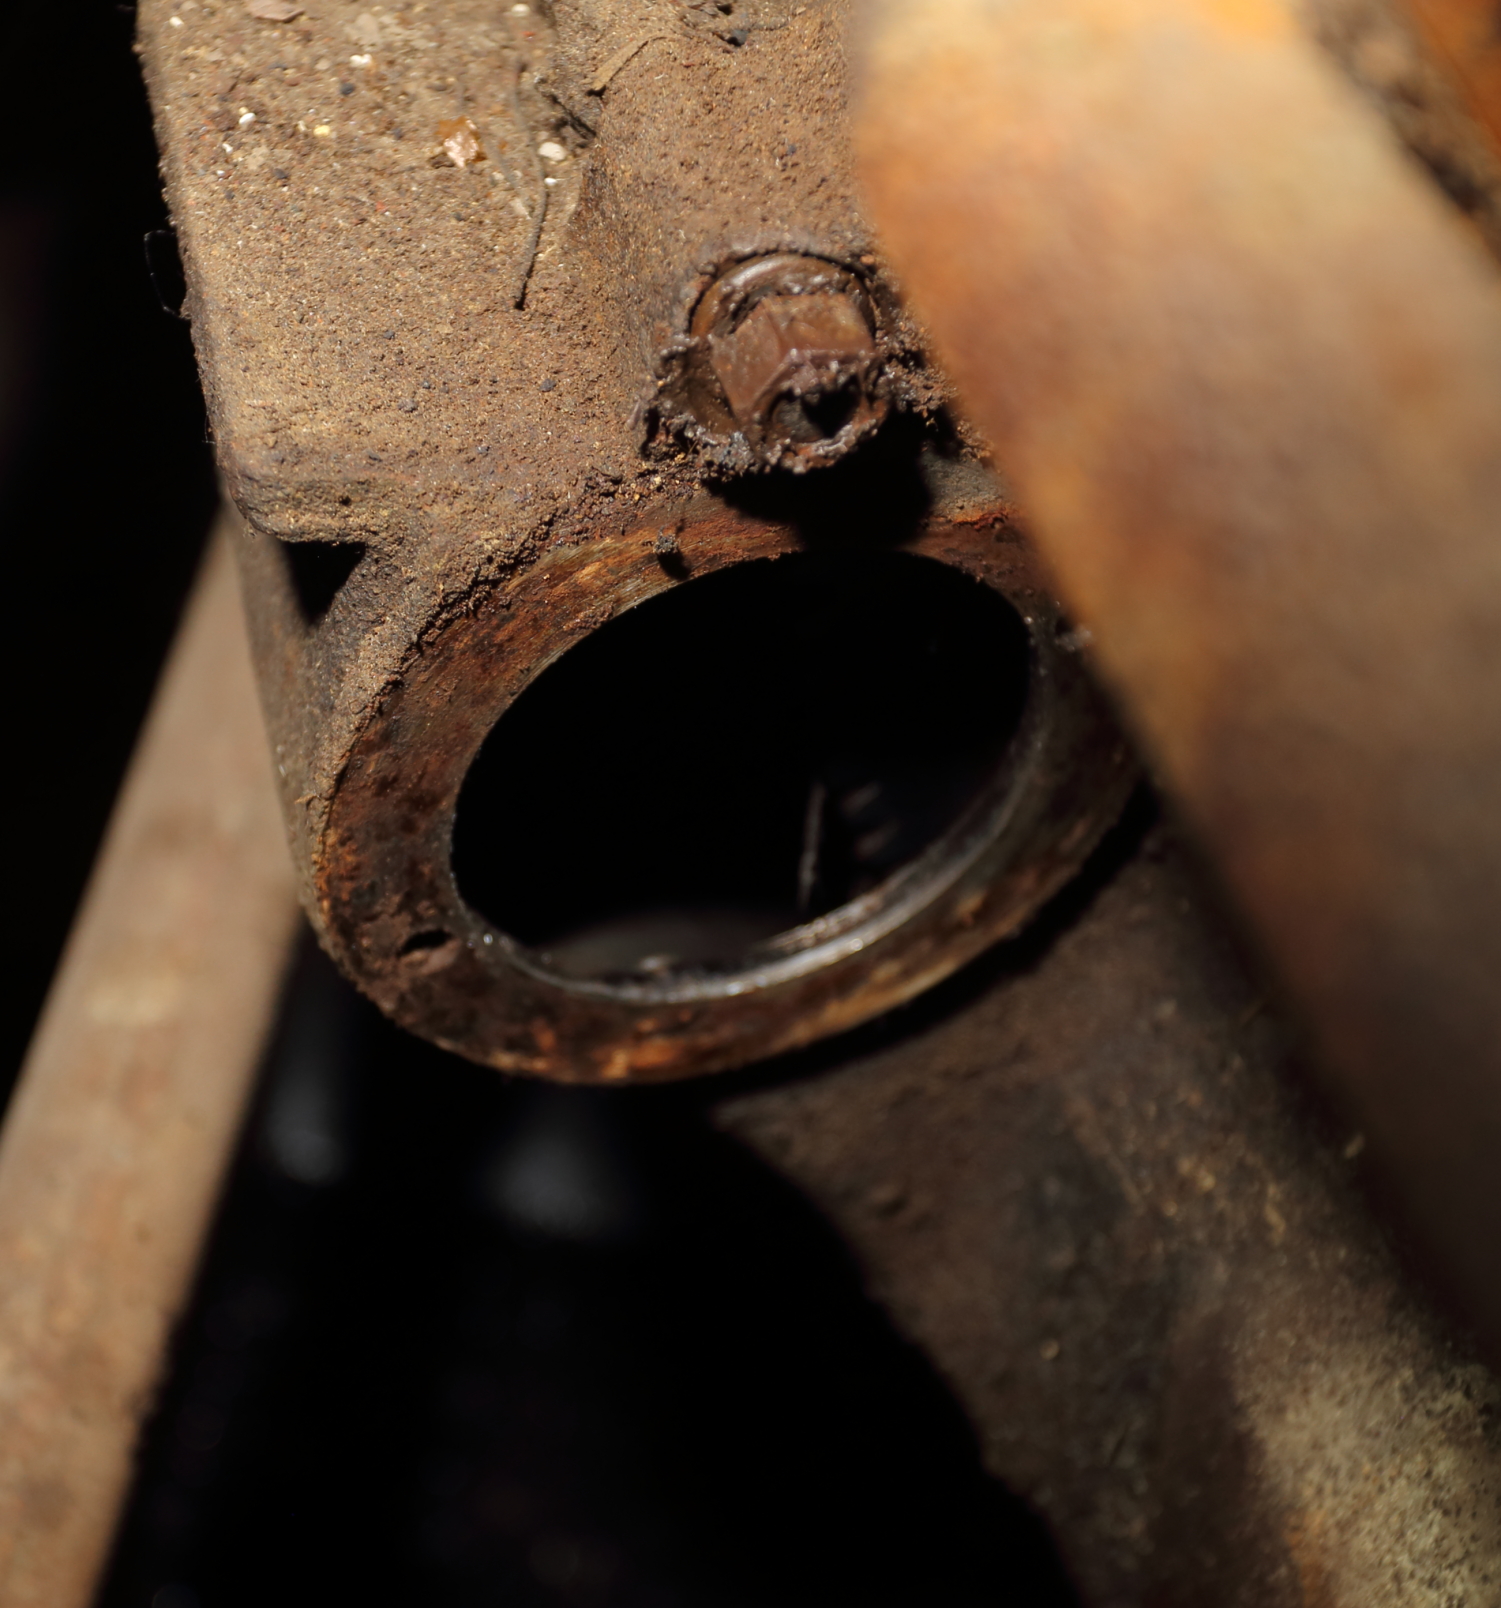
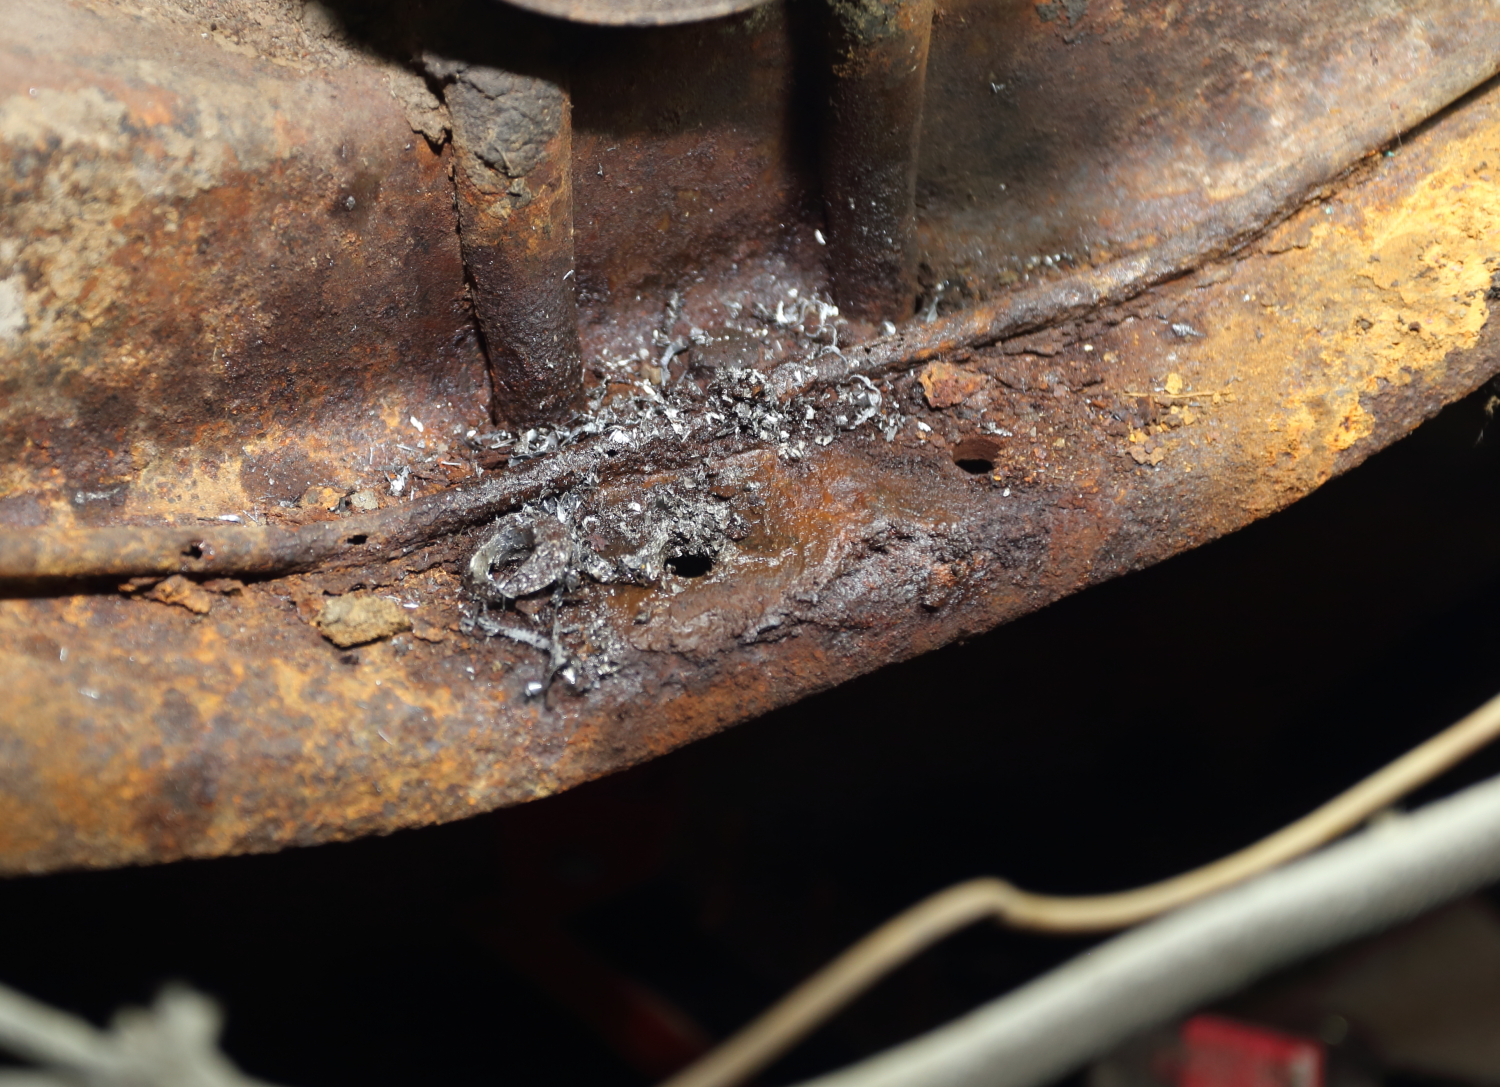
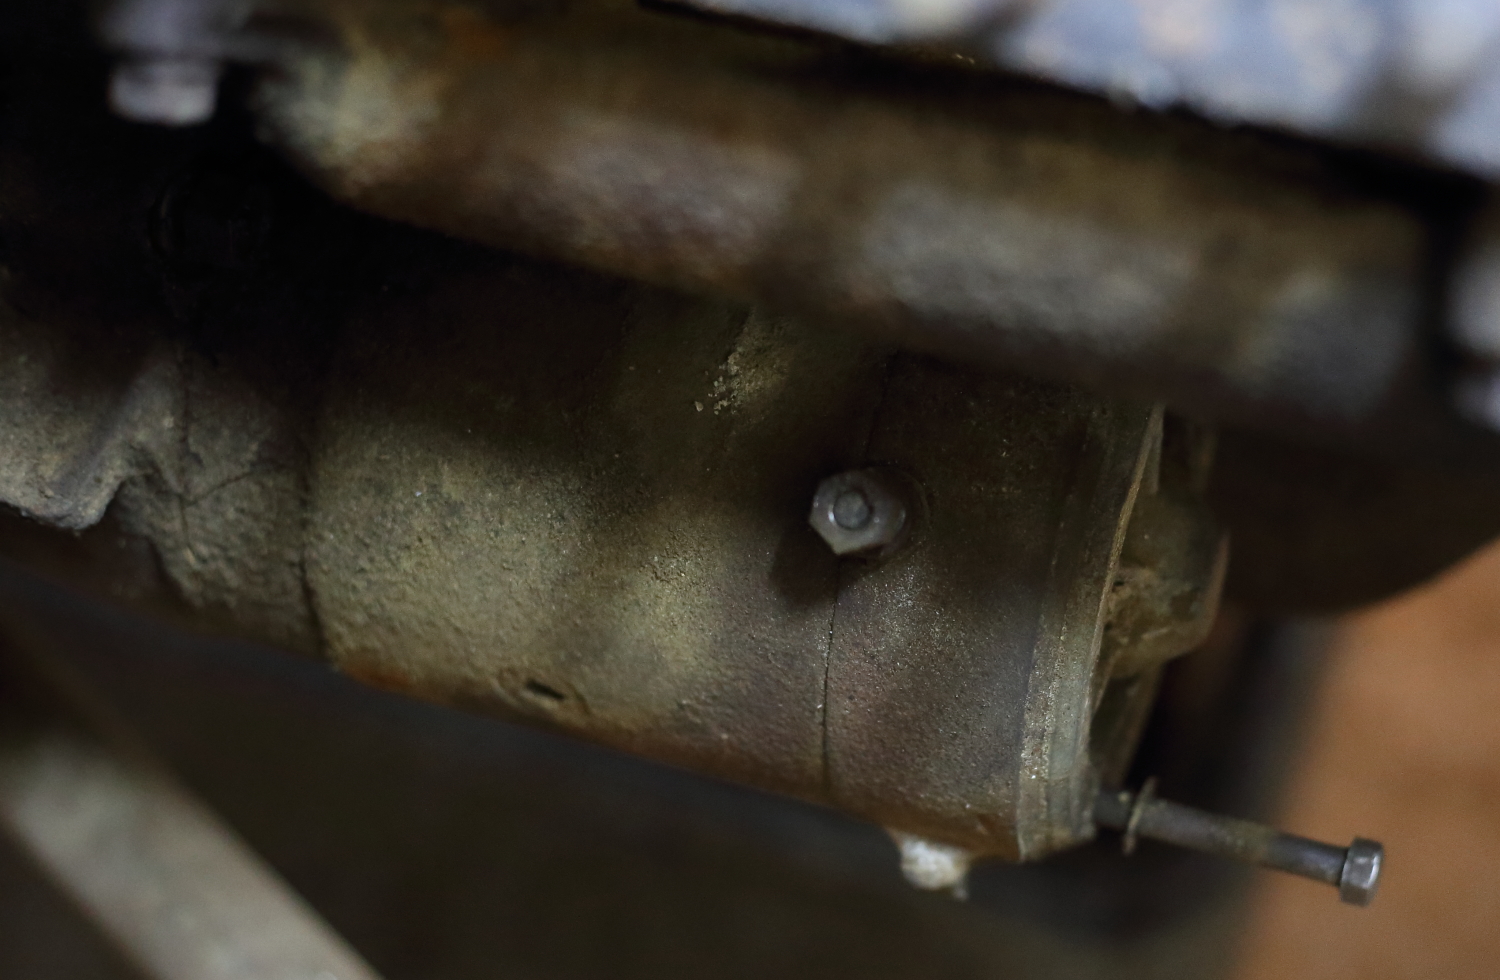
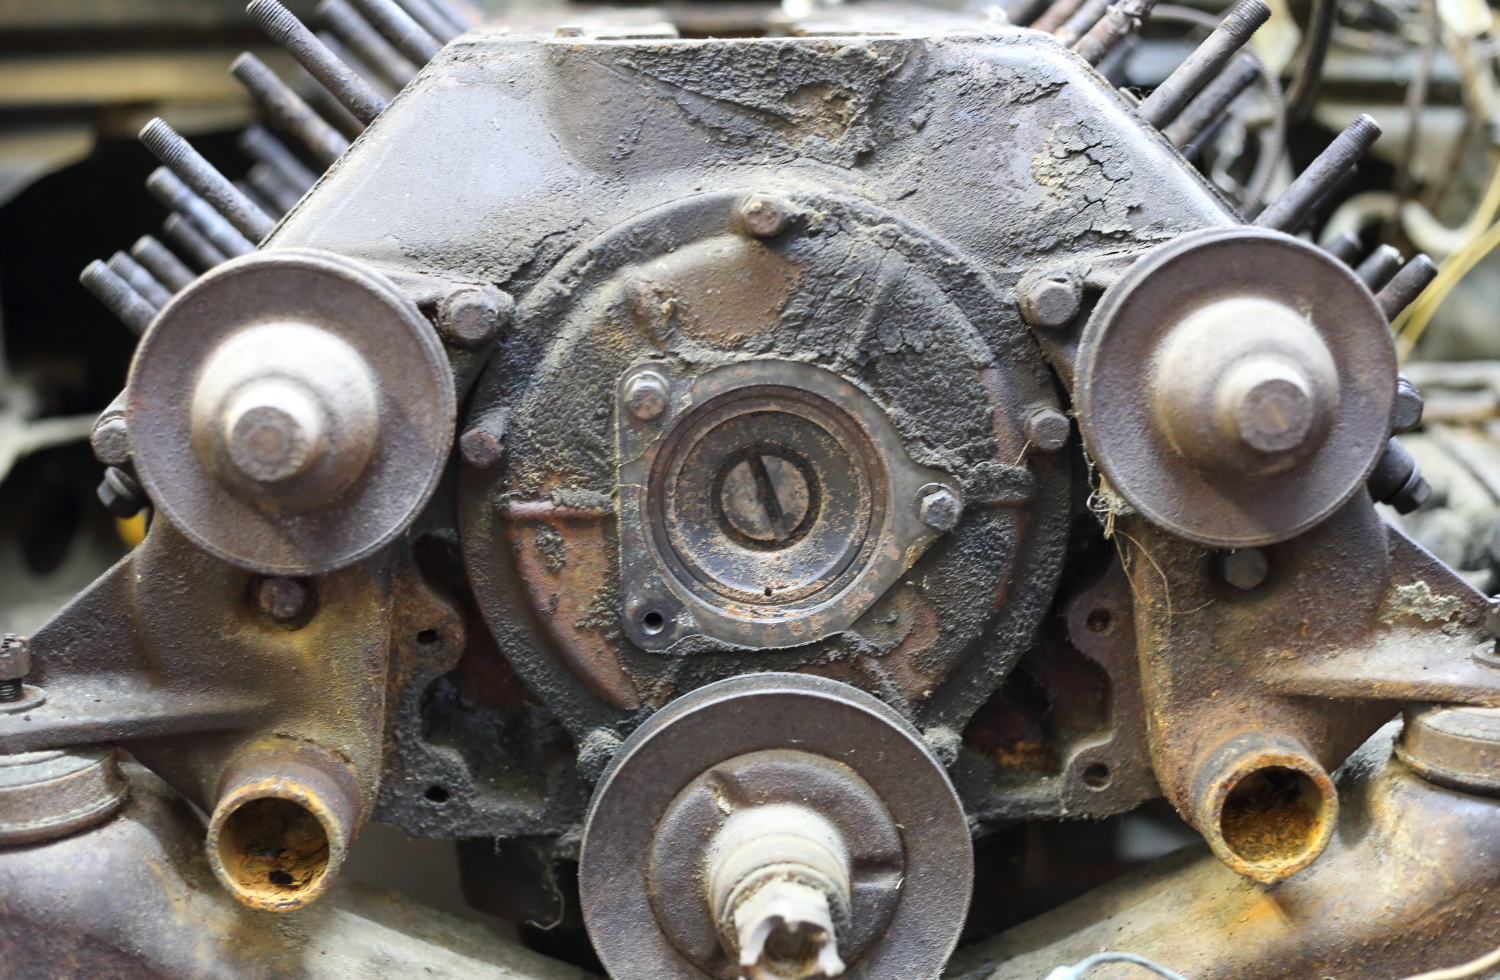
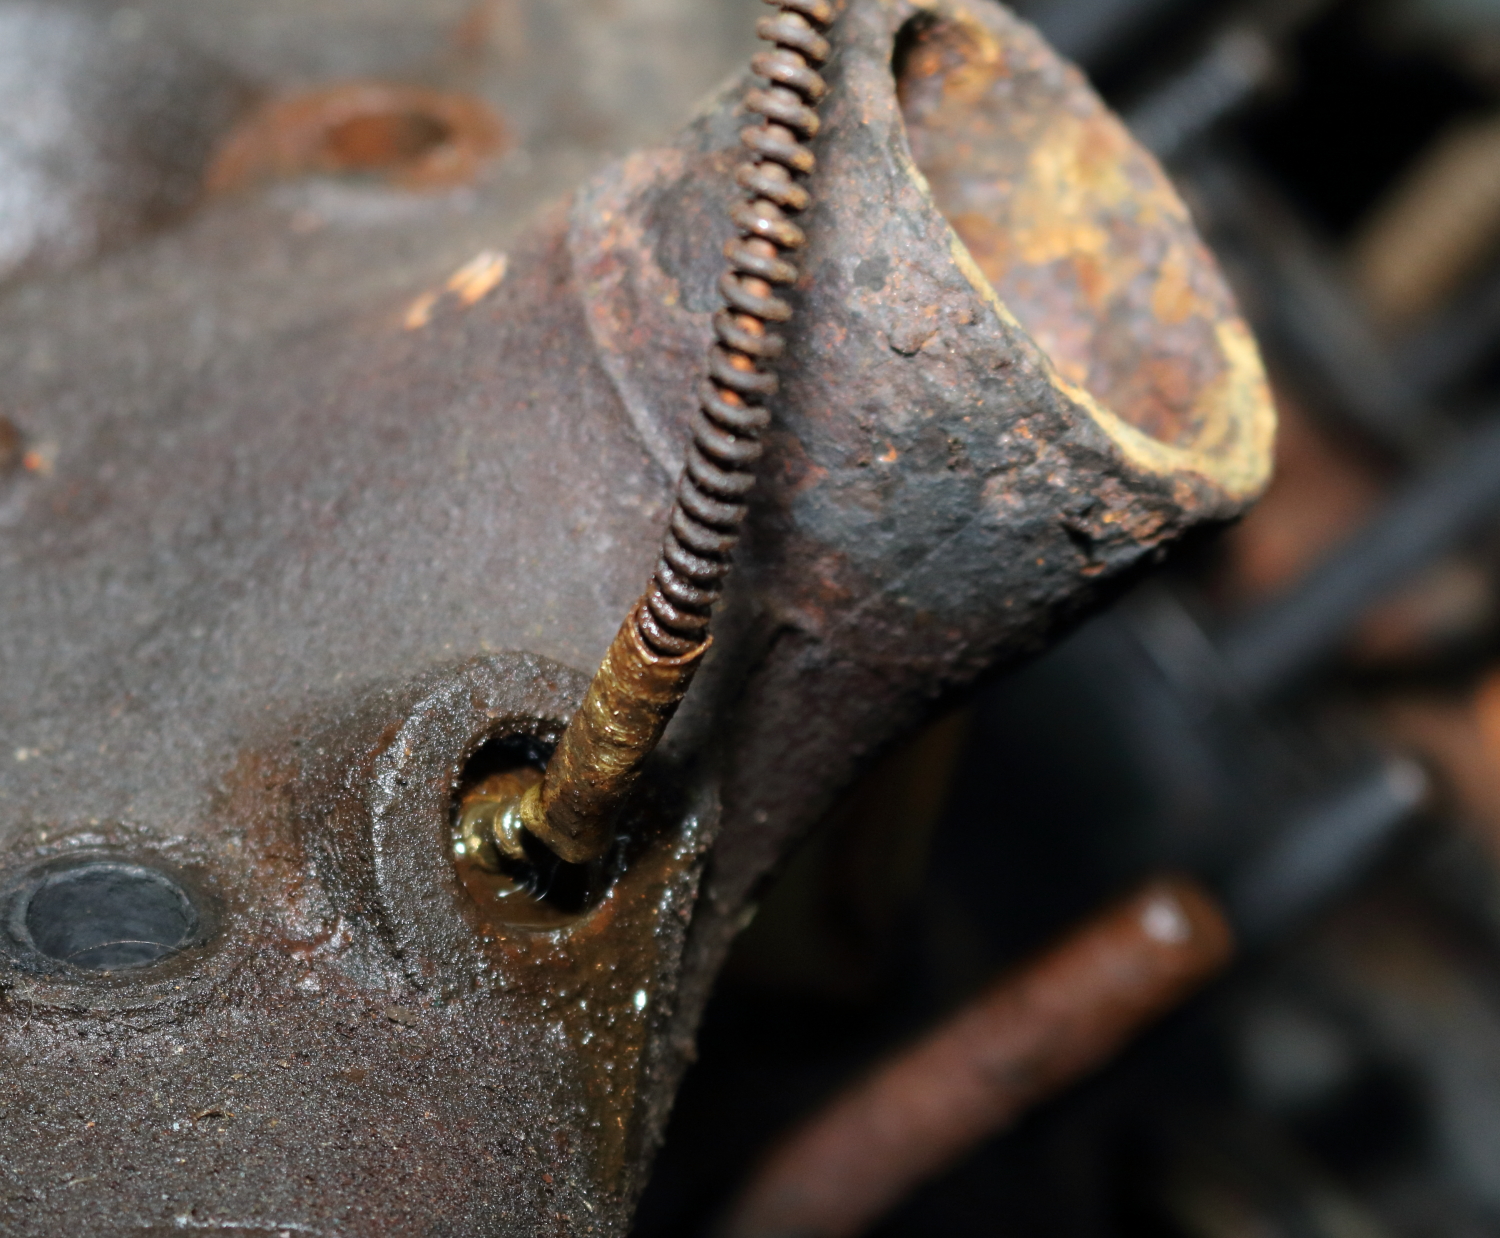
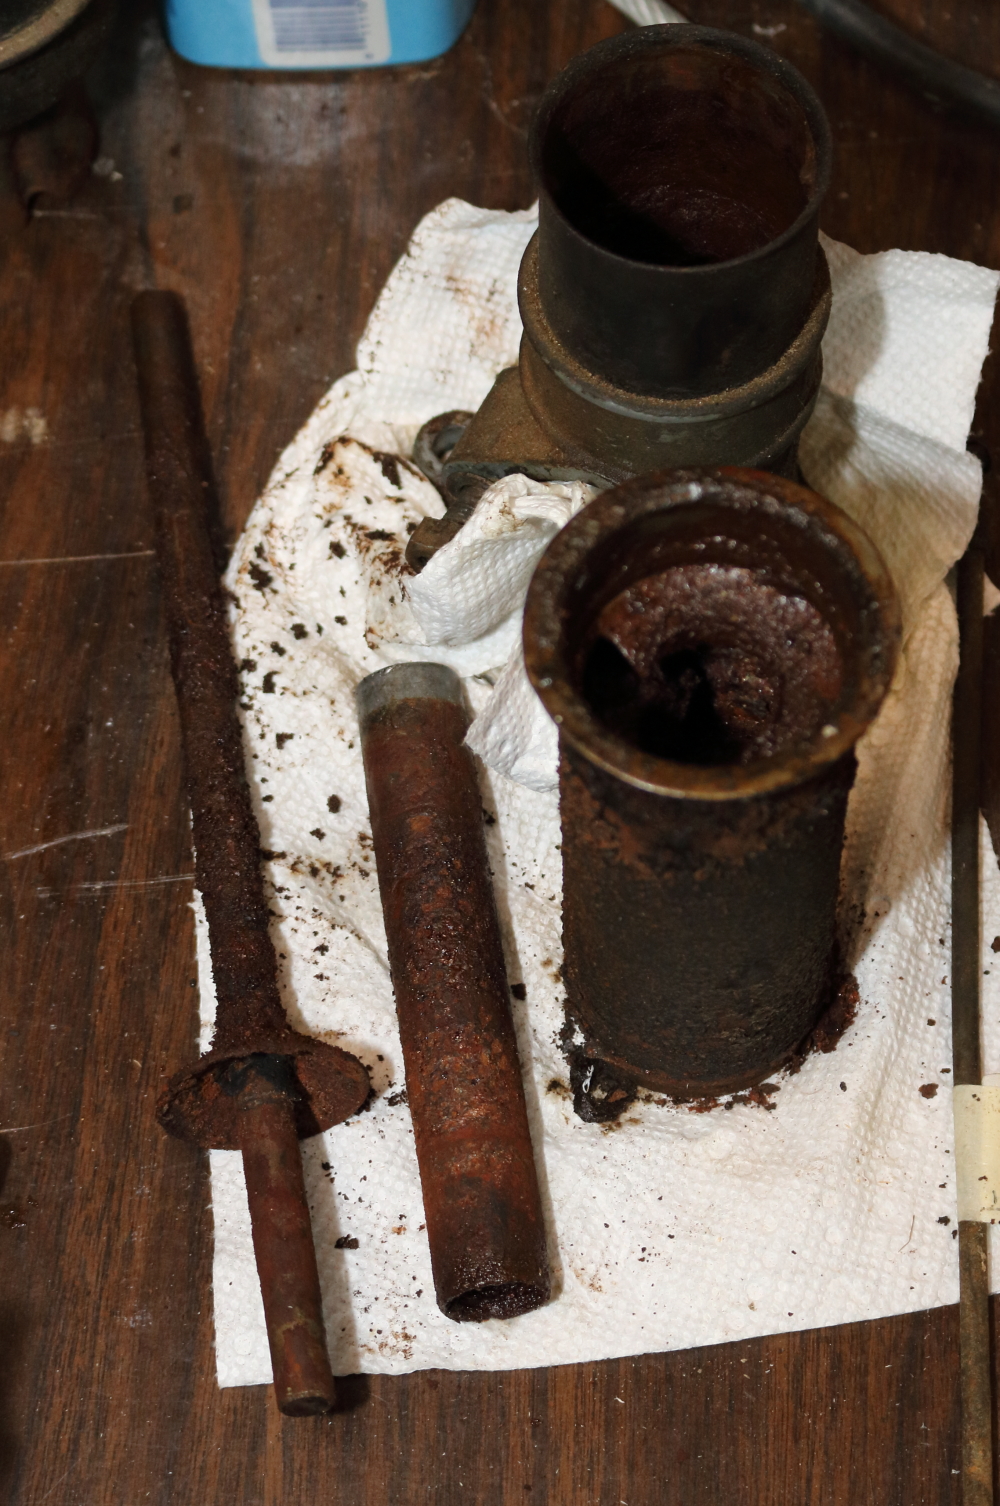
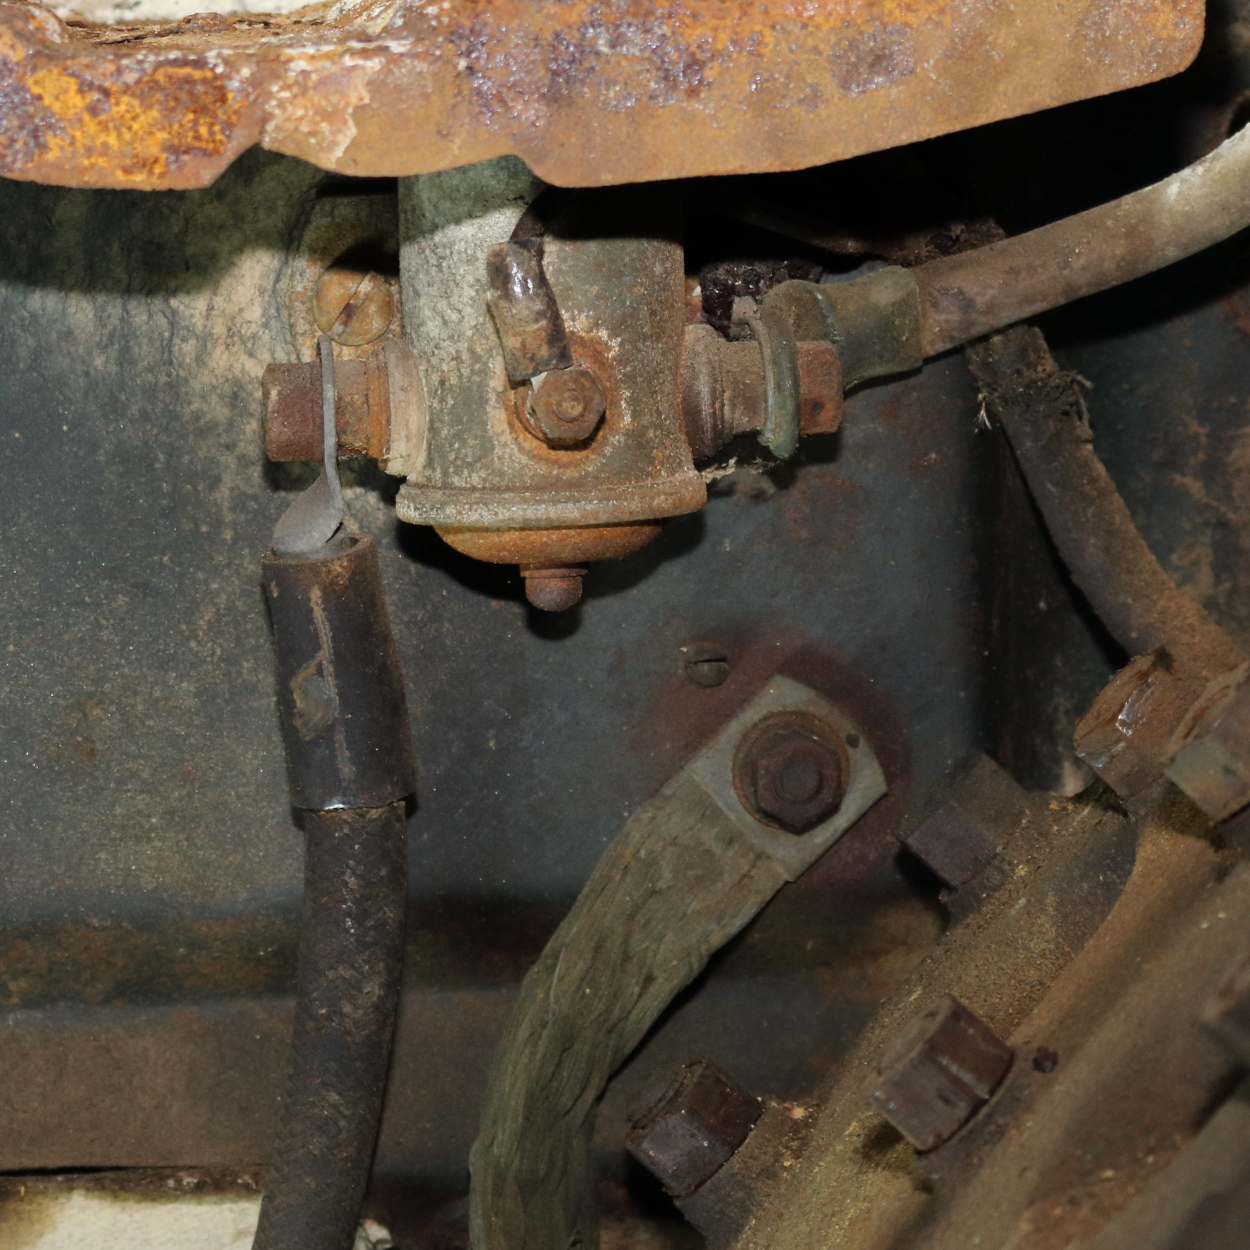
That night I removed the temperature sending probe, or I tried to… The nut came free, but the probe would not come out of the head no matter what I tried, so I sprayed it with some oil and moved on to removing the nuts from the studs.
Temp Probe
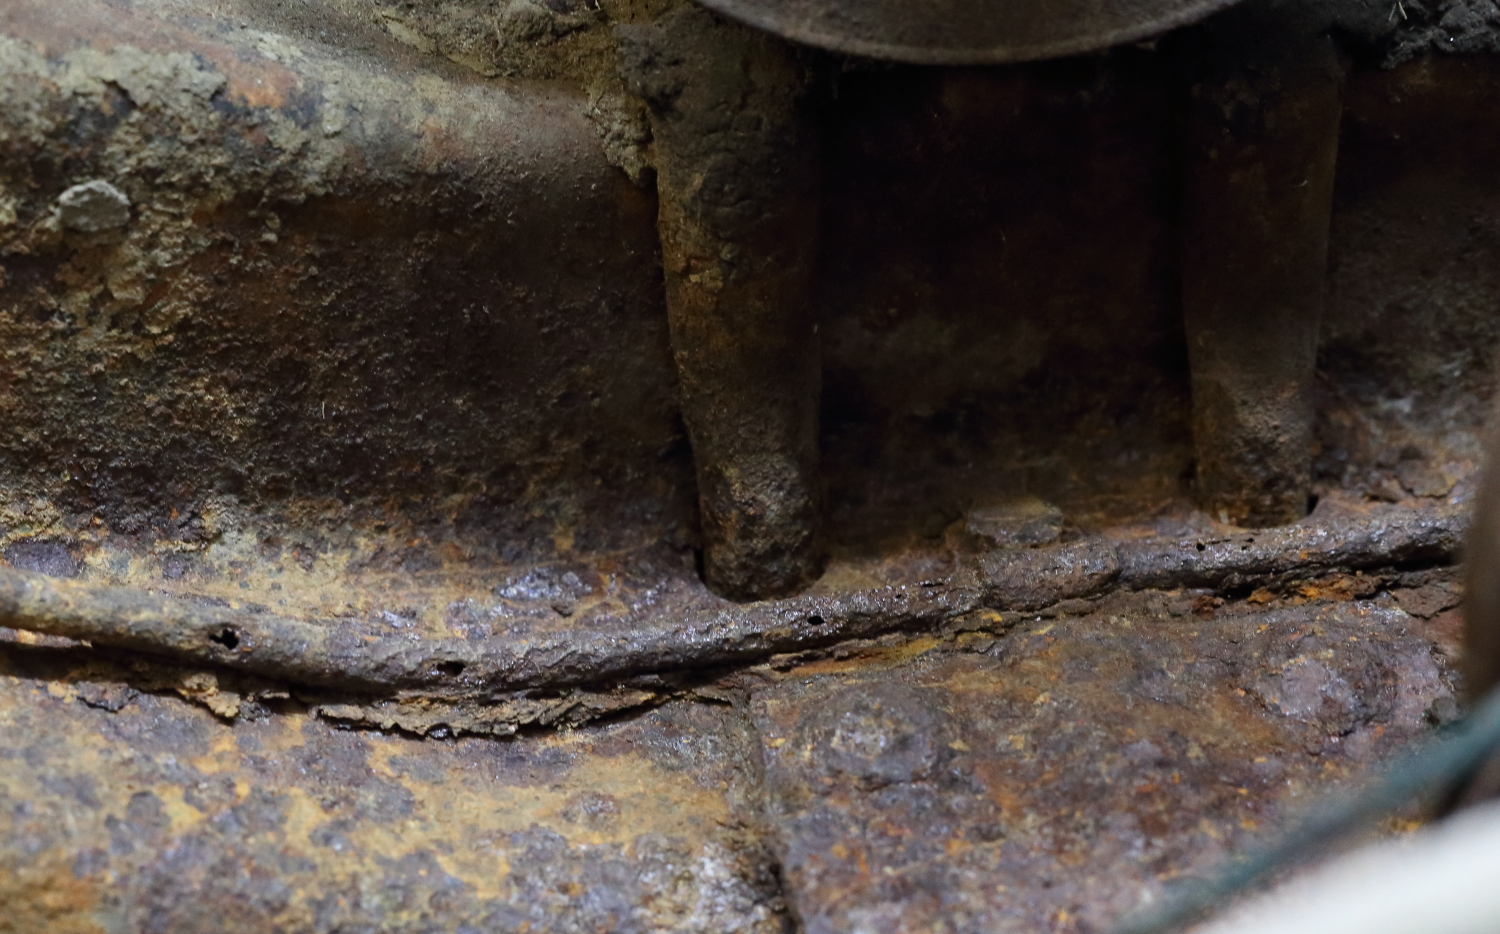
Once all the nuts were removed it came time to soak the studs in oil, and let them sit. I came back the next day and added more oil, gave it a couple whacks to see if it would loosen up, but no go yet and I didn’t have more time to really get into it.
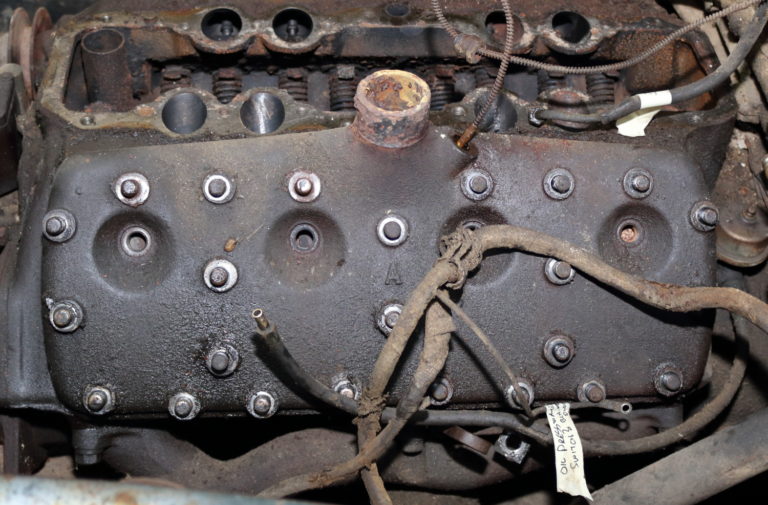
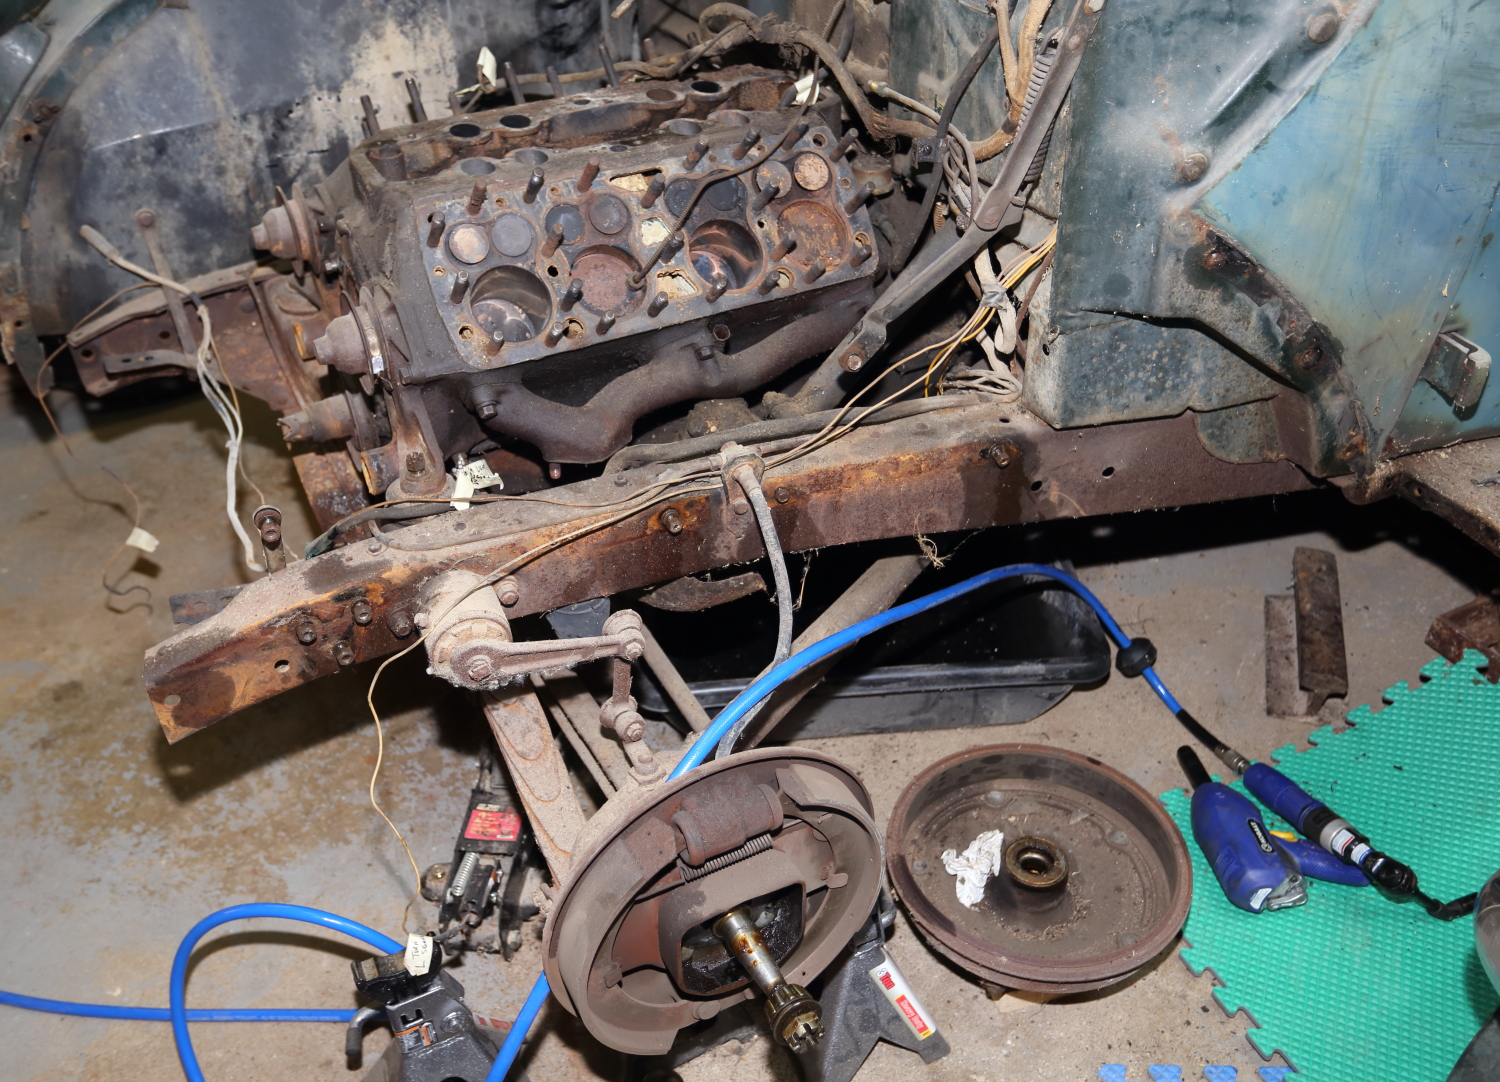
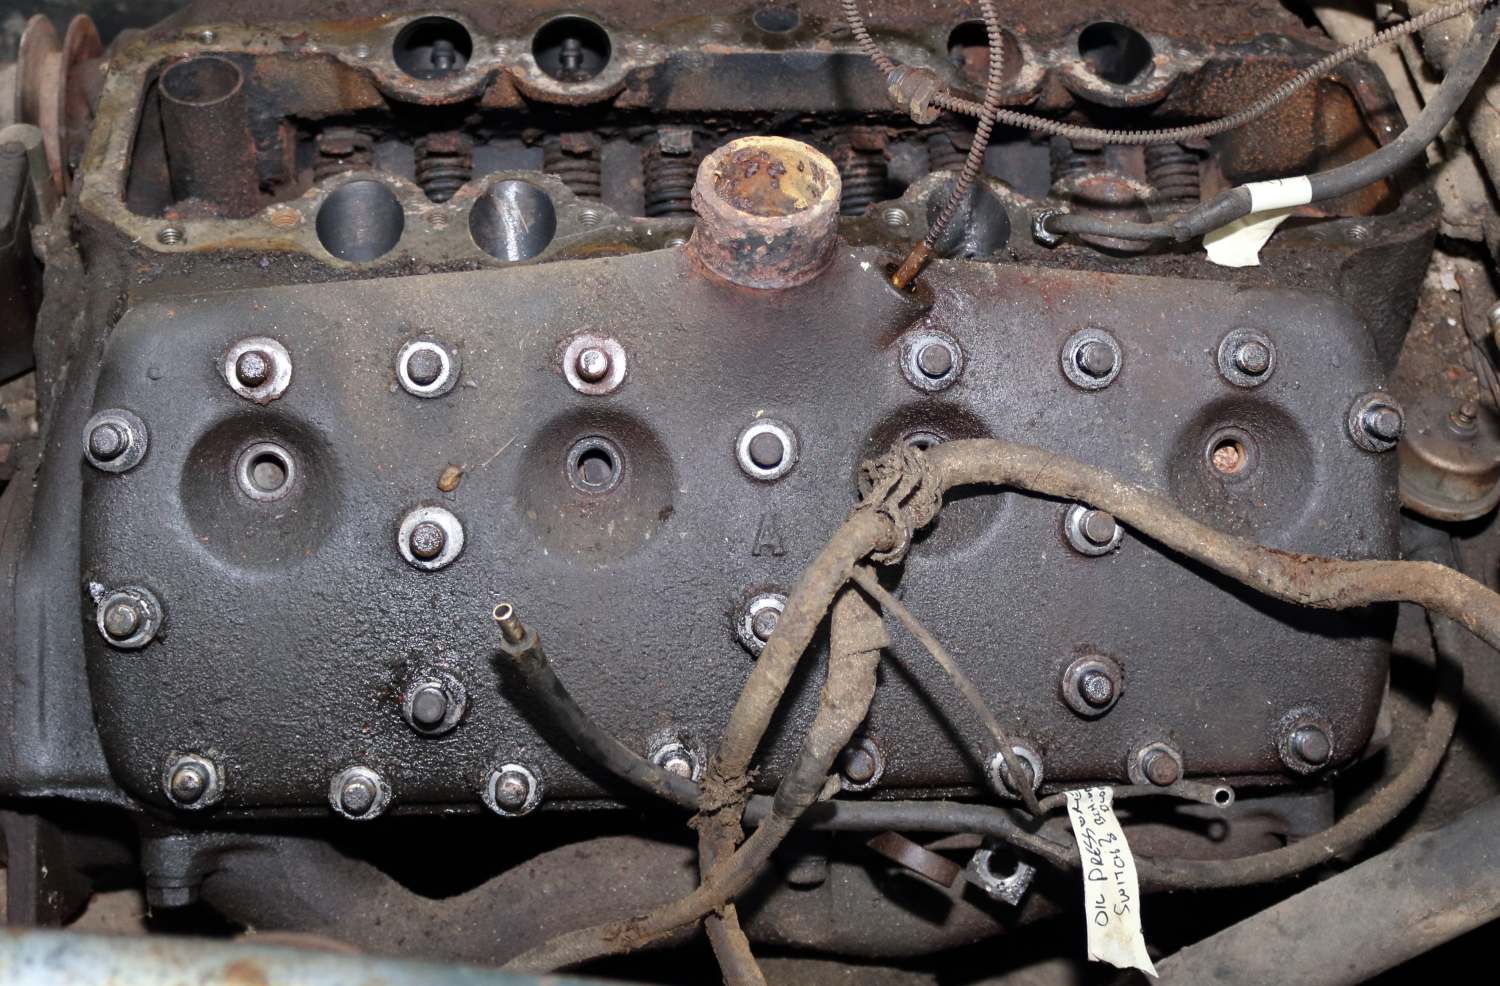
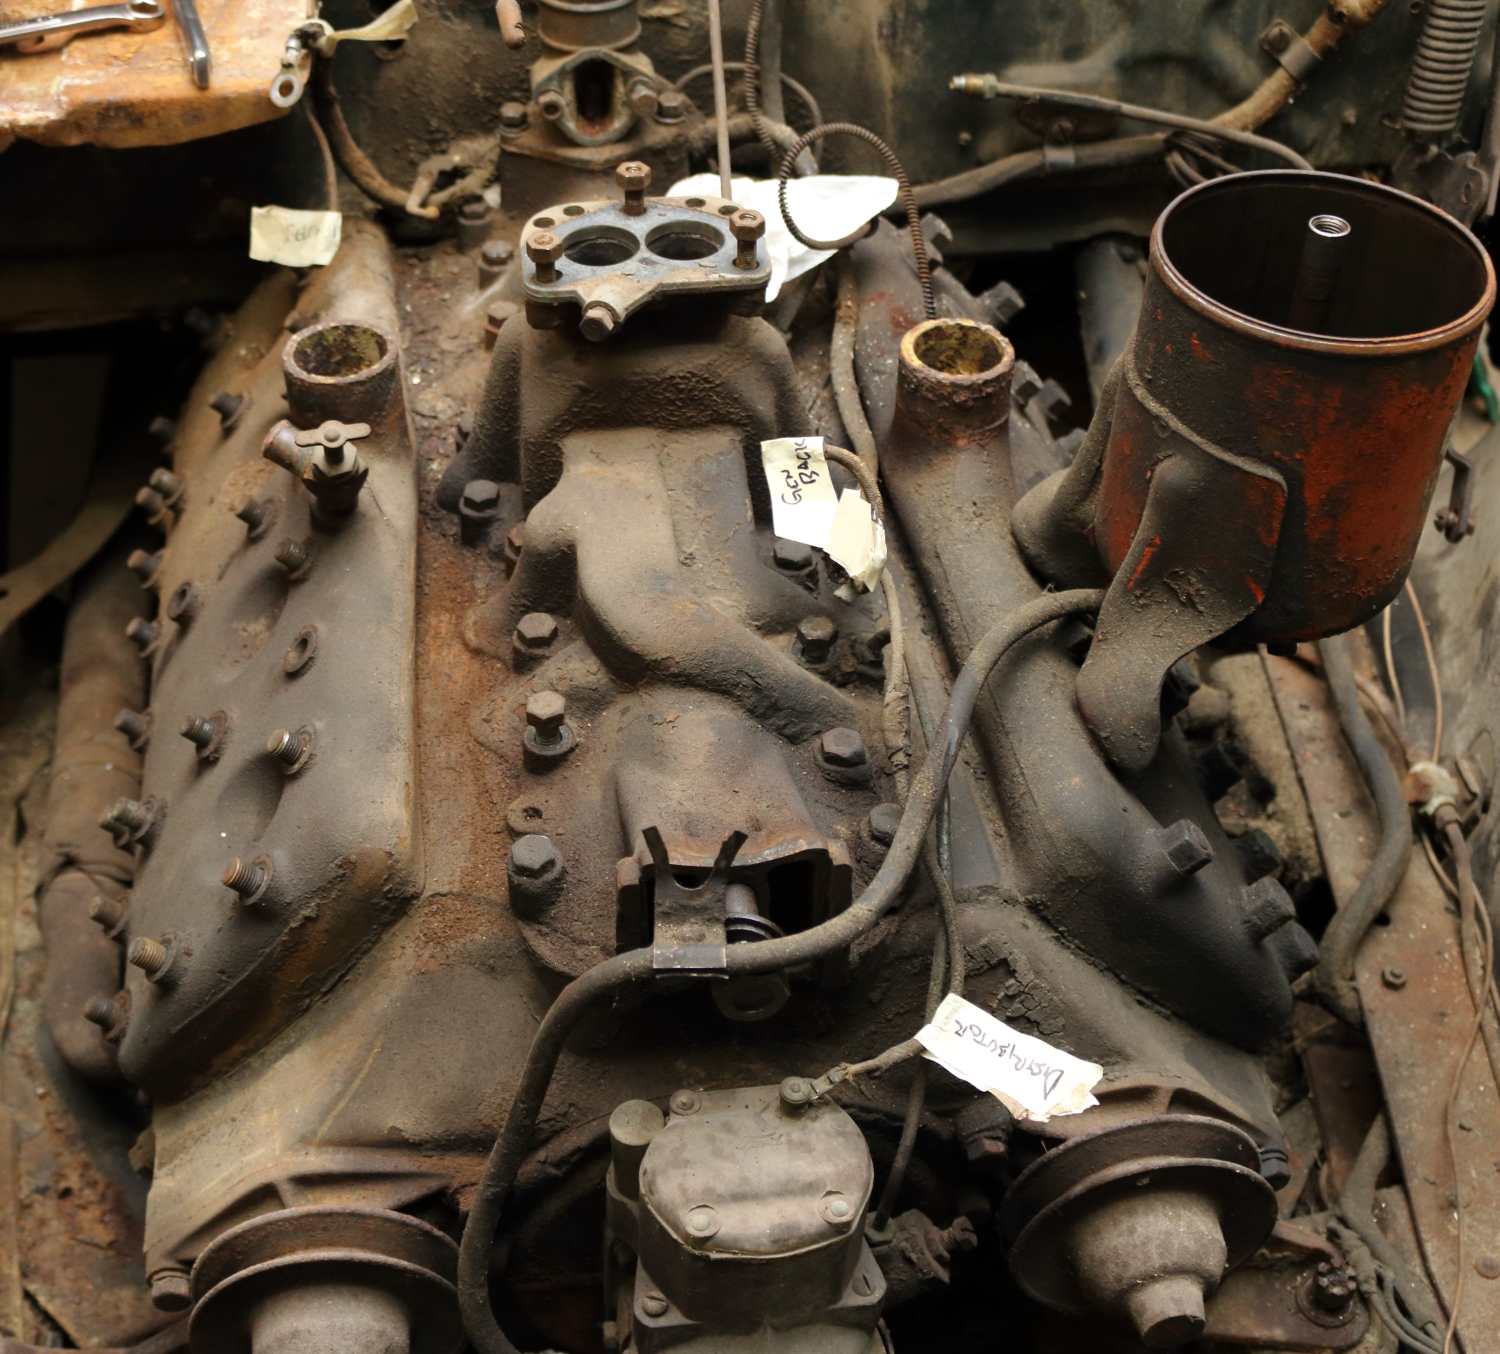
The driver’s side head
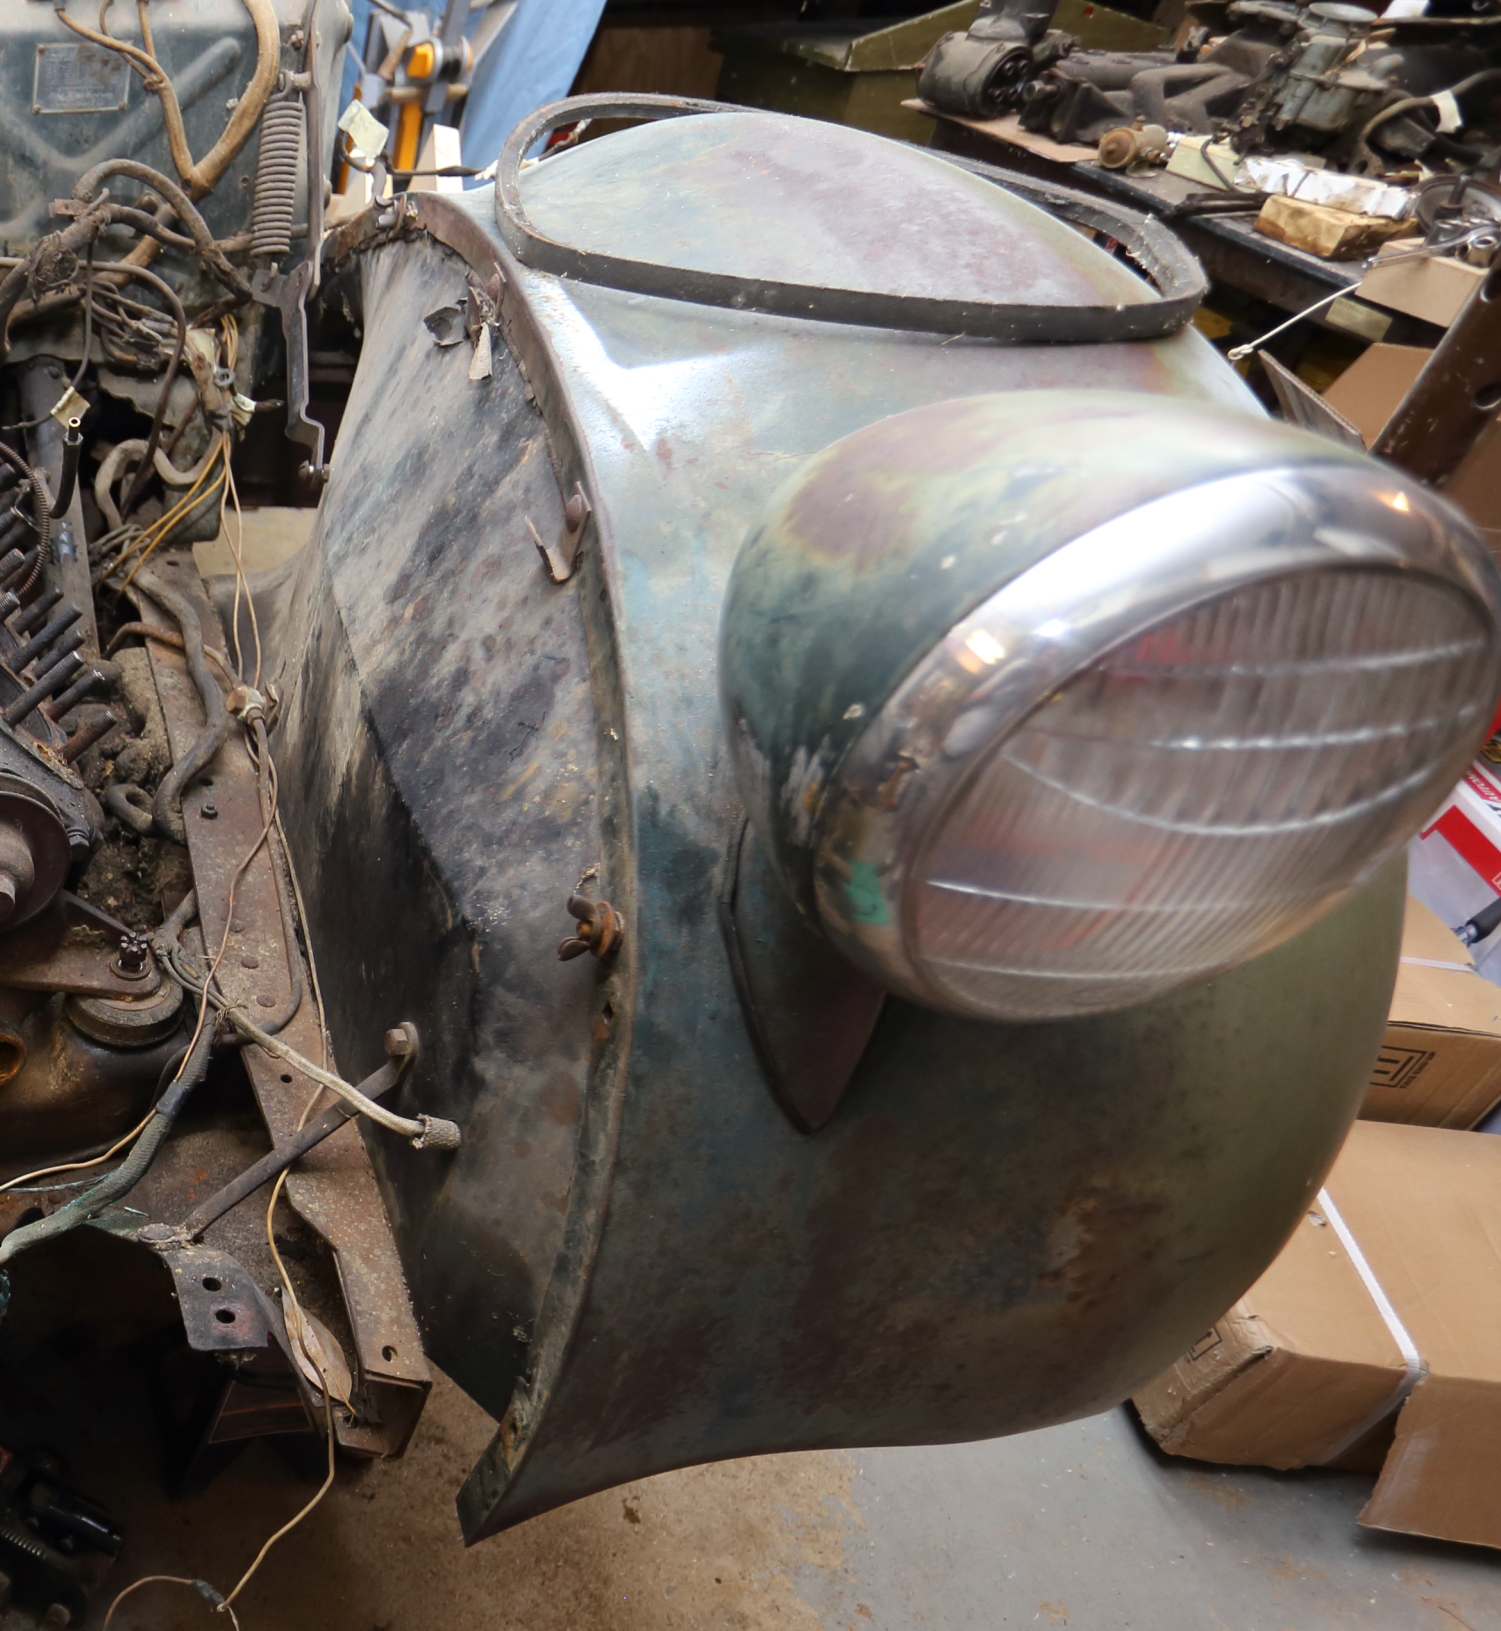
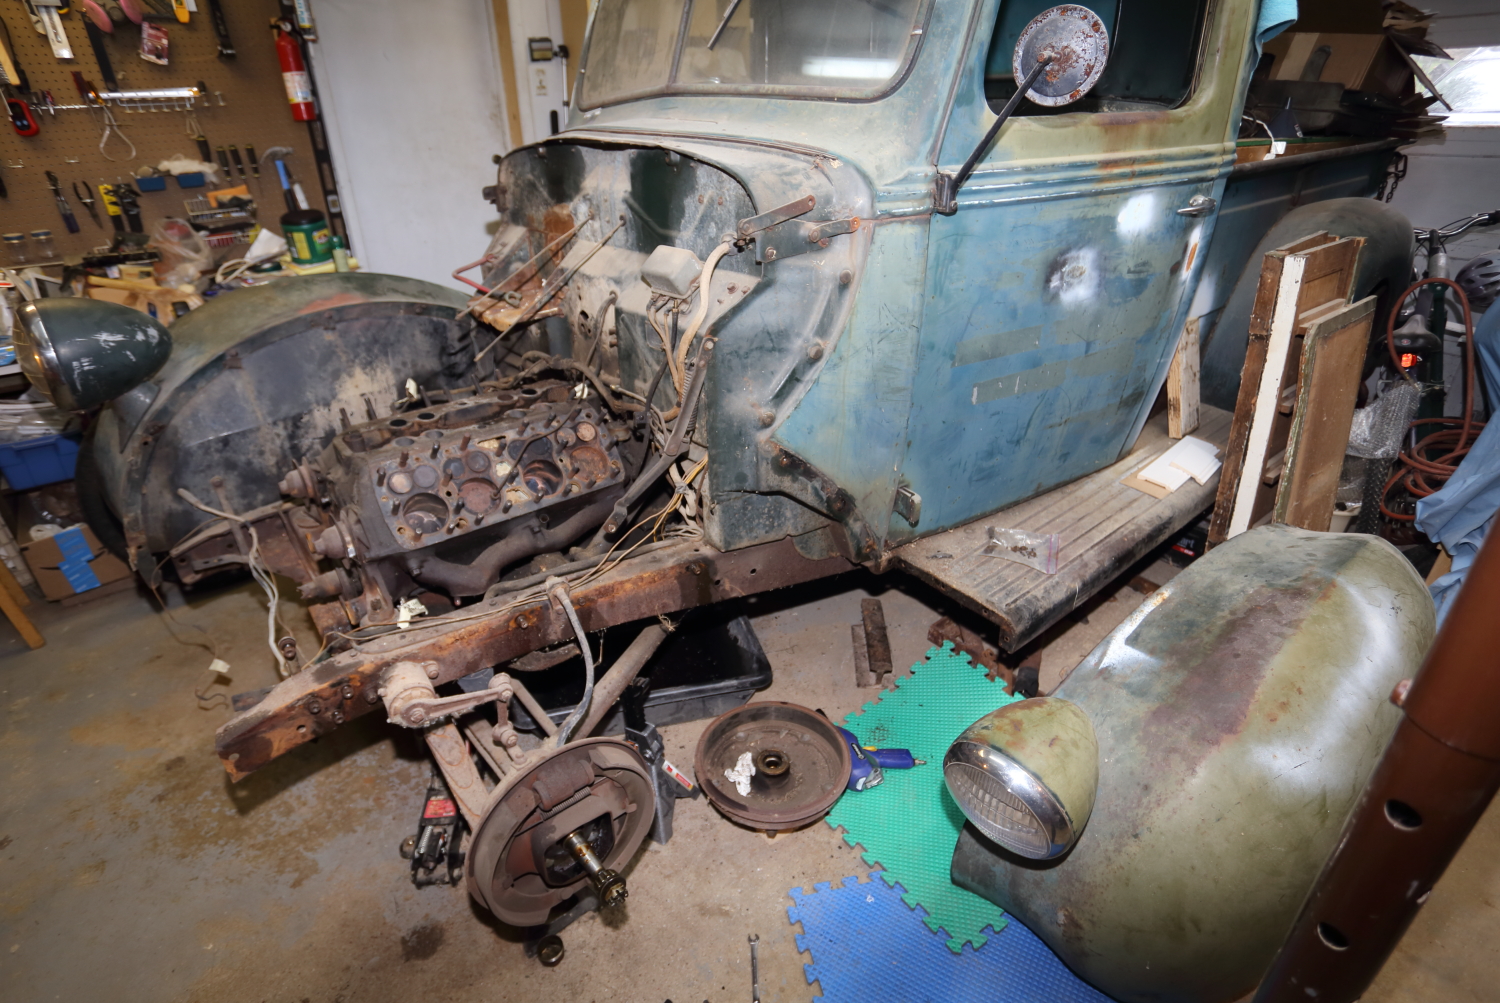
Friday I decided that removing the grill and towbar from the front was going to make working on the truck easier, and given I think I’ve made the commitment to pull the block and rebuild it from the bottom up, removing the nose was going to make that much easier. Of course, now I’ve decided I’m going to re-engineer my workshop to make room for rebuilding the block out of the truck. I removed the bolts holding the grill/nose on, only to realize I needed to remove the towbar first so the nose would clear the horn… it’s always something else. So I soaked the bolts holding the towbar to the frame in oil to make removing them easier the next day.
Saturday morning I went out determined to get the head off.
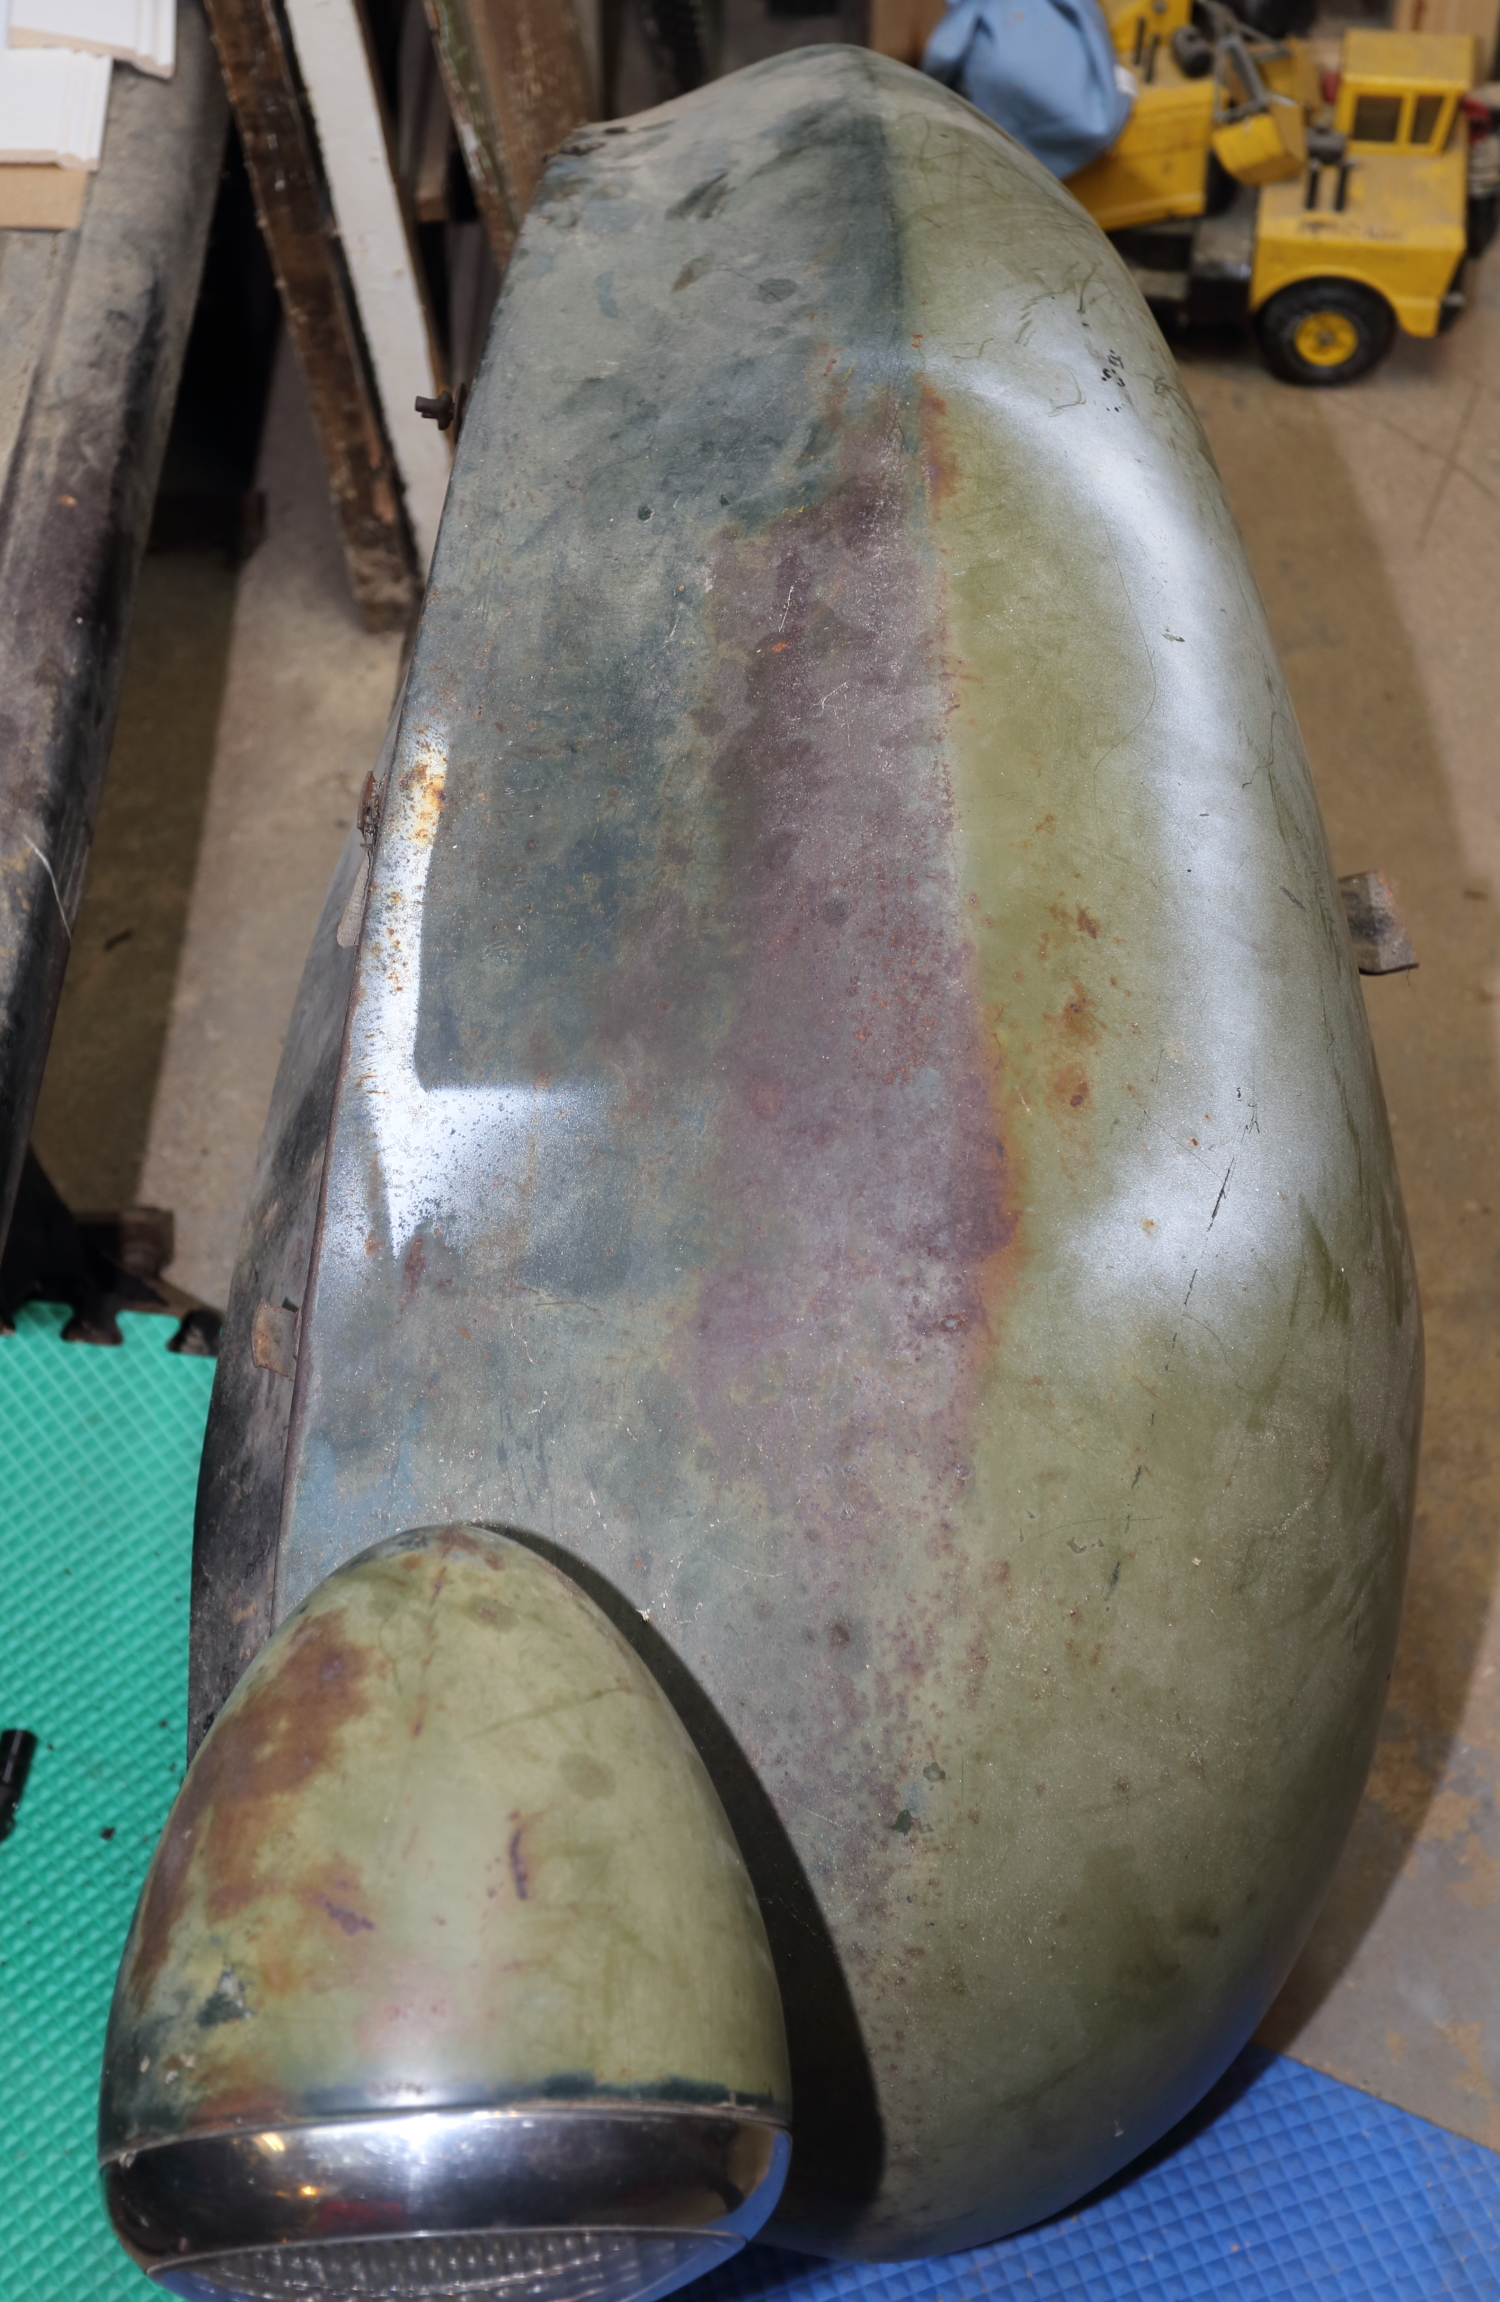
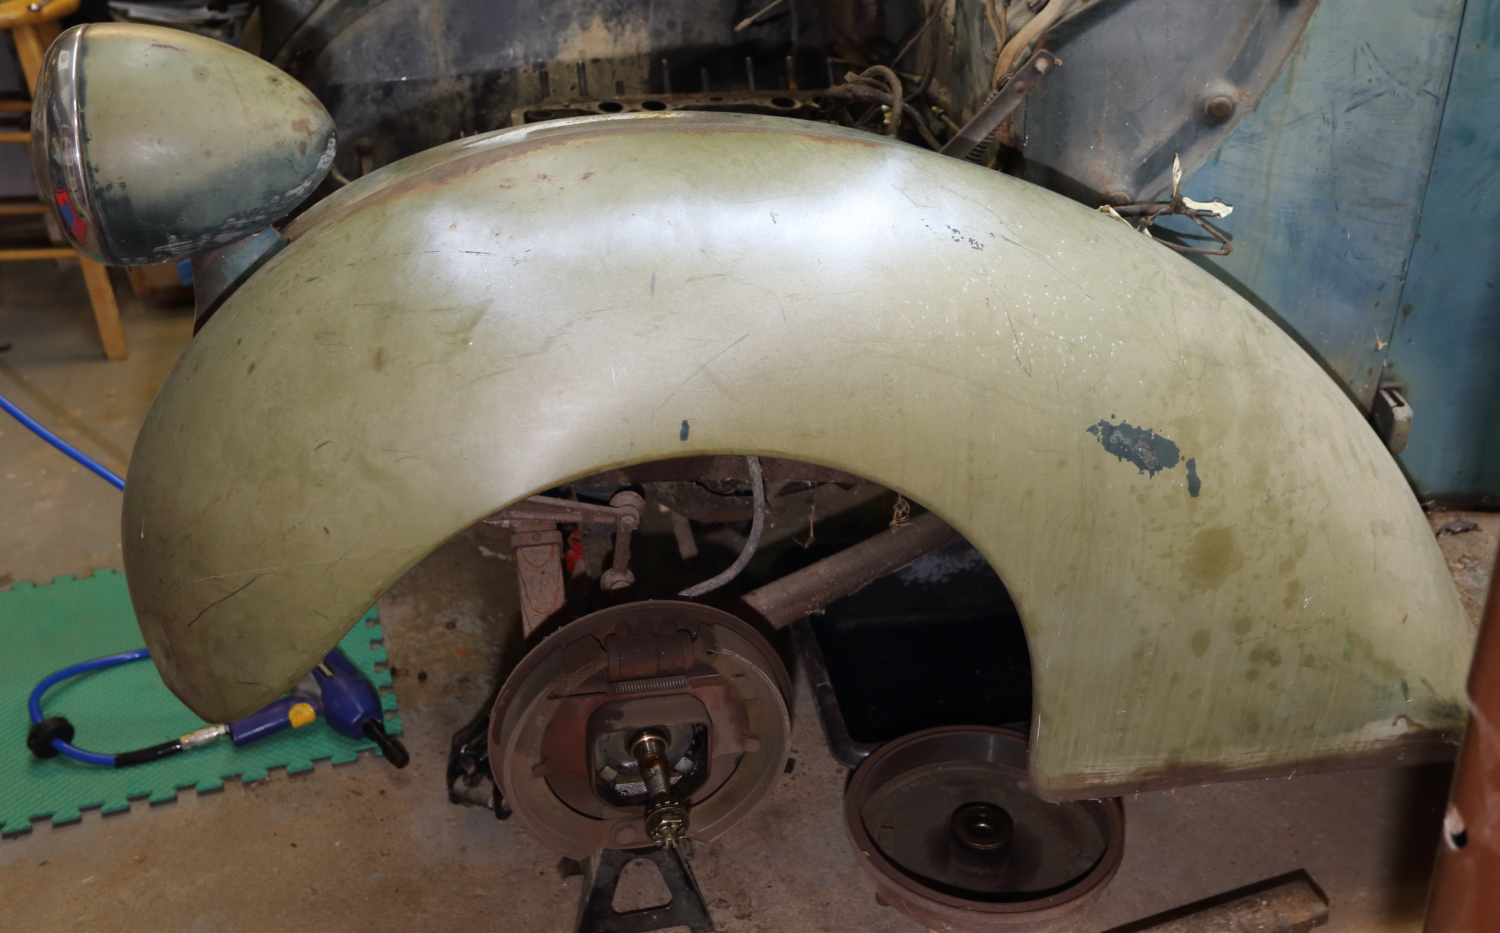
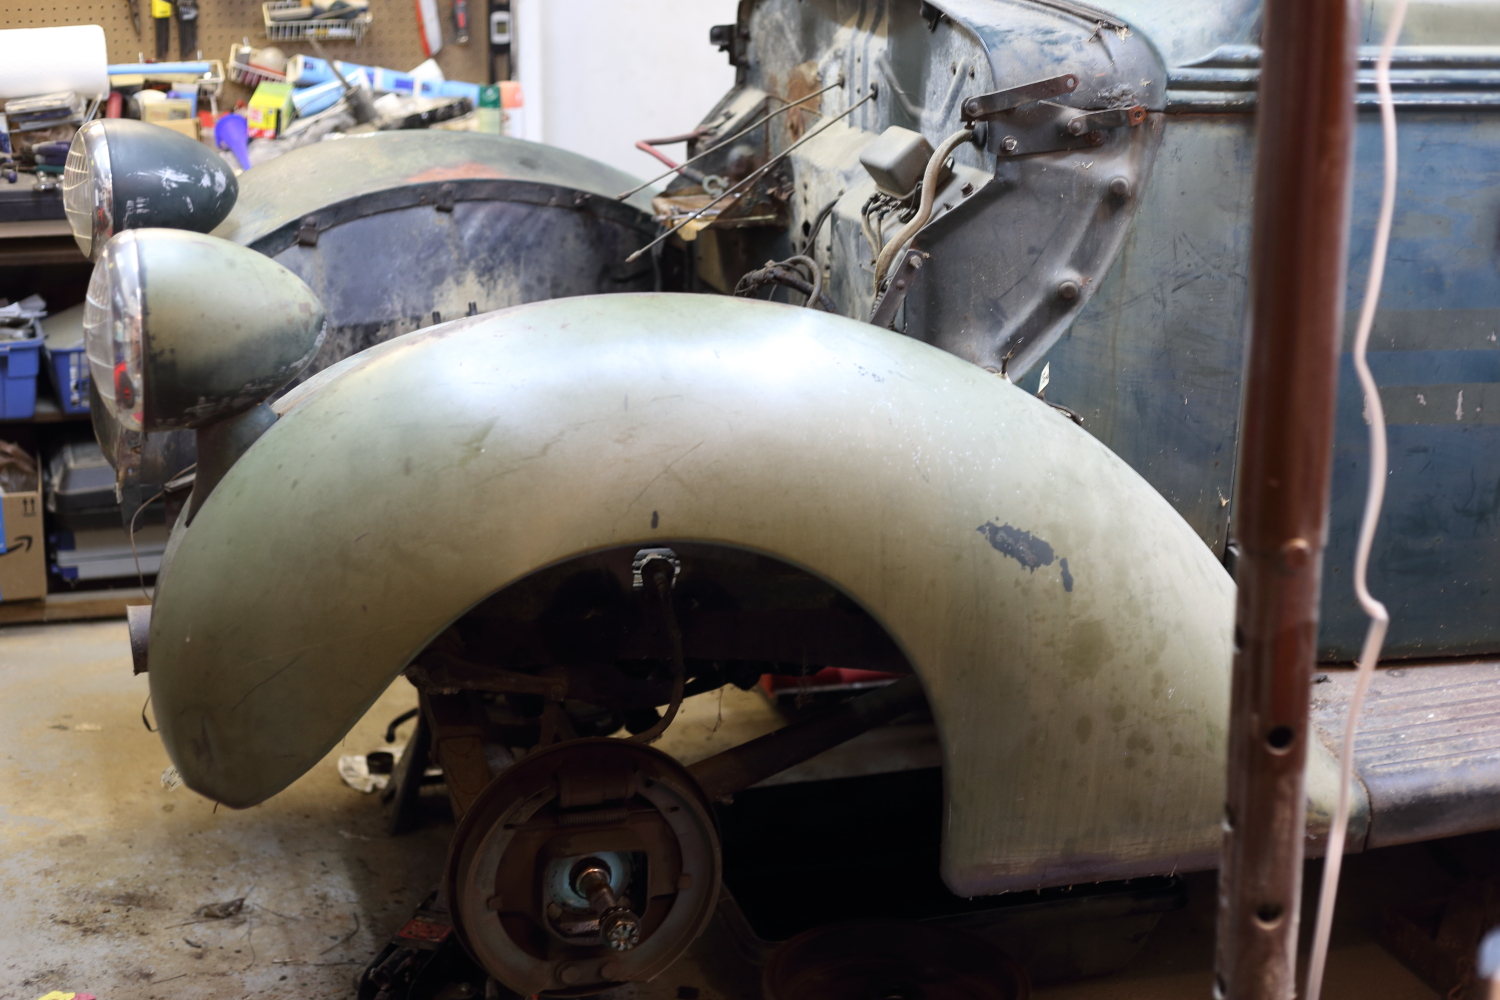
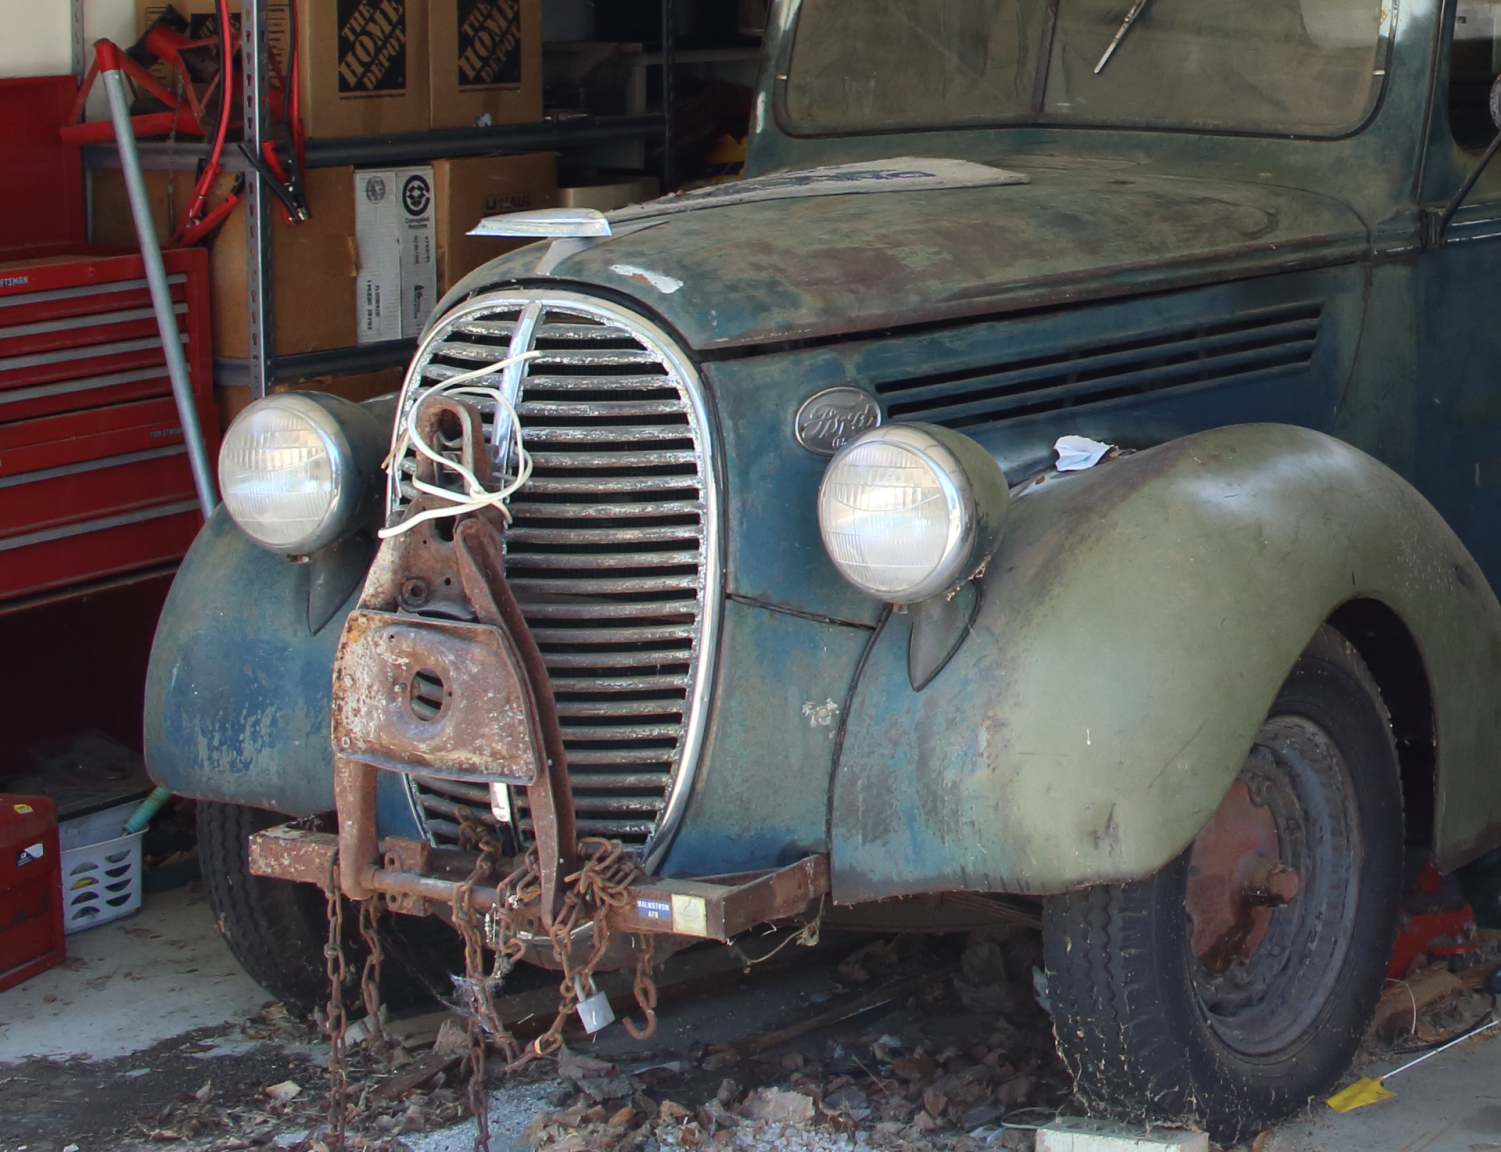
I started by removing the towbar and the nose/grill piece and the towbar. Dad’s truck has this beautiful nose, the grill is oval and bows out, and I think one of the most distinctive parts to the look and feel of the truck. Getting the grill/nose loose took some oil and elbow grease, the bolts for it are not all in the most convenient locations, but the towbar came off so easy I wondered if I was having a dream and I was going to wake up and realize I hadn’t started yet…

Nose and towbar
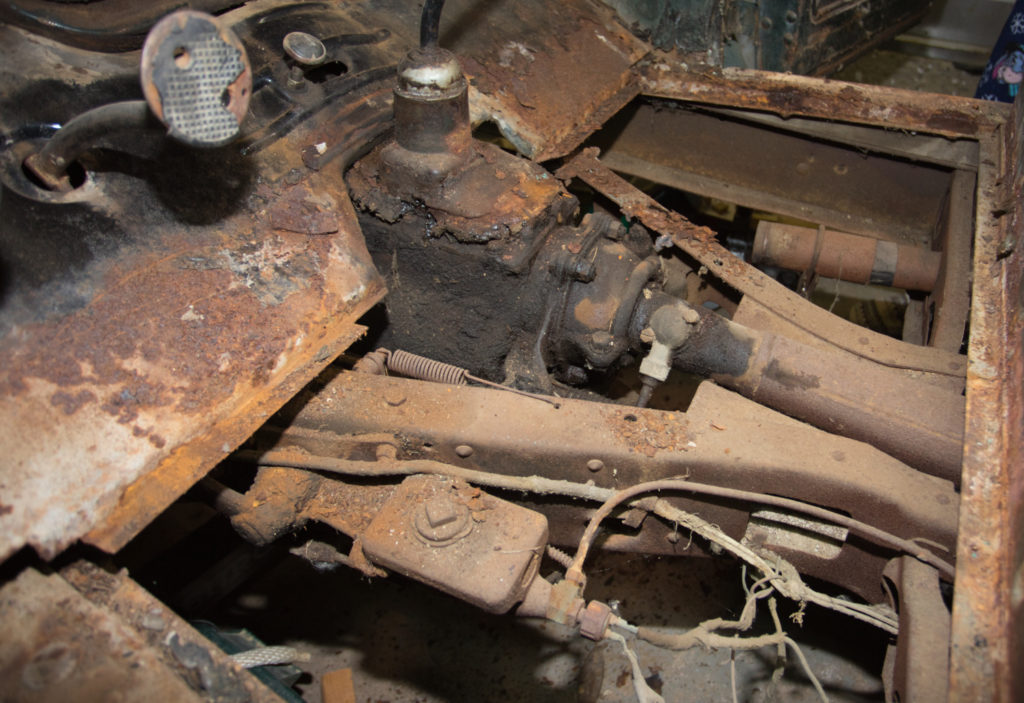
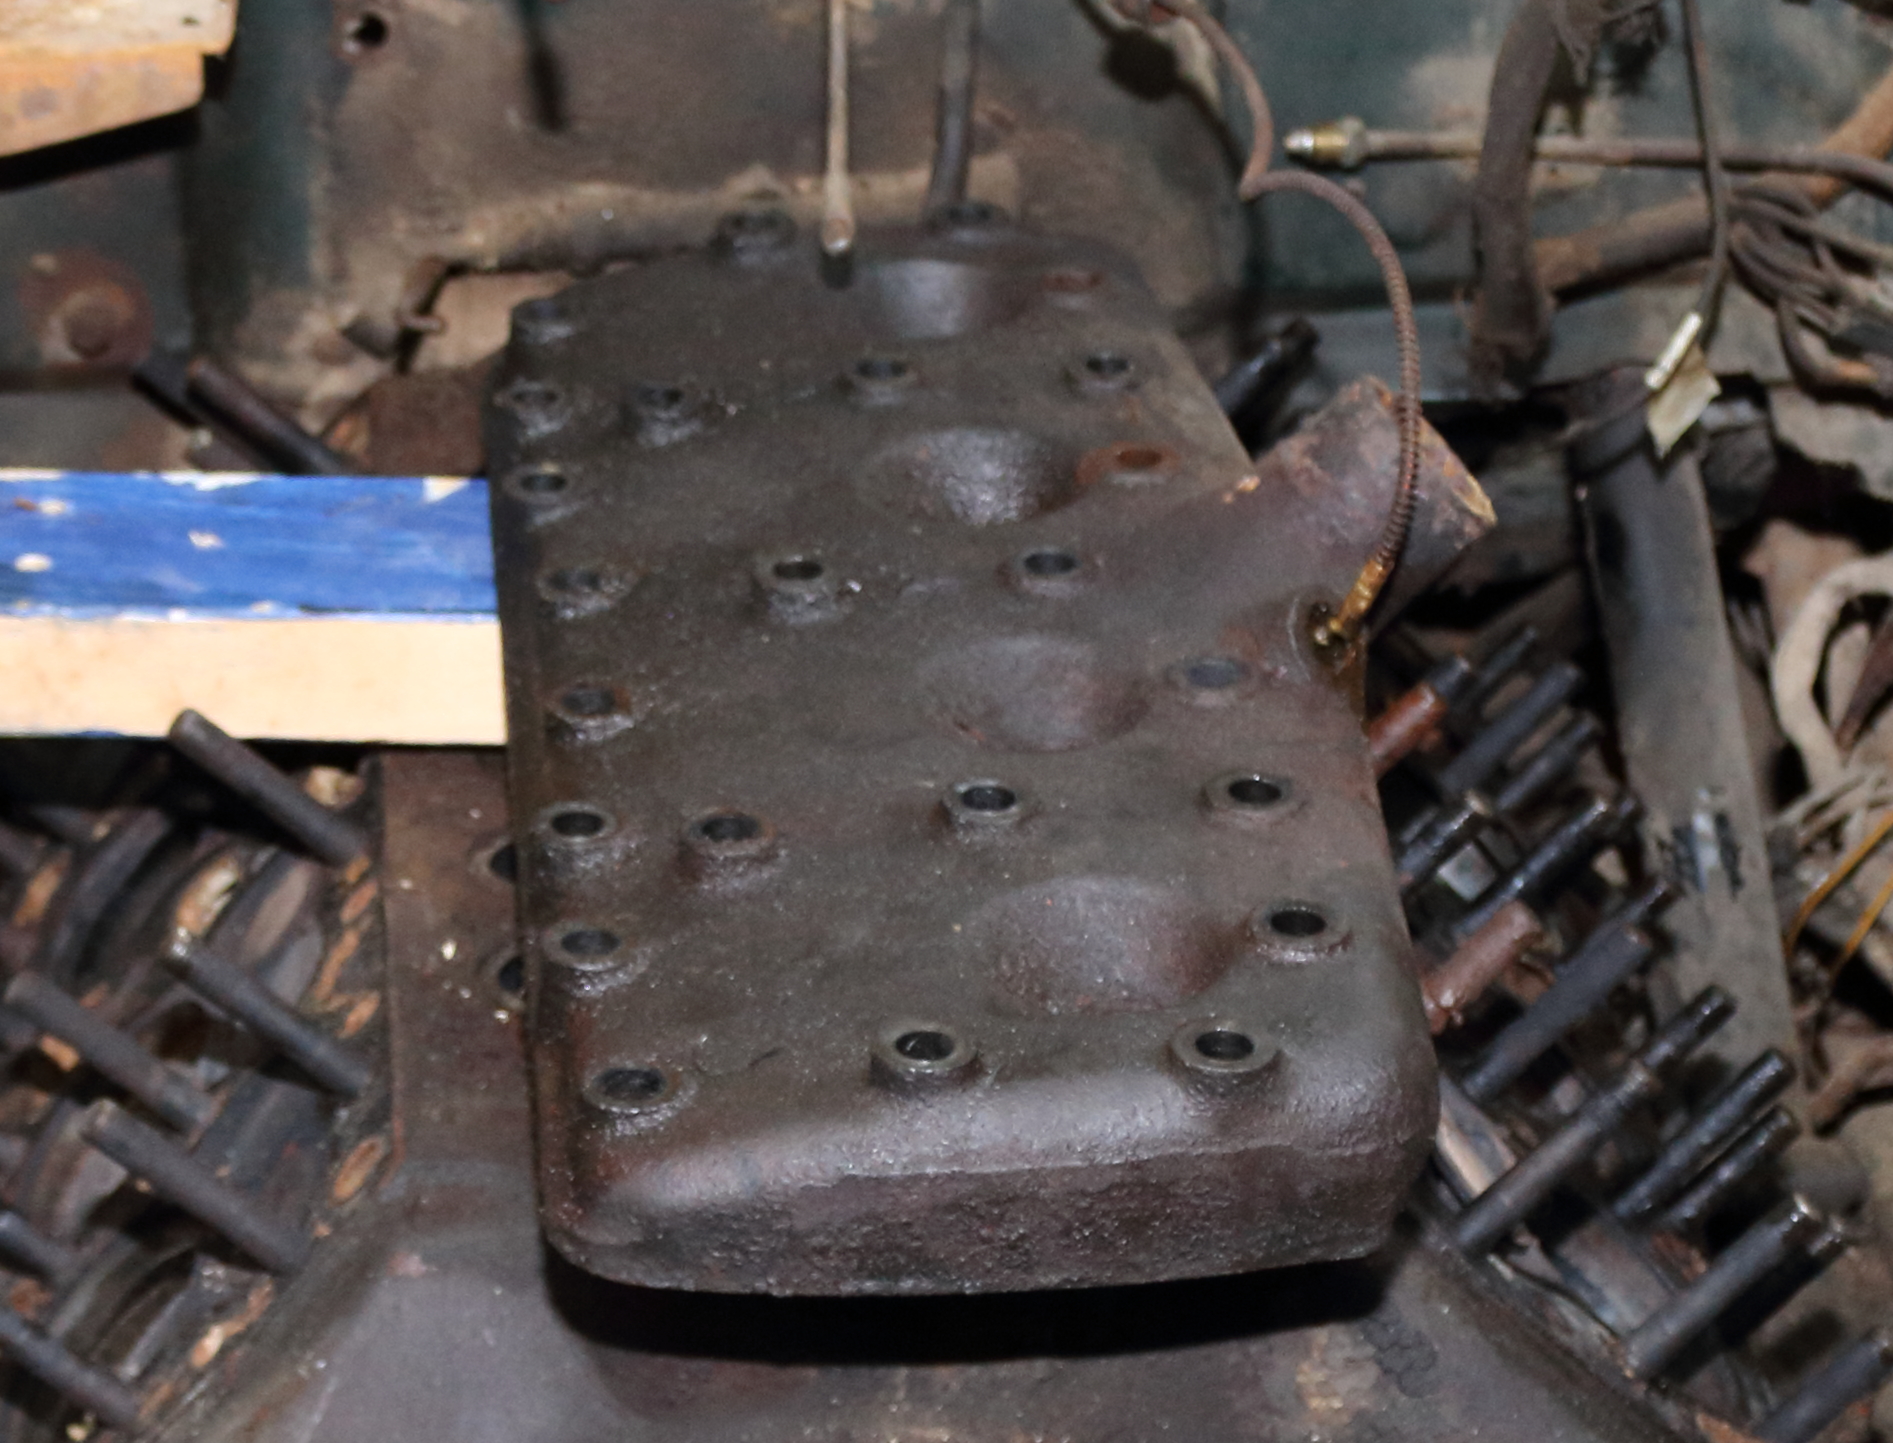
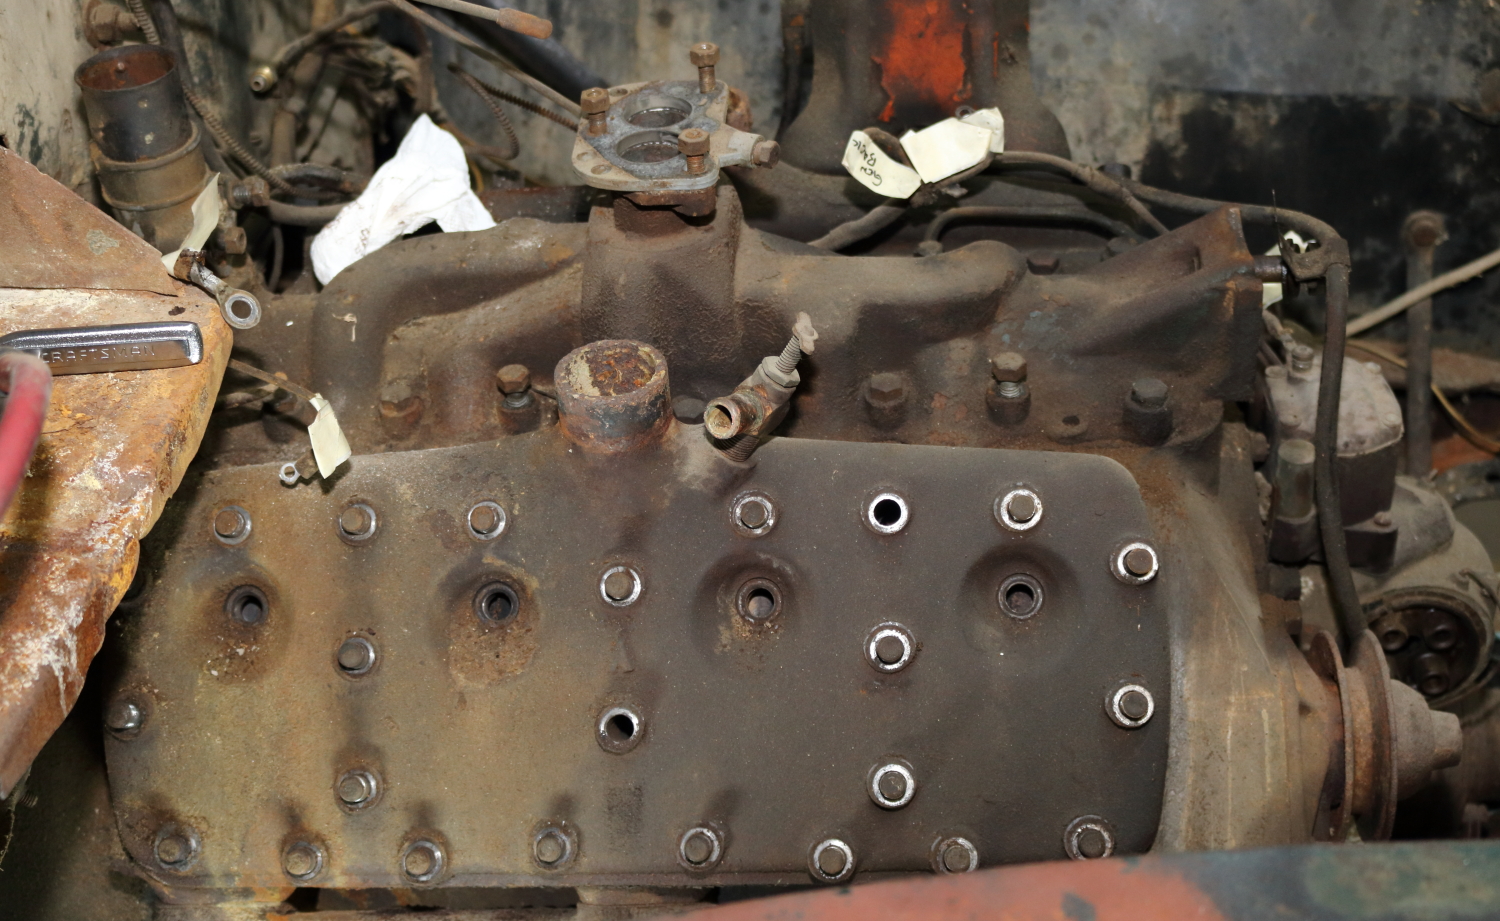
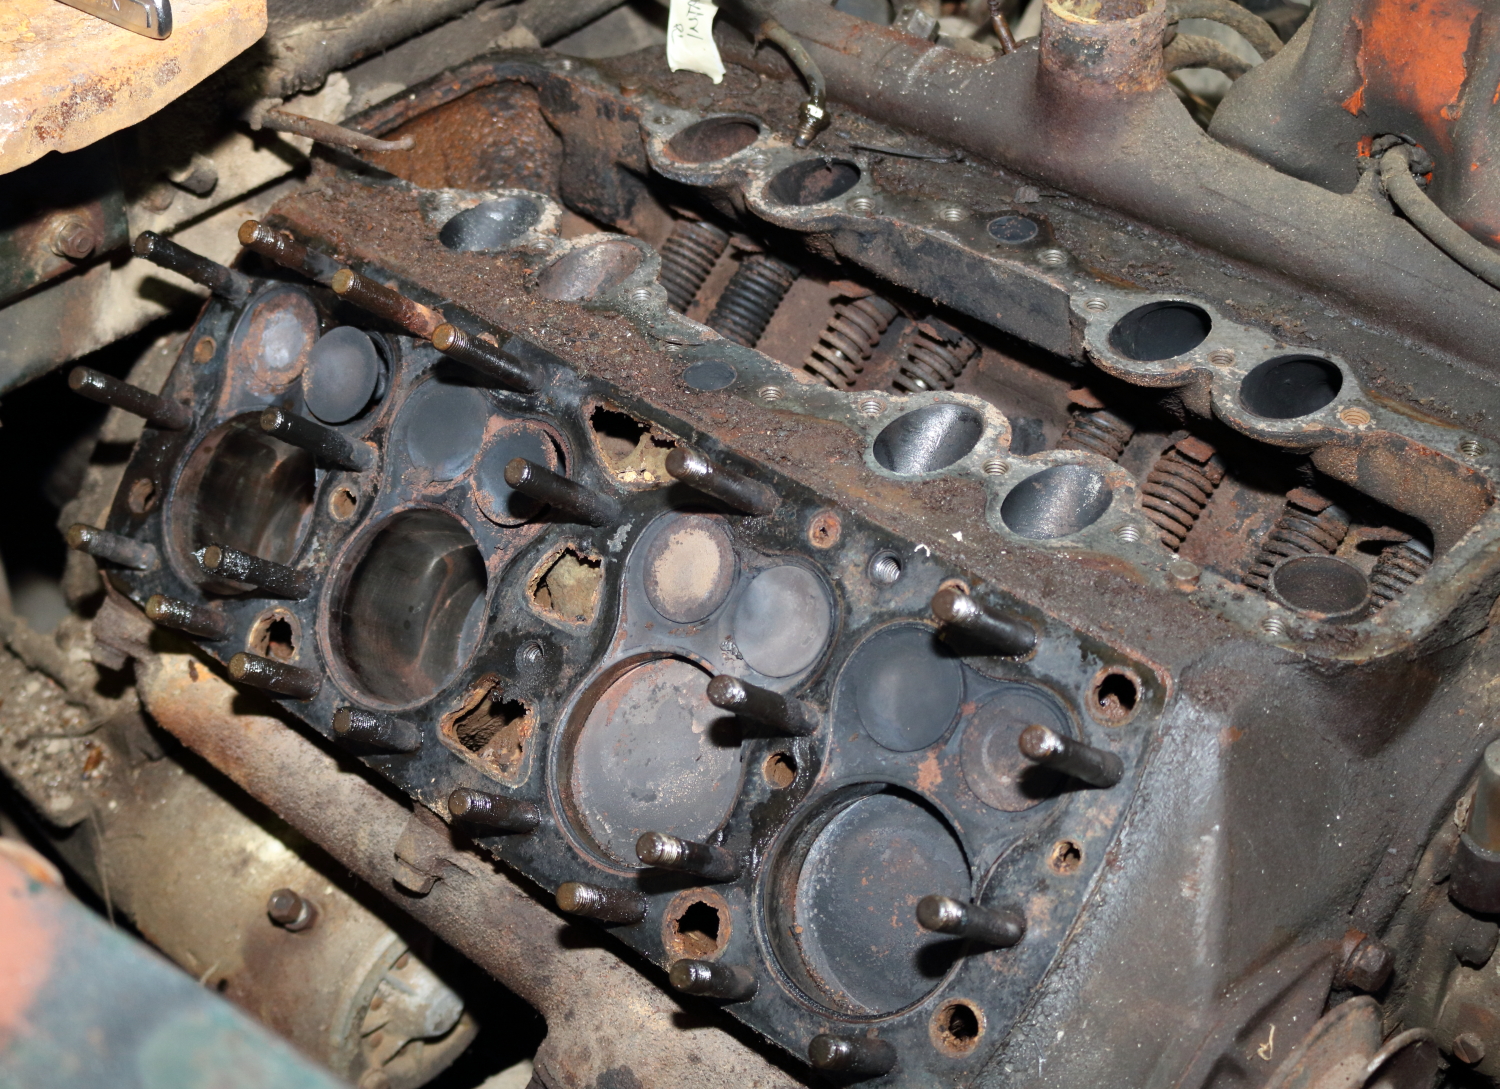
Then I started working on the head by adding some more oil to the studs, I cleared all around where the head and block met, then I started tapping around the head using a 2X4 and rubber mallet, then moved to a little heavier hammer. 🙂 Once the head broker free it was just a matter of working it slowly from all sides. I used the trick with the plastic floor space/wedges again and once I had it loose I worked it off the studs. I had one stud that was obviously causing a problem, but eventually it gave up the fight. I set the head on some 2X4’s on the top of the block to continue to work on removing the temperature sending probe.

The head laying on top of the block
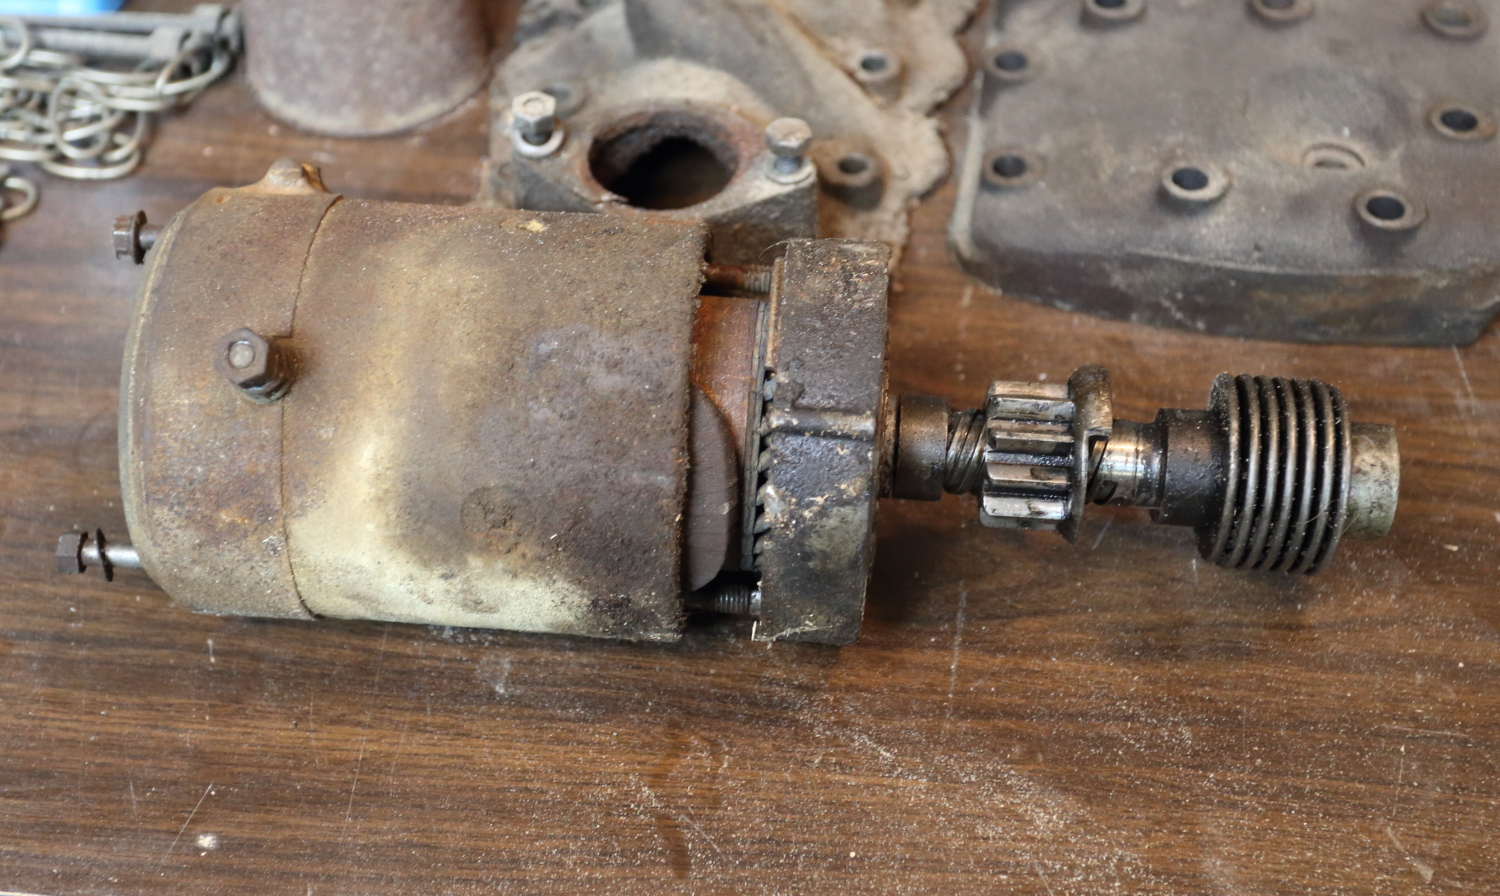
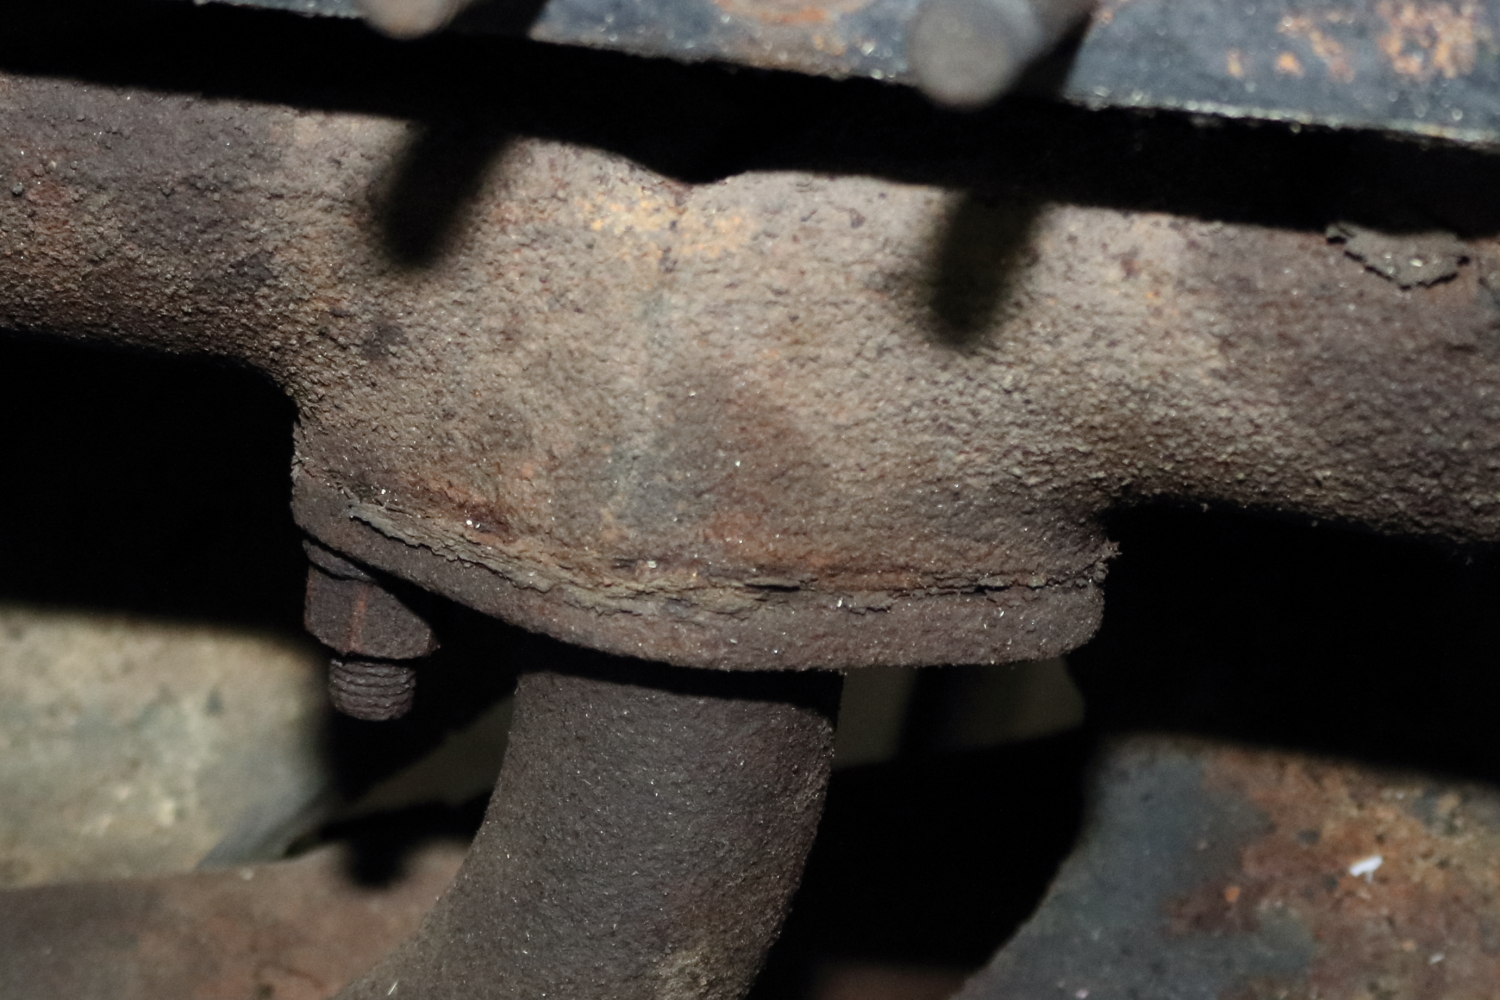
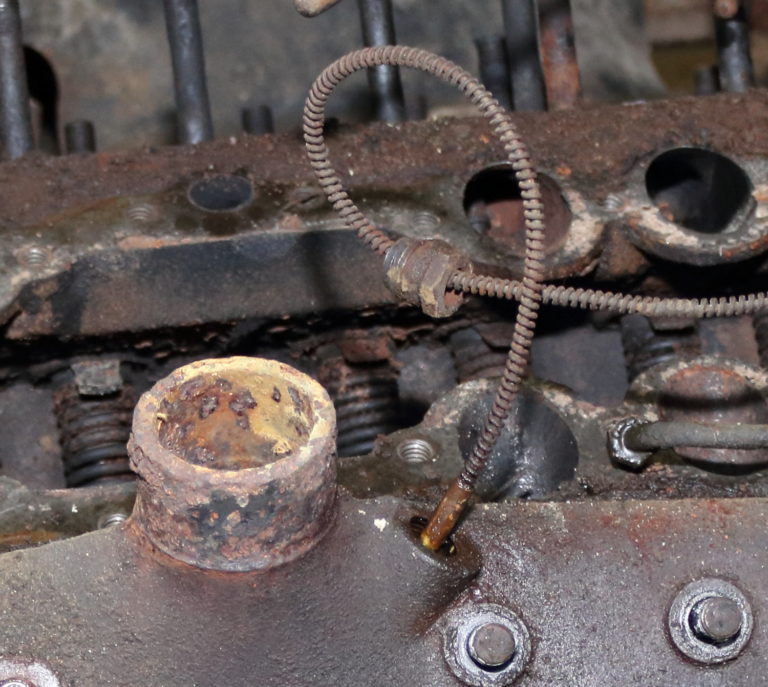
I did stop to do some research, my new books came in handy, and of course consulting the Great Google… Unfortunately nothing magic appeared, so I decided to try using a little heat to loosen the temp prob, after all it’s the head, it gets hot. I’m not sure I actually got all of the probe out, the wire broke during some part of the struggle, I think the probe may have separated and left the casing in the head, that may take some more work, but it will get fixed if so. I’ll do some more research and get something ordered. I feel bad, this is the first thing that has “broken” and it looks like that is not a cheap part. 🙁

Temperature sending unit
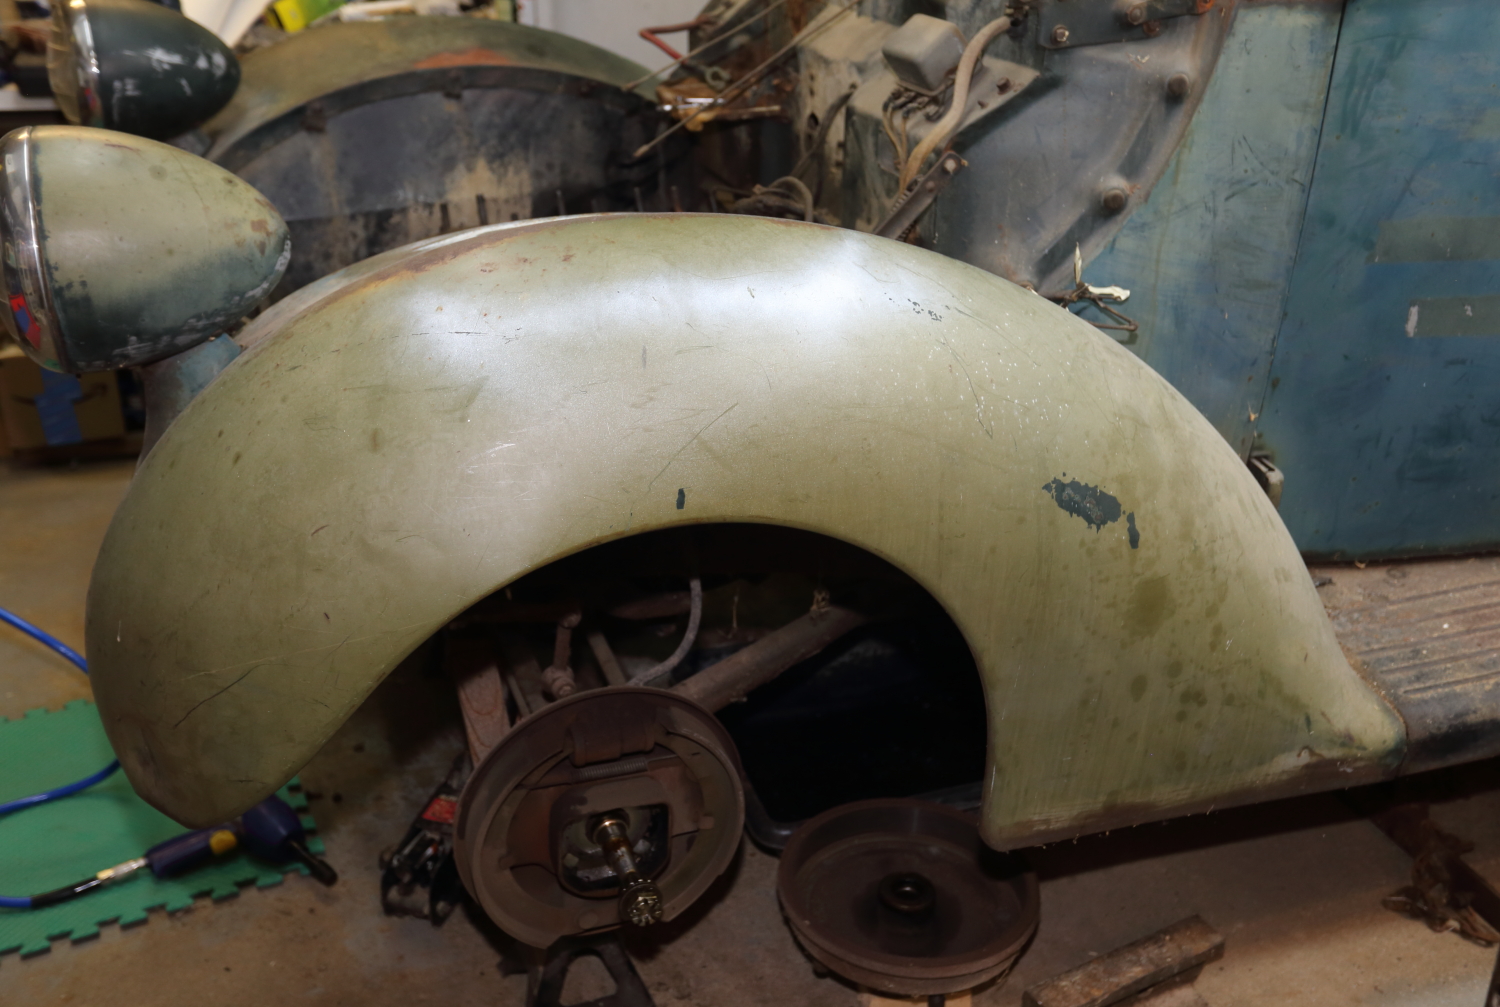
I also decided to take the front tires off, I already know I’m going to need to rebuild the brake system. Something was dragging when we moved the truck over here, hopefully all it is is the brake shoes and not something internal, axle, something…
But I won’t know until I get the drums off, so the first step is take off the tires. Since the truck is on jack stands already the hard work was done. Once I had the tires removed, I loosened the caps covering the castle nuts, but I decided these are probably different enough from the drum brakes I am used to that I was going to do a little light reading before I keep going.
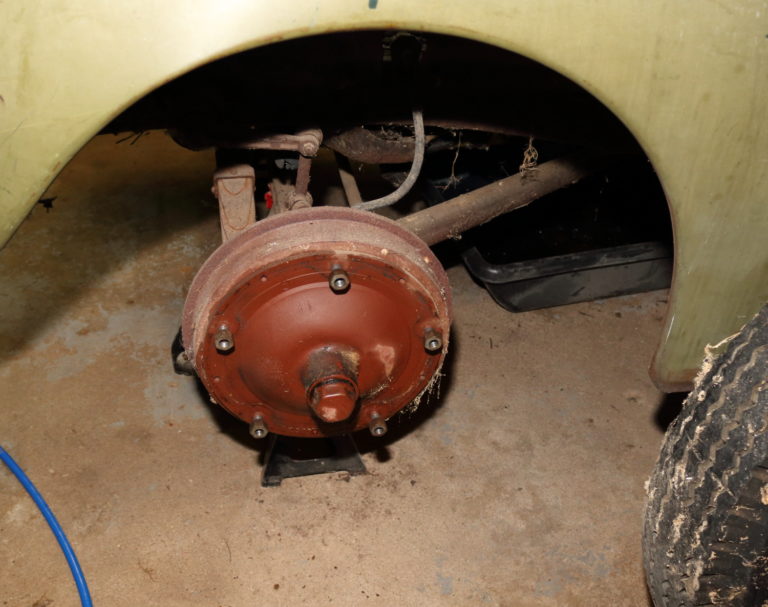
The first Tire is off