Making progress
Over the Father’s Day weekend I made good progress. My wife was gracious enough to let me spend most of Father’s Day in the garage. 🙂
I started by climbing under the truck and pulling the drain plug on the transmission. Interesting, what appeared to be water or very thin oil came out first, followed by thicker oil more like the gear oil I expected. So, more research is in order there, I’m not sure how water could get into the transmission. Apparently in Ford tractors there is a way for water to get into the transmission if left outside, but I’m not sure our Ford truck has spent enough time where it would get rained on for it to be able to drip into the transmission via the shifter or top end. We’ll have to see what I can figure out.
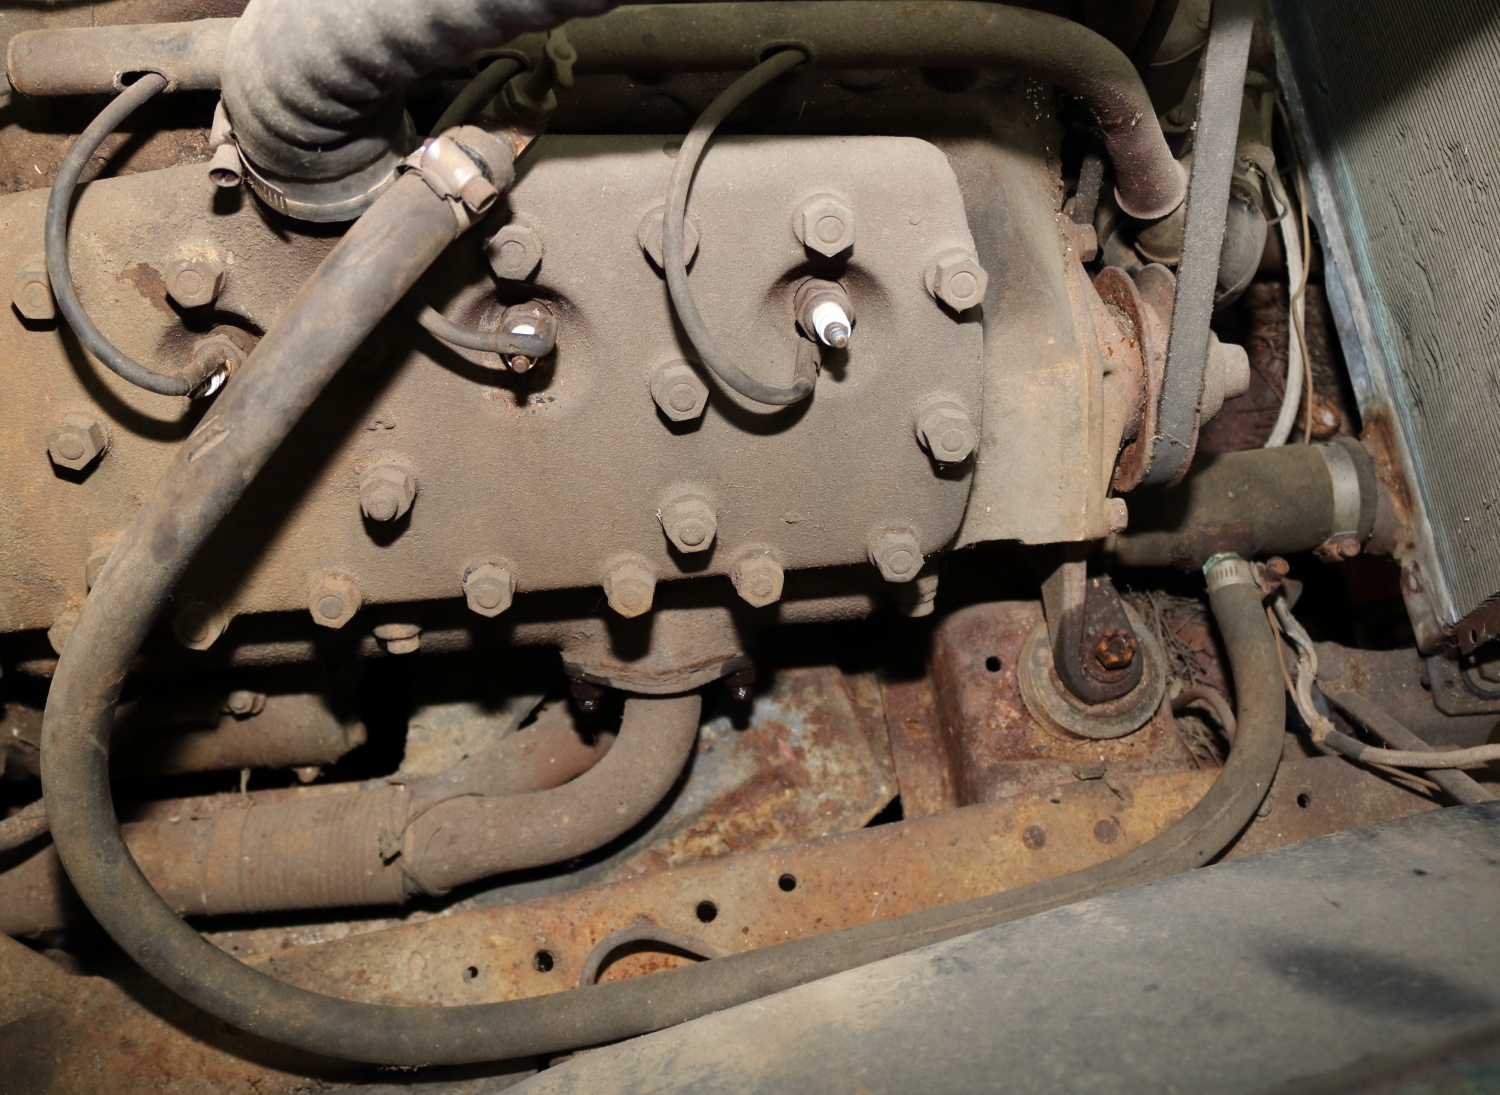
On the learning front, even though I “saw” four hoses, I never realized that the Ford’s cooling system actually is split into two sides. With a water pump on each side and intake to the block and outflow on each side of the block to the radiator. On Butch’s truck, there is also a heater bypass hose, as there was no heating system in the truck itself, I’m guessing because it was a farm truck, but I still have to research that.
I opened the petcocks on both sides of the radiator. One side was totally dry, the other dripped slowly, so I was guessing there was actually some liquid still in the system.
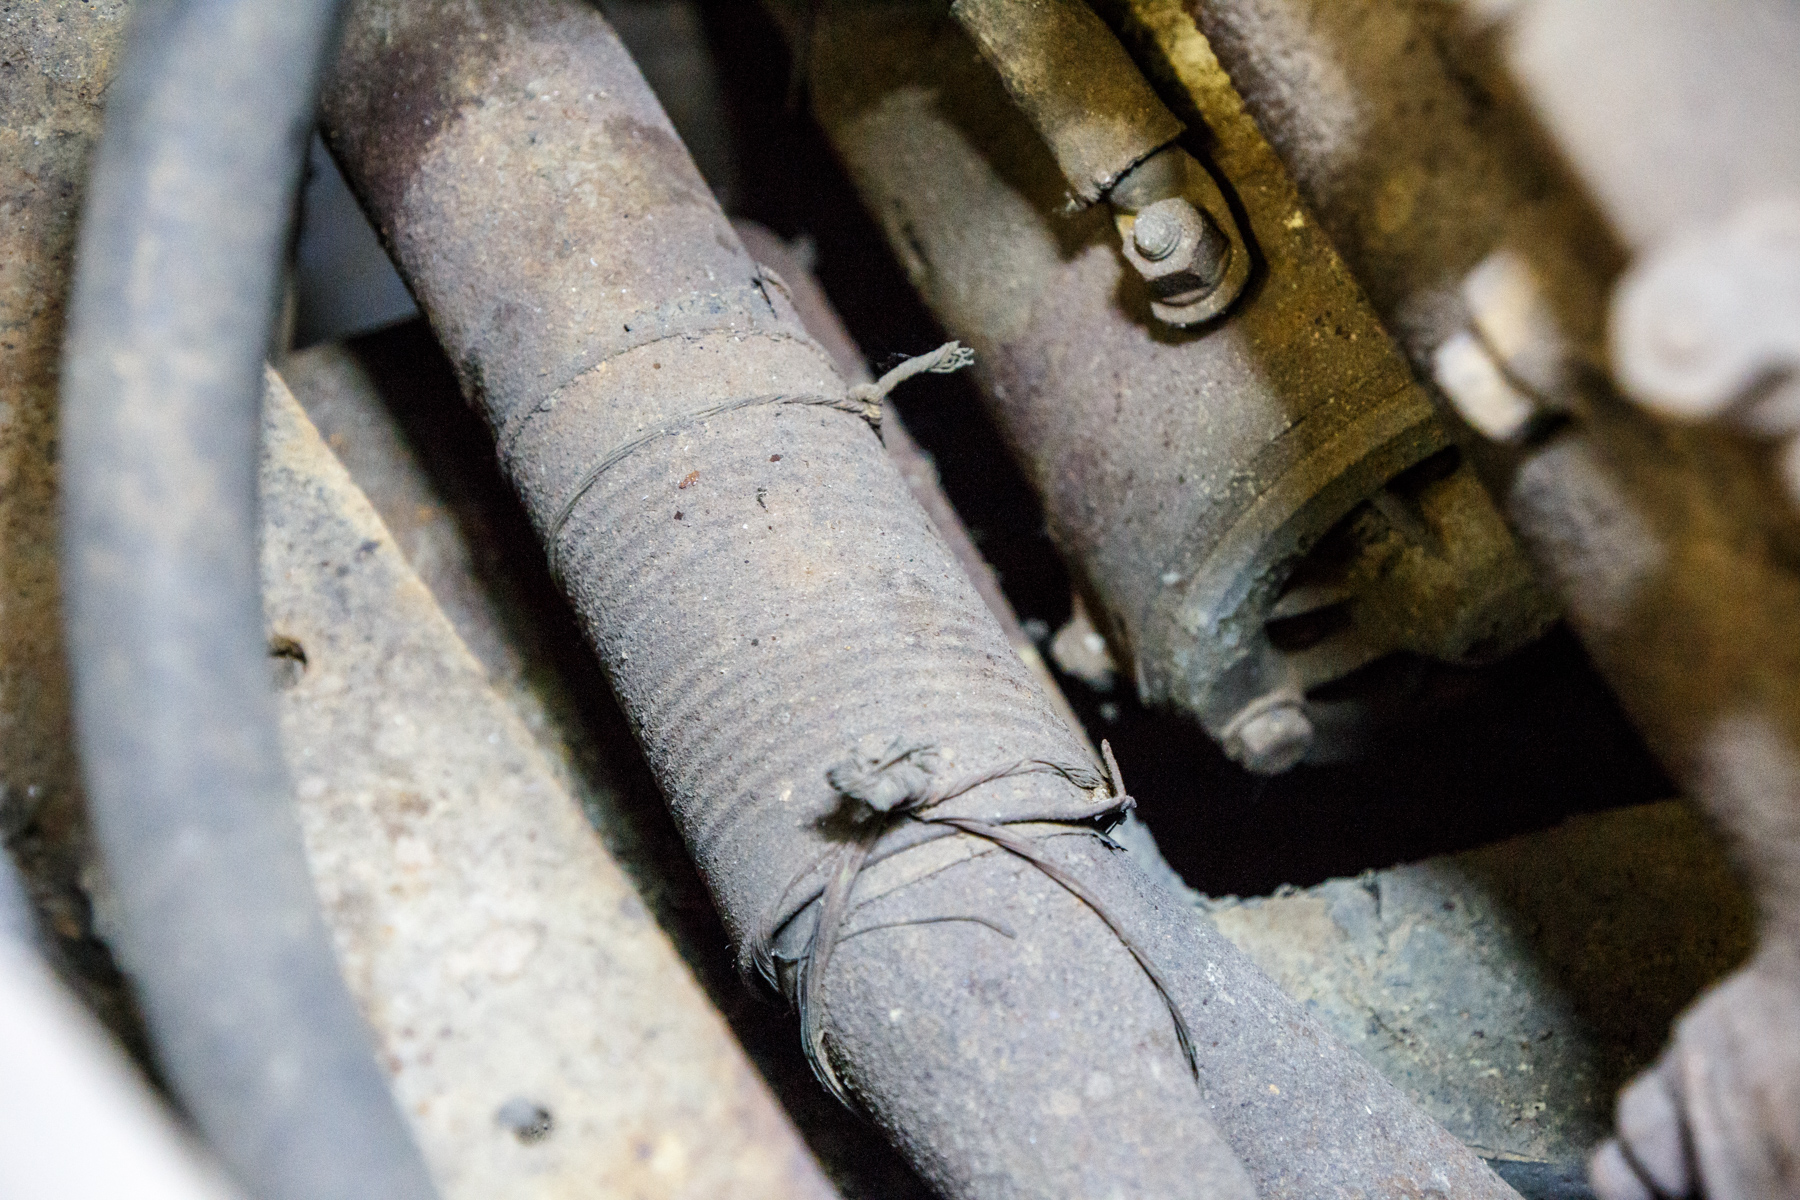
I started by removing the bypass hose from the block, then tried to remove it from the T junction in the lower radiator hose. I was thinking that by removing it here, if there was any coolant left in system it would drain from the lower hose. Unfortunately the T junction in the lower hose was rotting, so the hose tore as I tried to work it free. I had figured we would need new hoses, given how old they had to be, but that convinced me, no question, new hoses would be going on it all around.
Bypass Hose
Next I removed the hoses from the top of the cylinder heads to the upper part of the radiator. After removing the clamps I ended up having to cut the hoses to pry them off the connectors on both ends of each hose. The rubber had been compressed long enough to harden around the ridges in the tubes, so there was no way they were going to just slip off. I also found there is a thermostat on both exit openings on the heads on each side.

Thermostat
After I got the bottom hoses removed on each side, I had to cut them off as well, I removed the plug wire guide/tubes and the spark plug wires. Interesting that the wires are enclosed in a boot kind of assembly that caps the distributor on both sides, then tubes that runs up and along the top of the block, peeling off wires to each cylinder. It is actually a very neat set up.
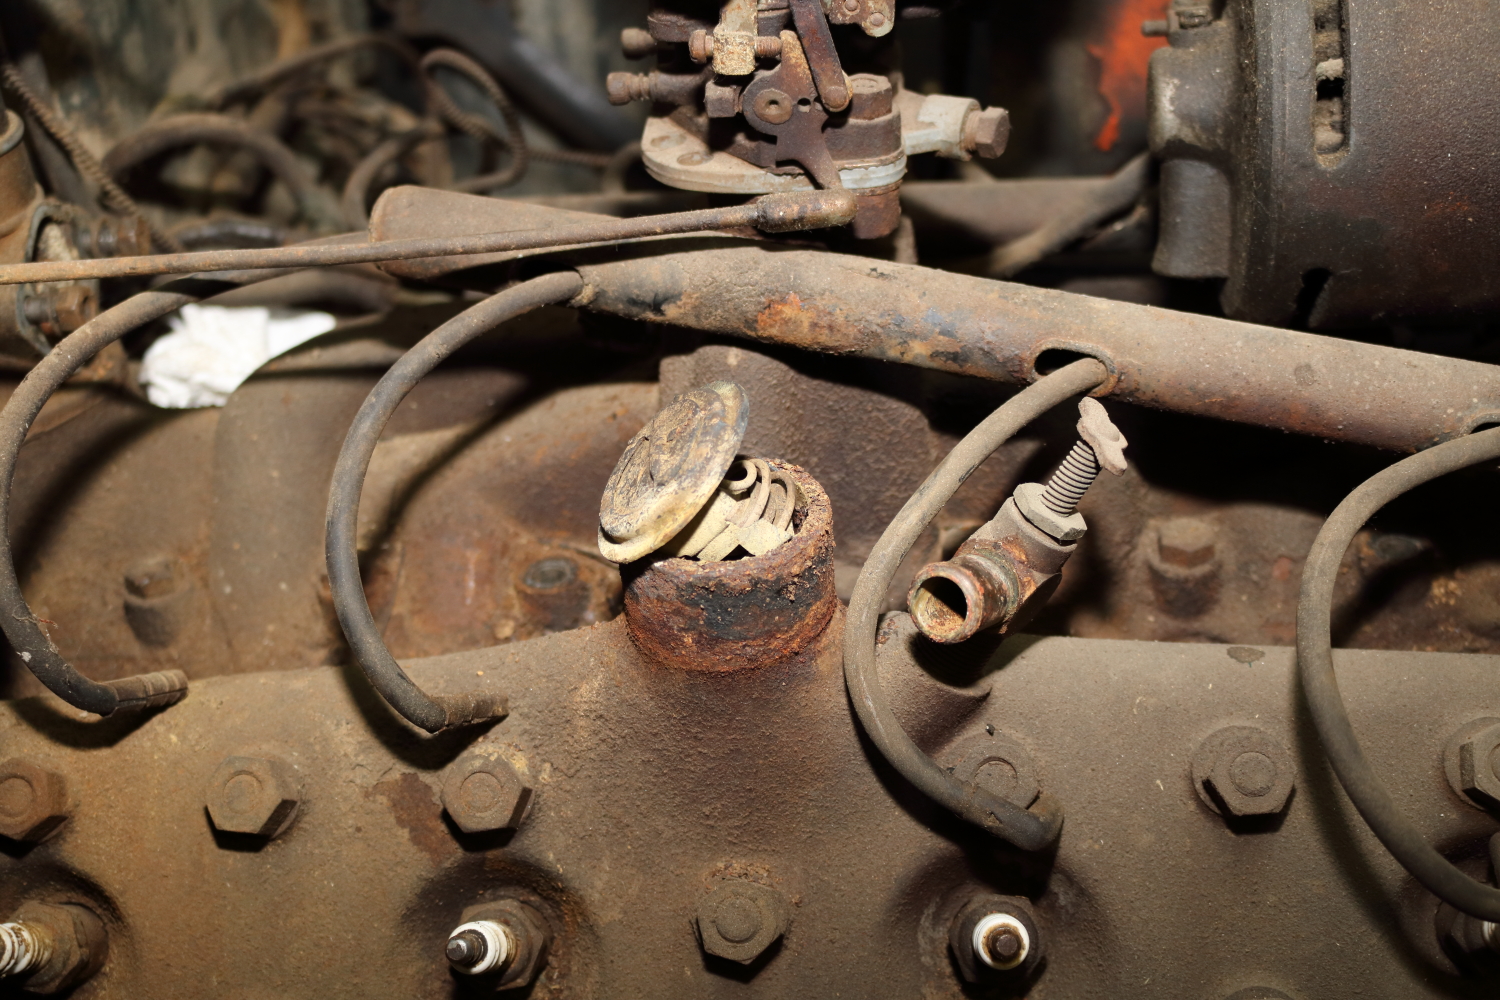
Plug Wires and tube
Then I removed the generator from the top of the block, which also freed the belt. I already bought a replacement belt, but it was kind of funny, the belt was so stiff that it held it’s shape even after I removed the generator, even after removing it from the pulleys connecting the generator, crank and water pumps… LOL
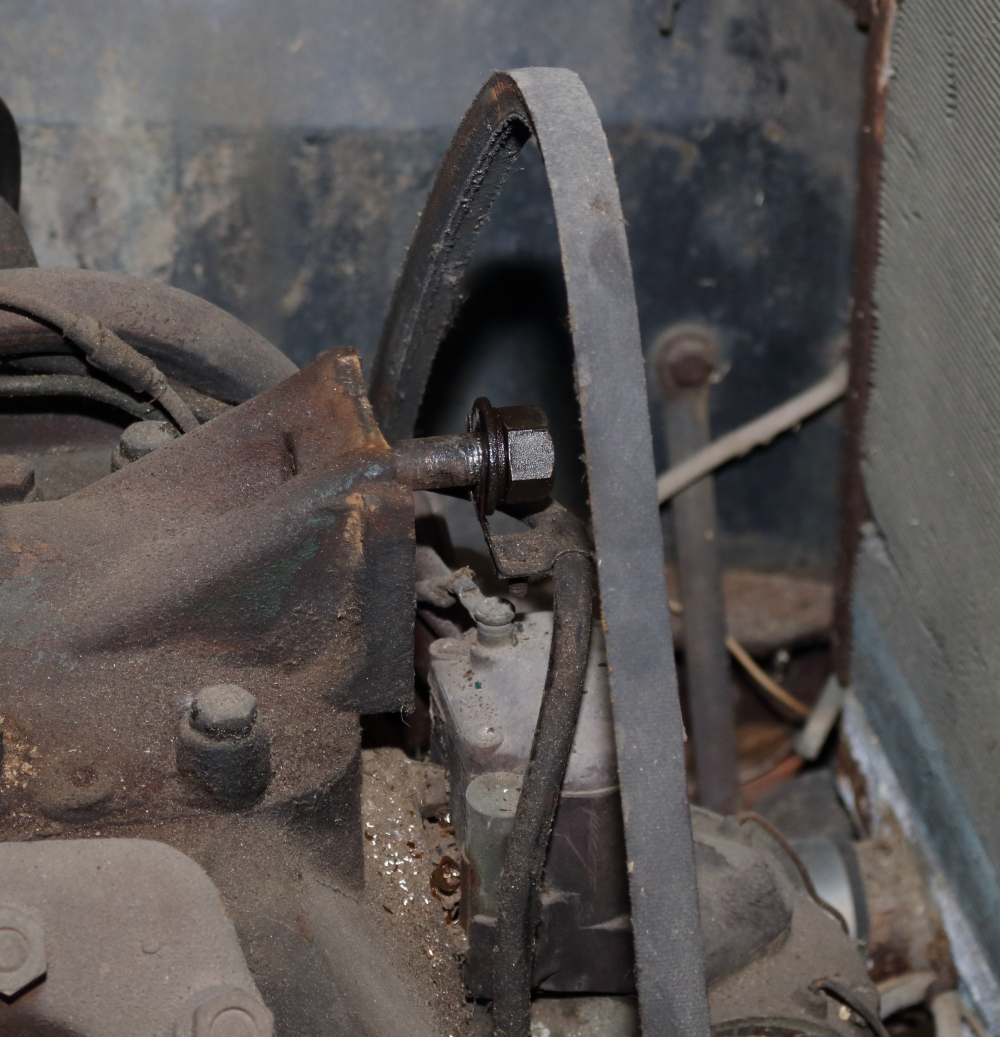
Belt
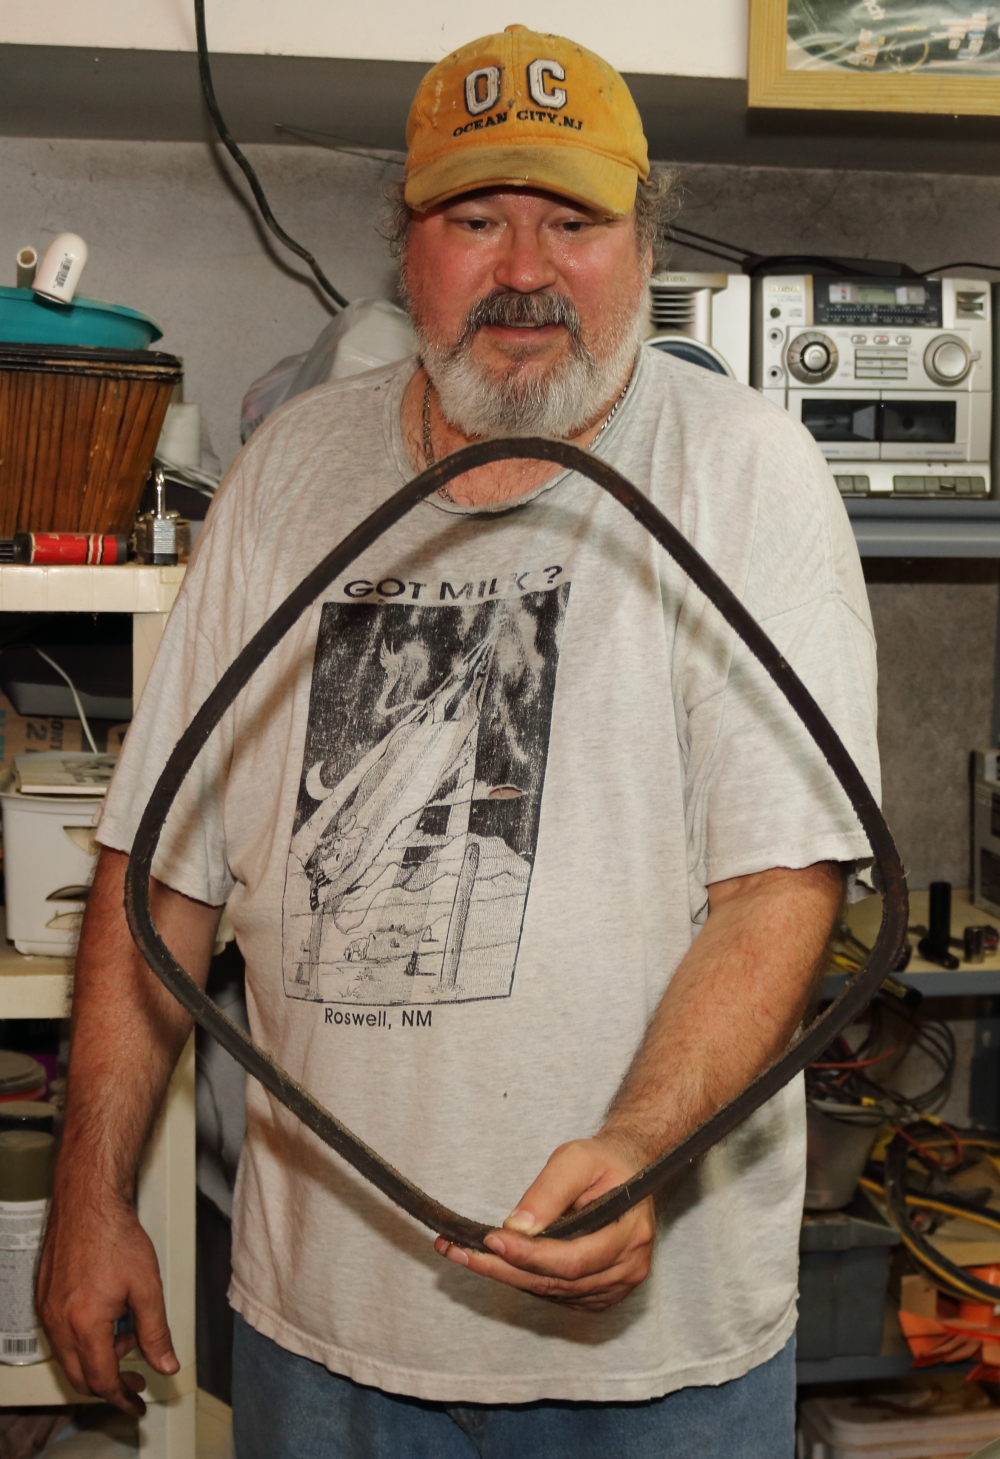
Belt
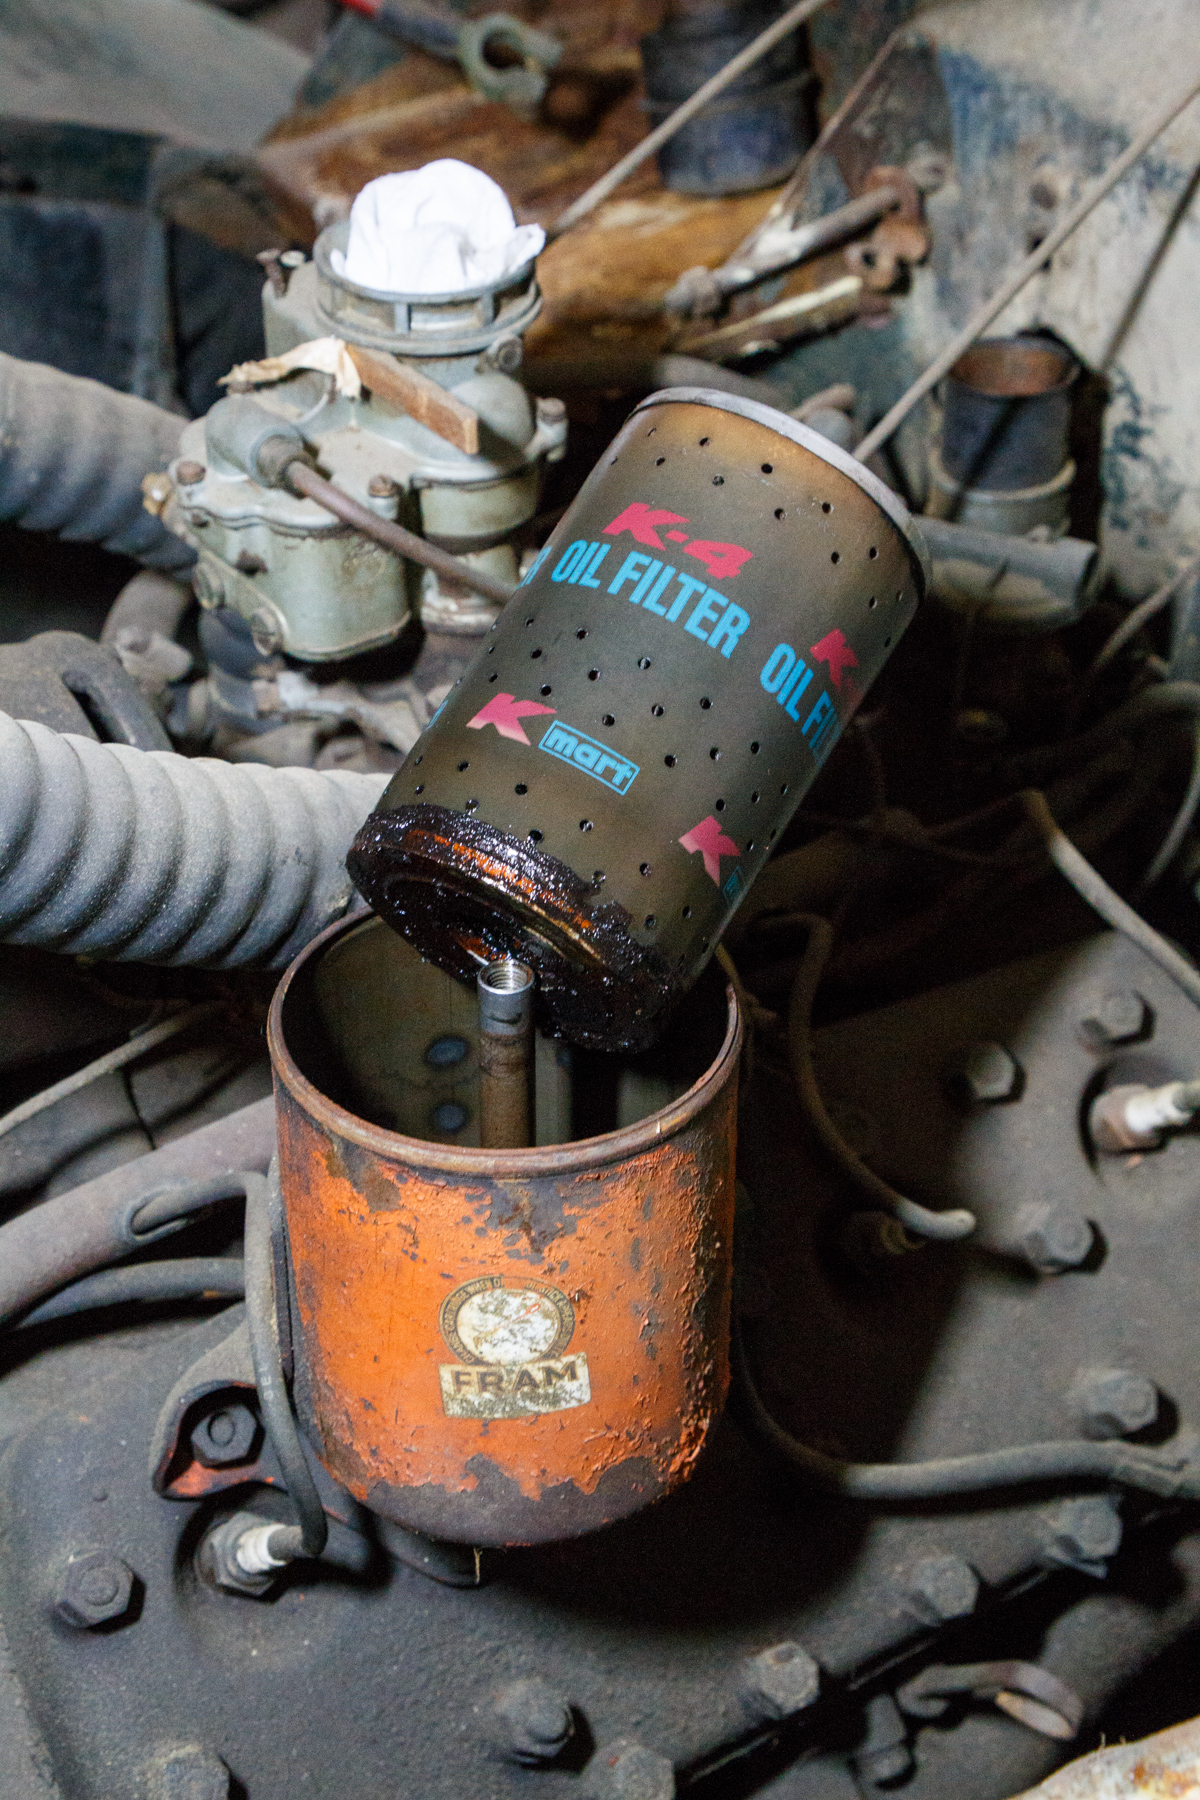
I removed the broken flexible fuel connection that connects the hard line coming from the tank and connecting to the fuel pump, as well as disconnecting the oil filter assembly line from the front of the block. The rear connection seems to be a bit harder to get to, so I decided to wait for the manuals to get here to make sure I wasn’t just going to be forcing something.
Next I removed the radiator. I’m not sure if it needs to be reconditioned or not yet, but I wanted it out of the way to make room for what comes next, and to make sure I don’t damage it in some way working around it.
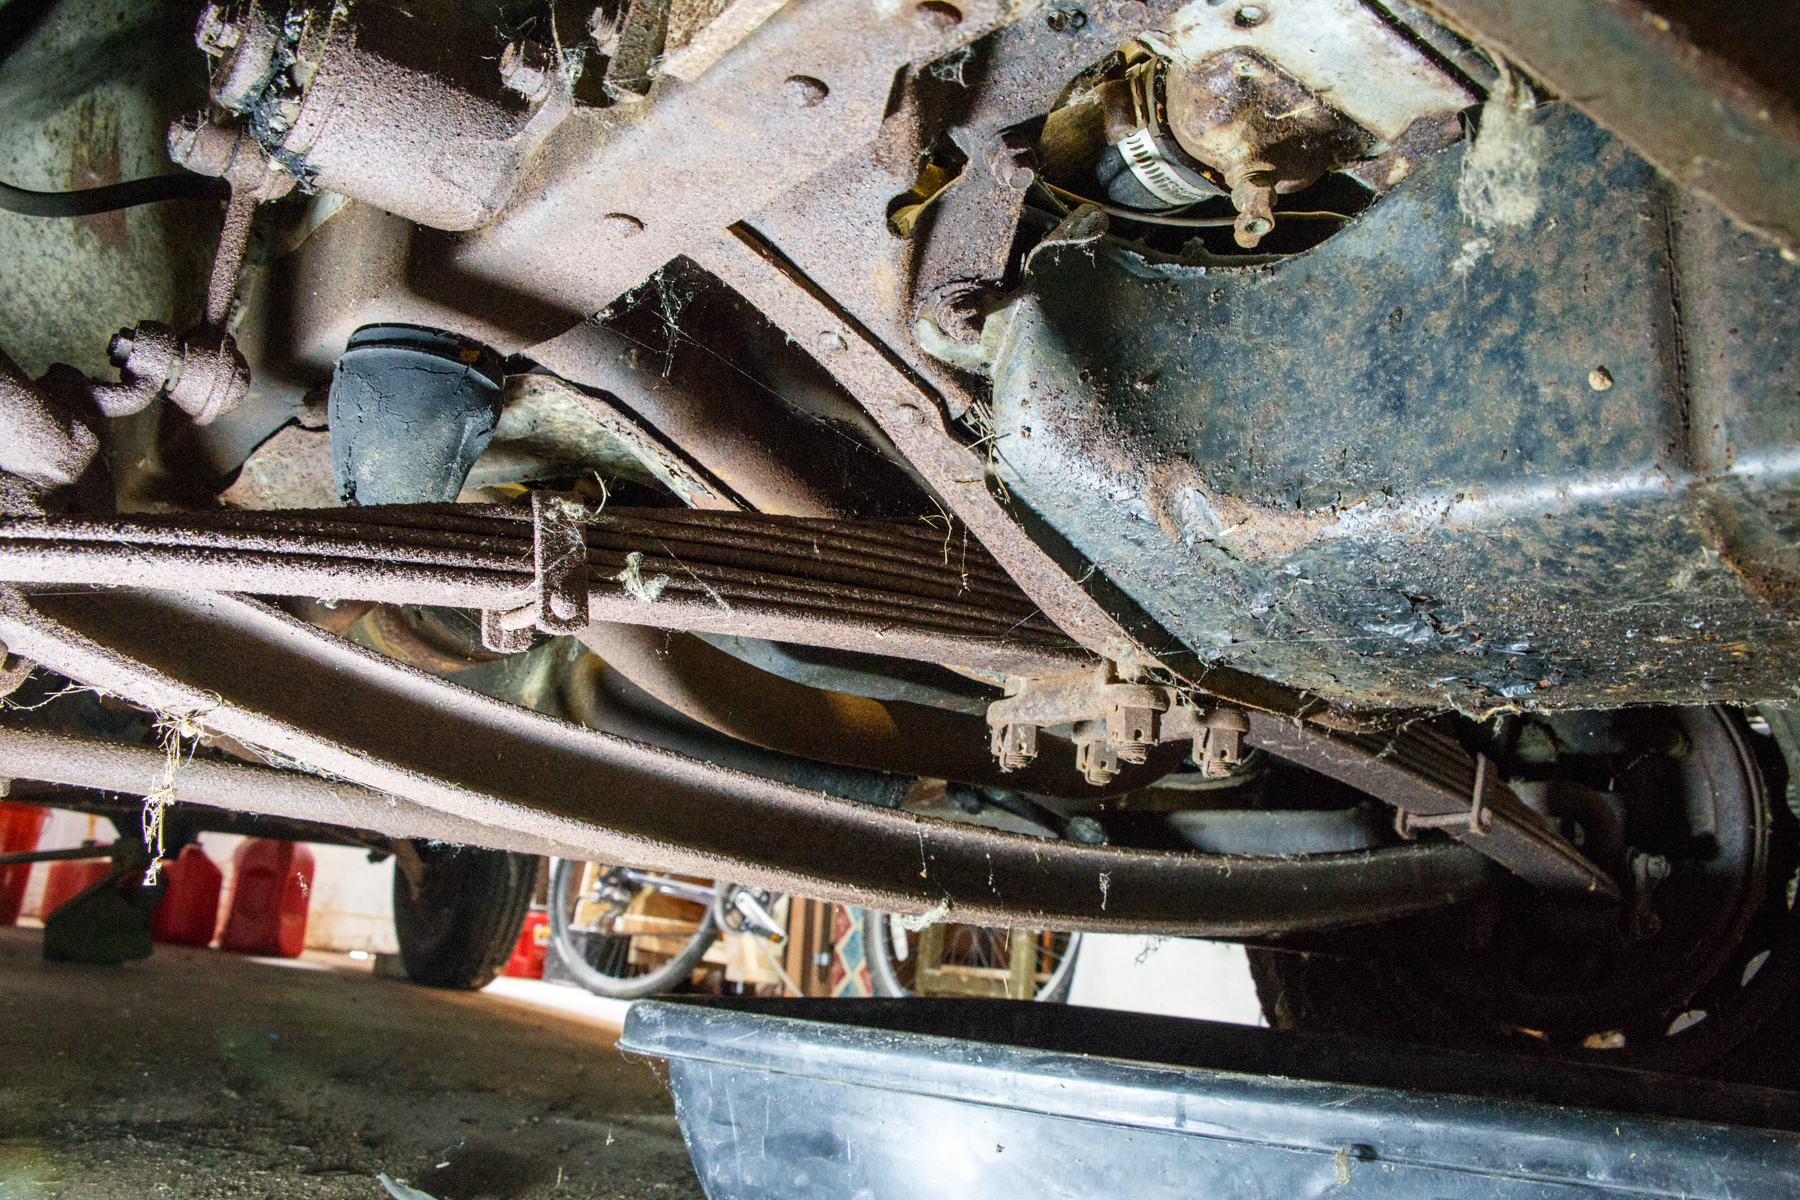
With the radiator out of the way I decided to break loose the nuts on the motor mount, since I now had some room to work with. These will have to come off to get the oil pan out when I reach that point as you need to jack the front of the motor up a couple inches to get the clearance for the pan to drop free.
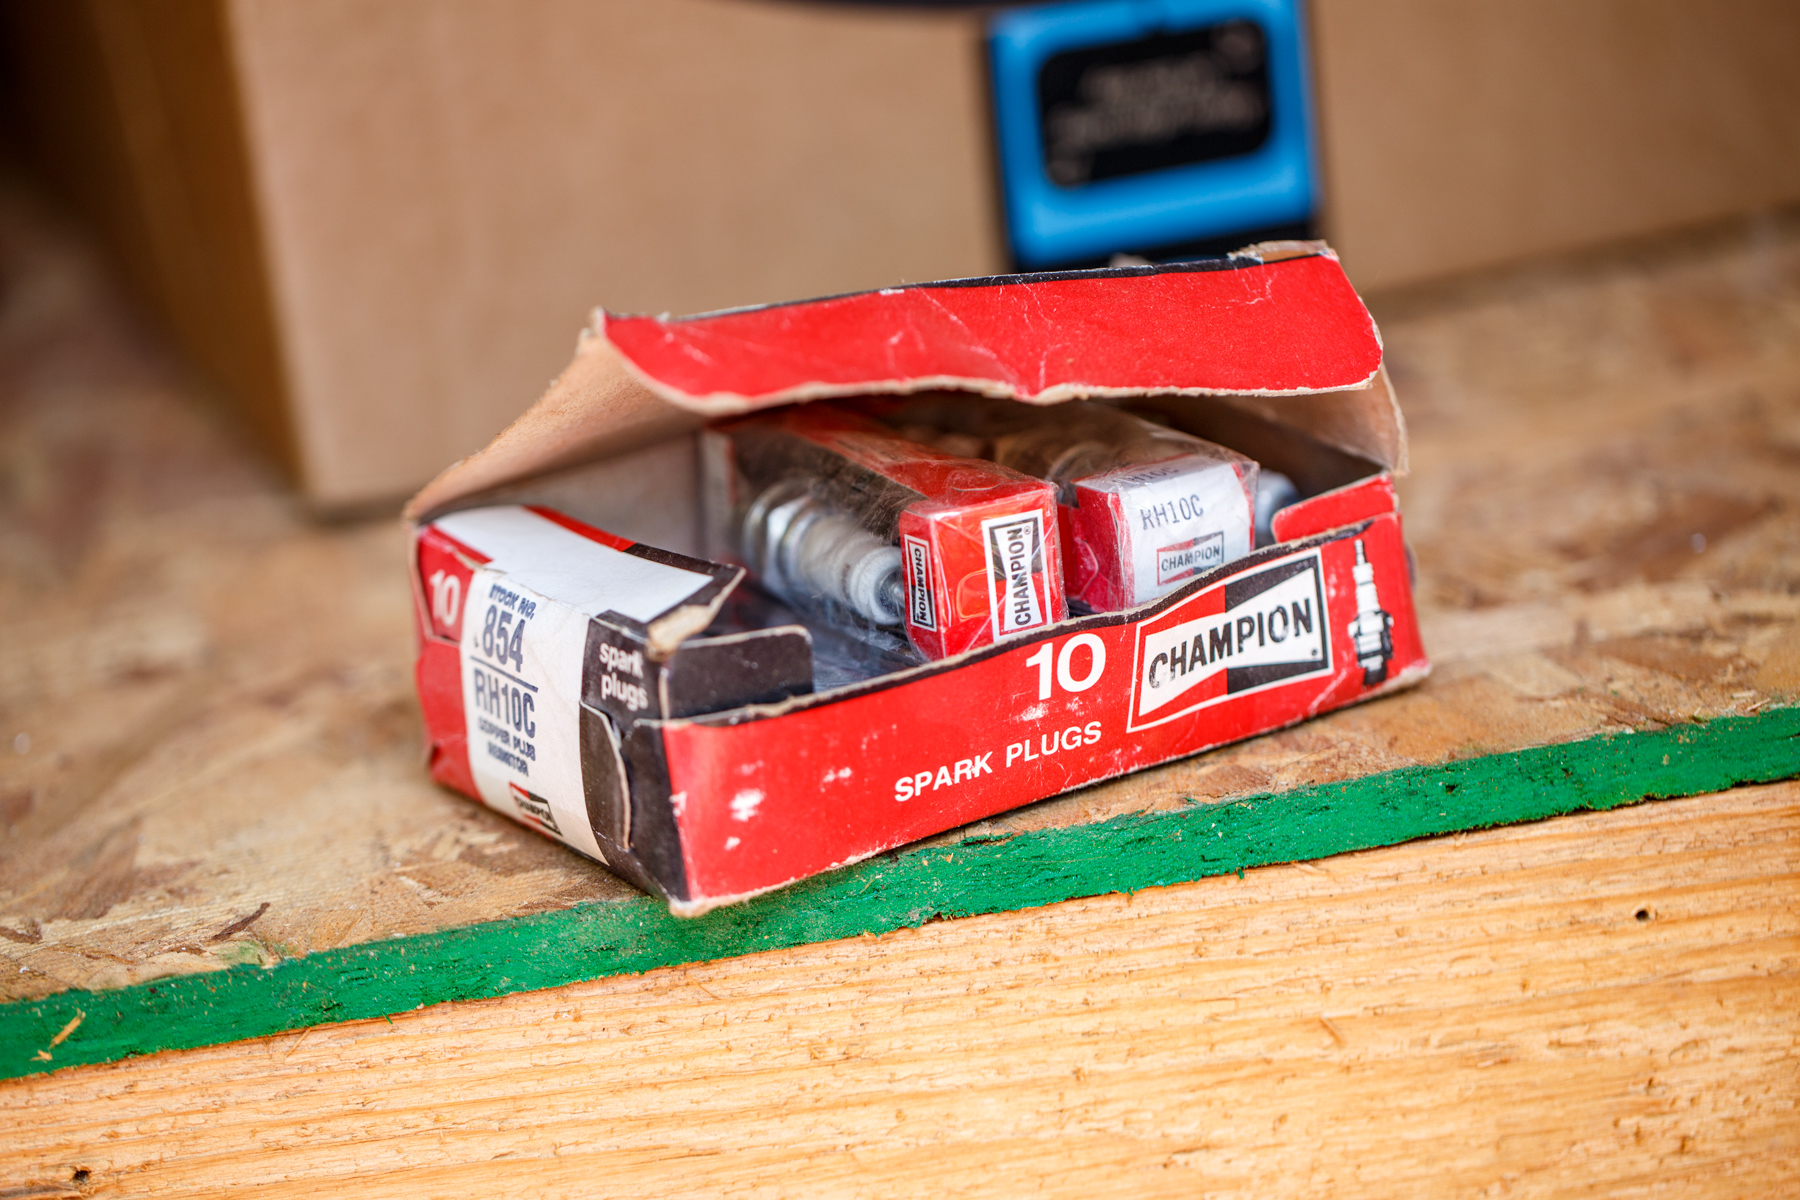
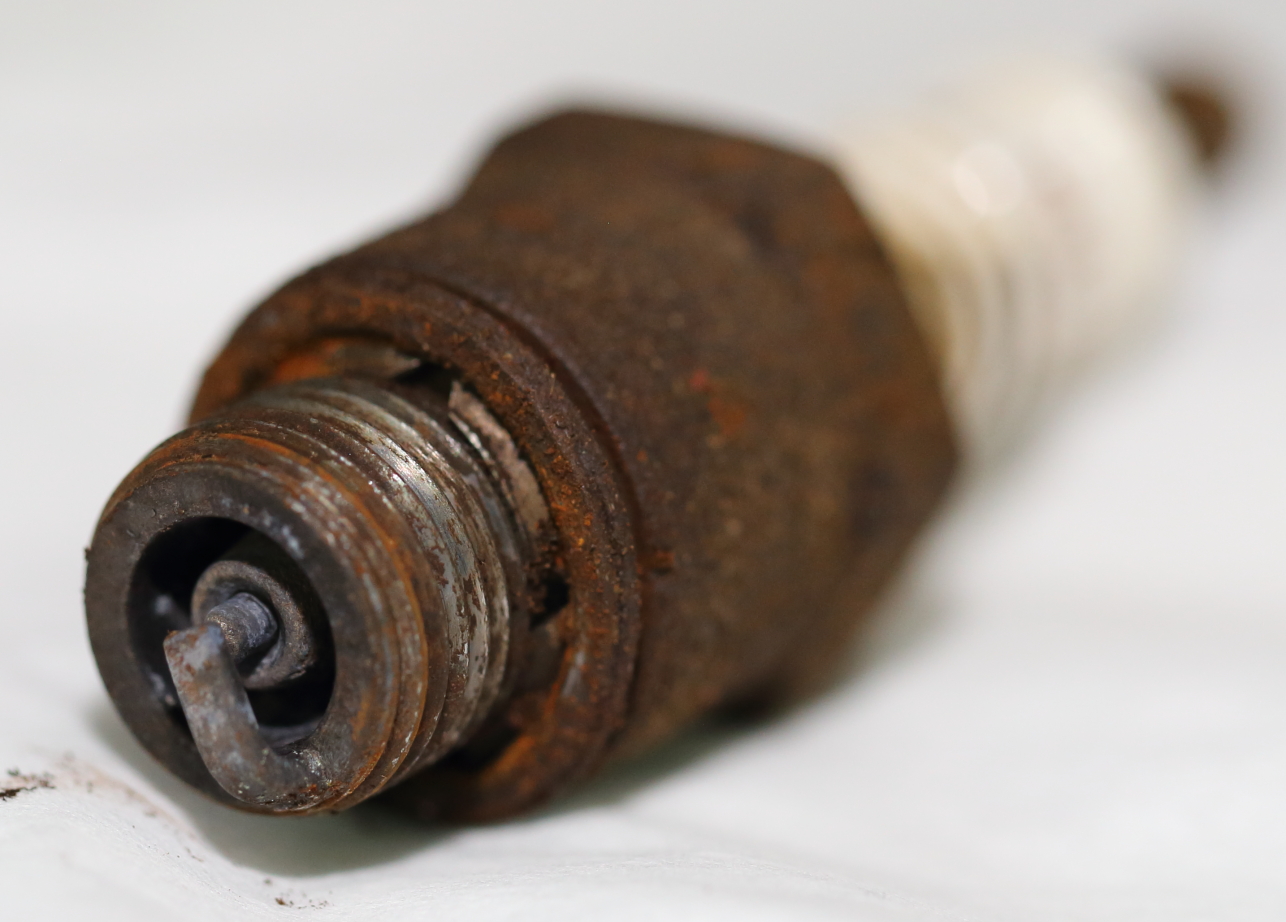
Then I pulled the plugs and I decided to break loose the nuts on the studs holding one of the heads on. I plan on removing both heads, then the intake, then I’ll decide if we need to pull the block out of the truck to have it professionally cleaned up or not, or if more will be needed than just cleaning.

Head
I didn’t have time to finish loosening the nuts on the studs, Father’s Day intruded at that point so I decided it was a good place to call it quits for the weekend.
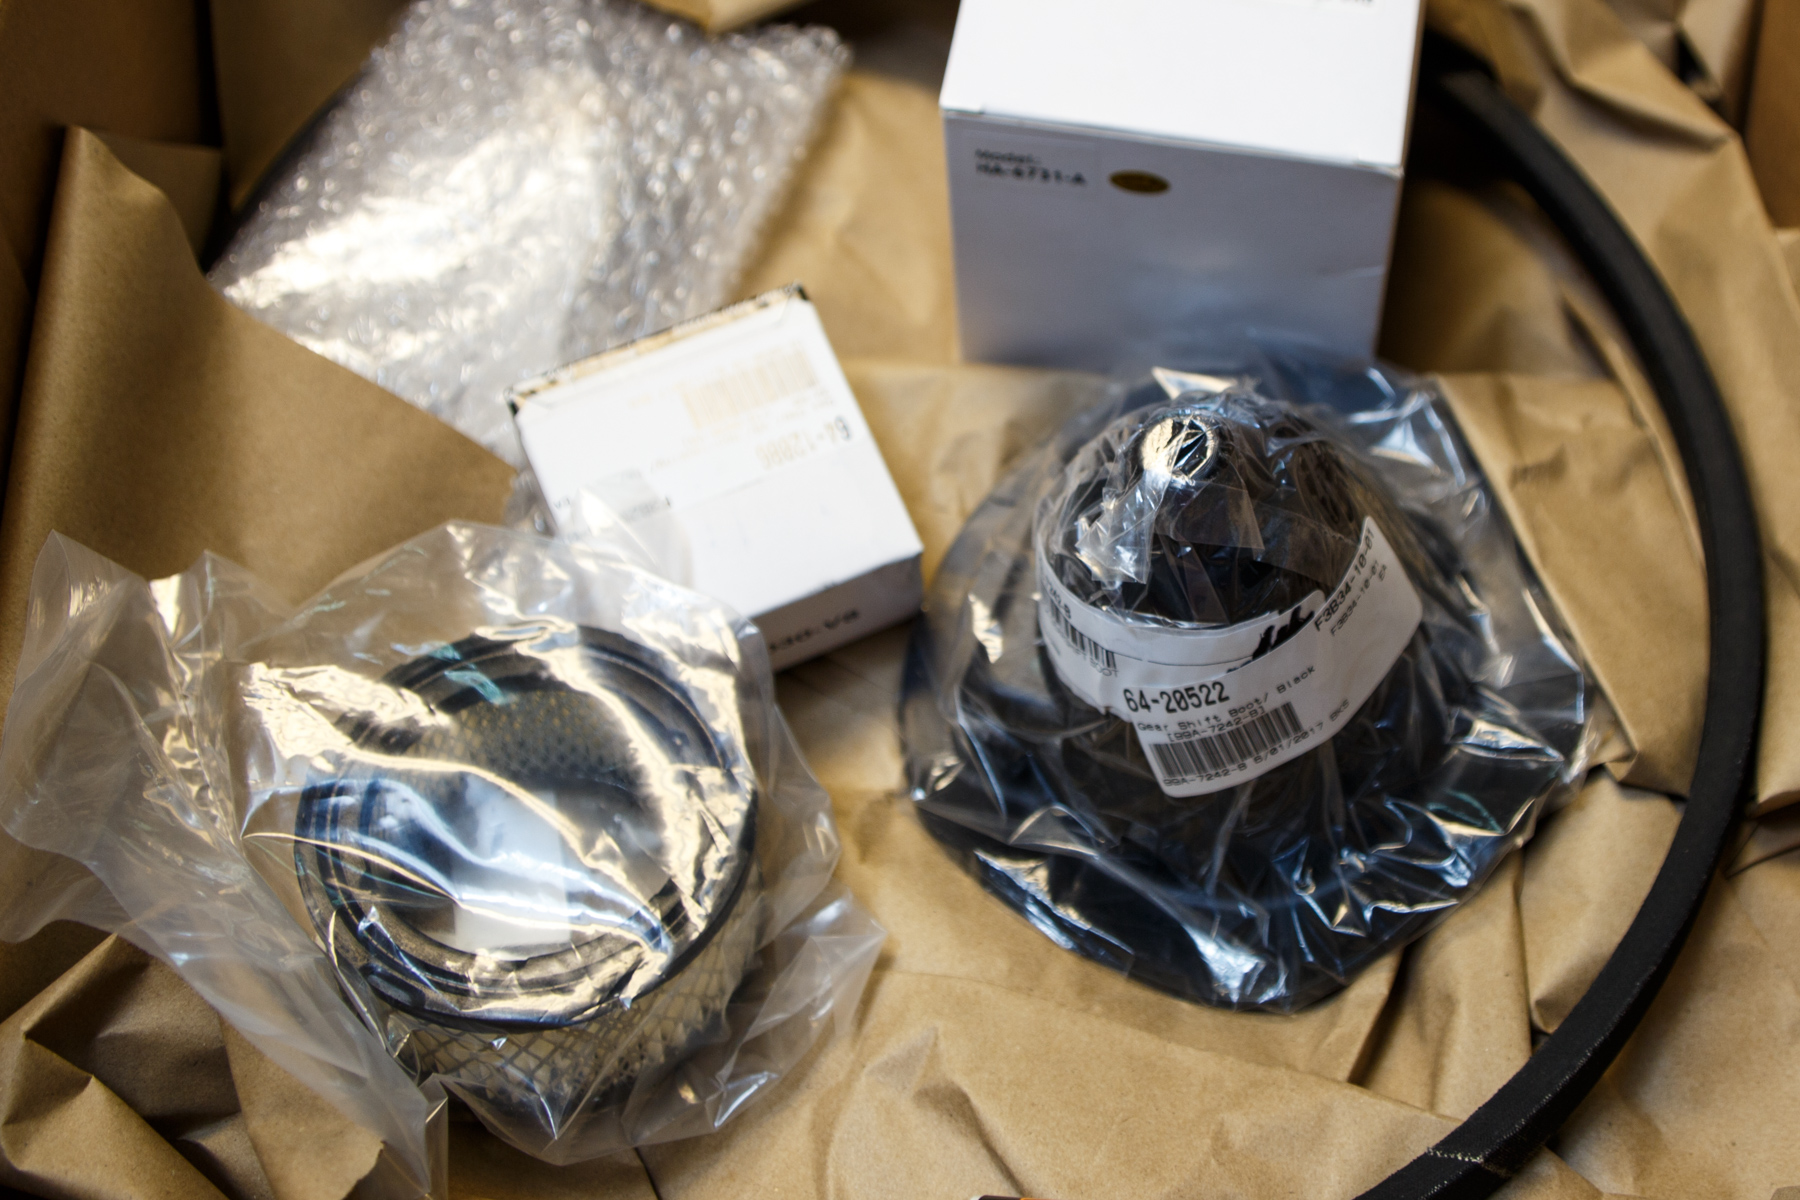
I haven’t been able to do much this week, but the replacement flexible and stiff fuel lines to connect to the fuel pump and carburetor arrived, as did the best things… 🙂 I got a Ford Service Manual and Fuel System manual, so I’m not just working on my own knowledge.
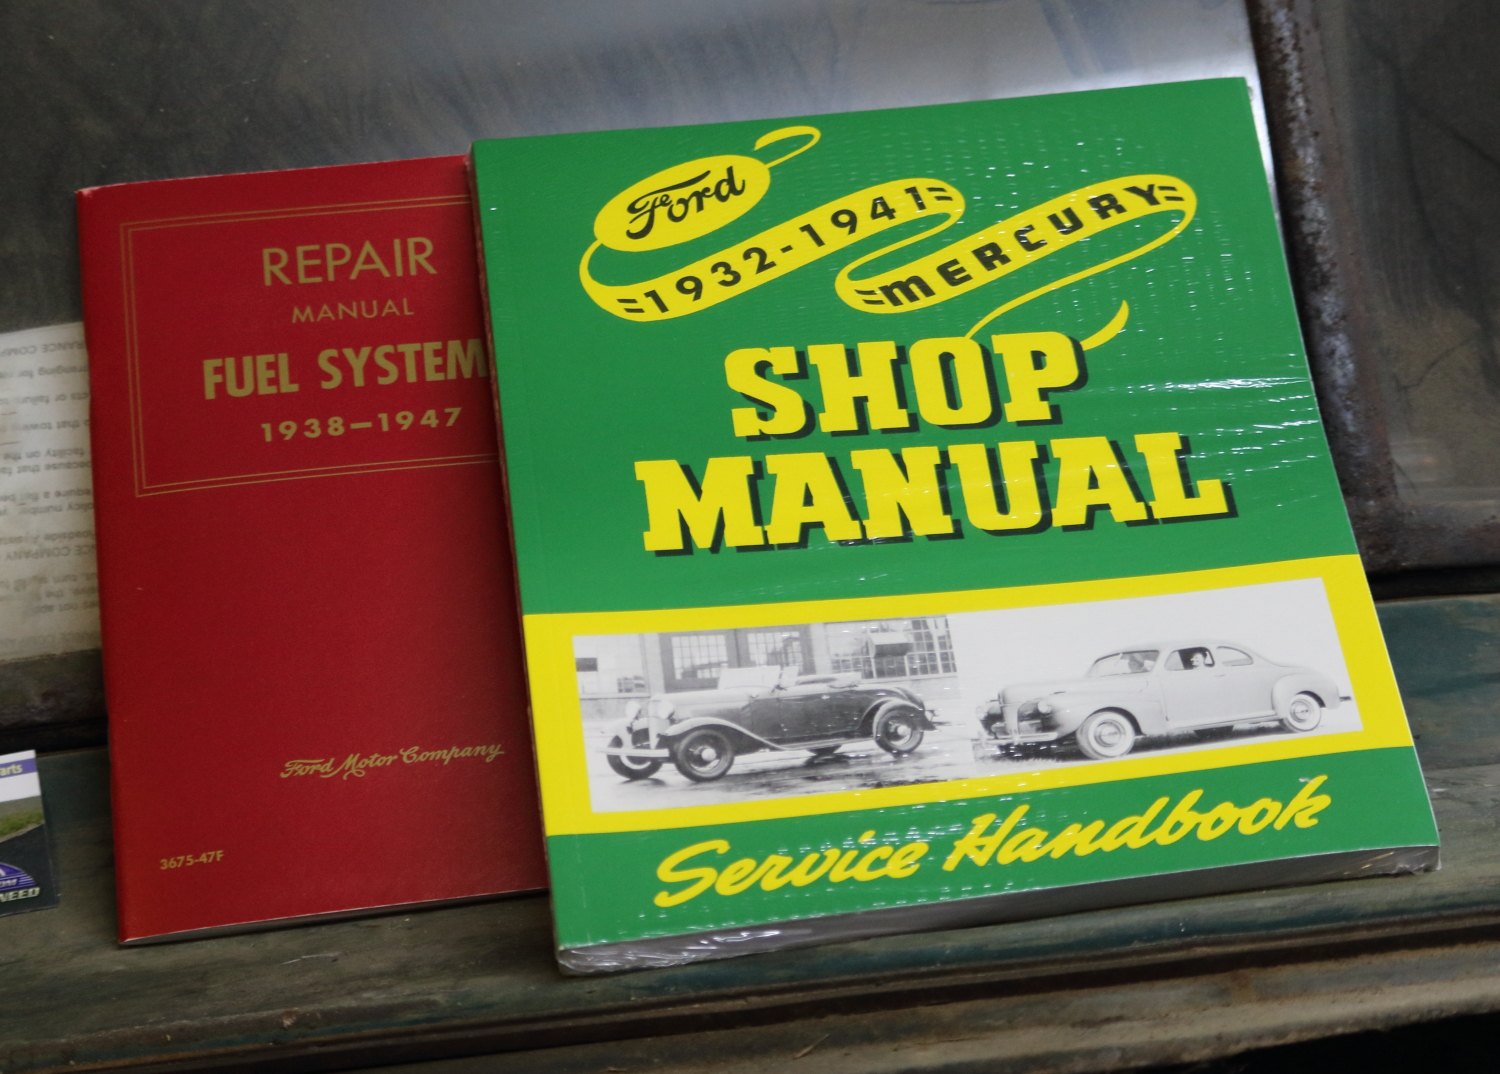
Manuals